Window Tint Prep Checklist
Ensure every step is completed before applying film. Missing a step can lead to permanent defects.
Ready to Apply?
Complete all steps to confirm readiness.
You just spent good money on high-quality ceramic film, and the installer is pulling into your driveway in an hour. You grab a bottle of blue Windex from under the sink, spray the glass, wipe it down with a paper towel, and think you’re done. Wrong. That single mistake could cost you the entire job. If you use the wrong window cleaning solution before tinting, you might leave behind residues that prevent the adhesive from bonding properly, or worse, chemicals that eat away at the dye and metal layers of your new film.
Here’s the hard truth: window tinting is 90% preparation and 10% application. If the glass isn’t surgically clean, microscopic dust particles get trapped under the film, creating bubbles that look like permanent scars. Worse, leftover oils from road grime or previous cleaners act as a barrier between the glue and the glass. So, what exactly should you be using? It’s not just about getting the dirt off; it’s about preparing the molecular surface for adhesion. Let’s break down the exact products, tools, and techniques professionals use to ensure that first stick is perfect.
The Golden Rule: Why Ammonia-Free Is Non-Negotiable
Before you even pick up a cloth, you need to understand the enemy: ammonia. Most household glass cleaners, including the famous blue ones, contain ammonia. While ammonia cuts through grease effectively on regular glass, it is a nightmare for window tint. Over time, ammonia breaks down the chemical bonds in the tint film, causing it to turn purple, bubble, or peel. But the issue starts before installation. Residual ammonia can interfere with the tackiness of the adhesive layer.
When you are prepping for tint, you aren’t just cleaning; you are degreasing. You need a solution that evaporates quickly without leaving any oily residue behind. This is where dedicated automotive glass cleaners come in. These are specifically formulated to be pH-neutral and free of harsh solvents. If you don’t have a dedicated car product, a simple mixture of distilled water and a few drops of baby shampoo works surprisingly well. Baby shampoo is mild, doesn’t leave streaks, and lacks the aggressive chemicals found in kitchen cleaners.
Ammonia is a common cleaning agent known for its ability to cut through grease, but it degrades the polymer structure of window tint films over time. For tint preparation, always choose alternatives that specify "ammonia-free" on the label to protect both existing and future tints.
The Essential Toolkit: What You Actually Need
Forget the crumpled-up newspaper or the fuzzy microfiber towels you use for the dashboard. Window prep requires specific tools that minimize lint and maximize scraping efficiency. Here is the checklist every DIYer or professional should have ready:
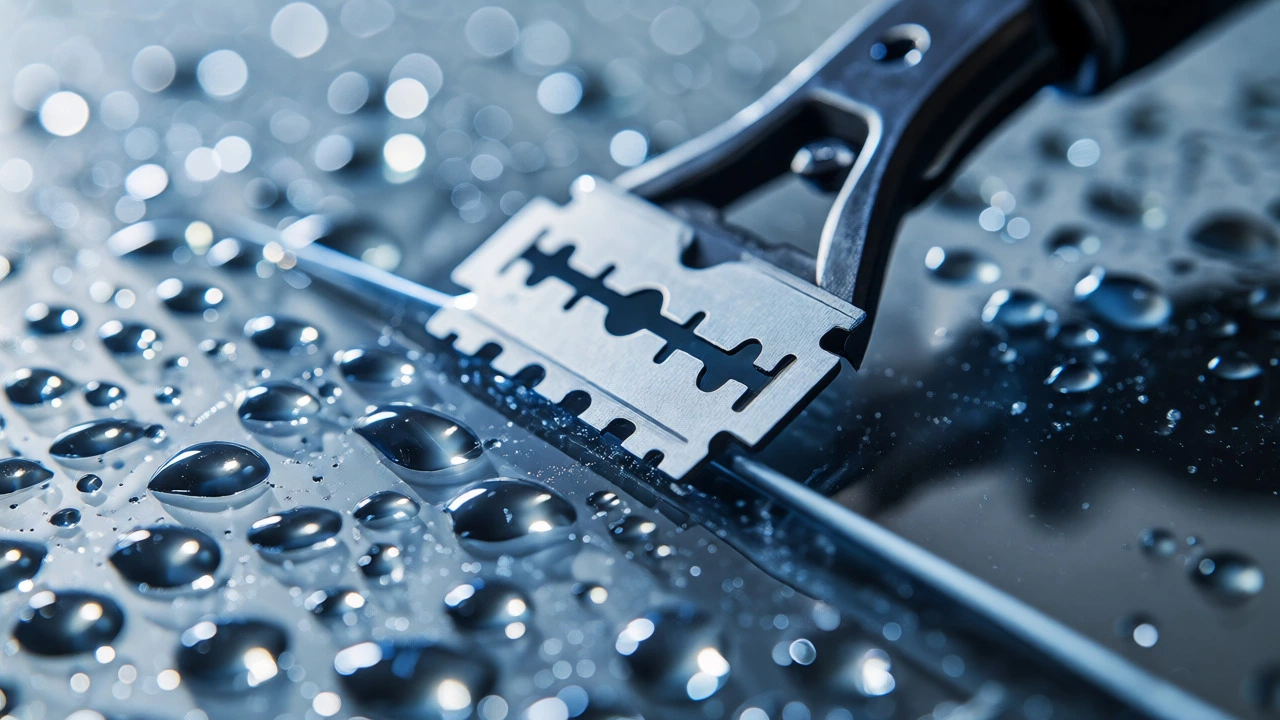
- Razor Blades: Not the dull ones from your bathroom cabinet. You need fresh, double-edge razor blades designed for glass. These remove hardened sap, paint overspray, and stubborn stickers that liquid cleaners can’t touch.
- Squeegee: A professional-grade squeegee with a rubber blade (not foam) is essential for removing excess water and ensuring no moisture gets trapped under the film during the final rinse.
- Lint-Free Microfiber Towels: Buy towels specifically marketed for automotive glass. They are woven tightly to prevent fibers from shedding onto the wet glass. Cheap towels will leave fuzz everywhere, which becomes visible once the tint is applied.
- Distilled Water: Tap water contains minerals like calcium and magnesium. When it dries, it leaves spots. Distilled water ensures a spotless finish.
- Isopropyl Alcohol (70%): Used for the final wipe-down to remove any remaining oils and help the water sheet off the glass evenly.
Step-by-Step: The Professional Cleaning Process
Now that you have the right gear, let’s walk through the actual process. Do this in a shaded area or a garage if possible. Direct sunlight heats up the glass, causing your cleaning solution to dry too fast, which leads to streaks and makes the razor work harder.
1. Initial Rinse and Inspection
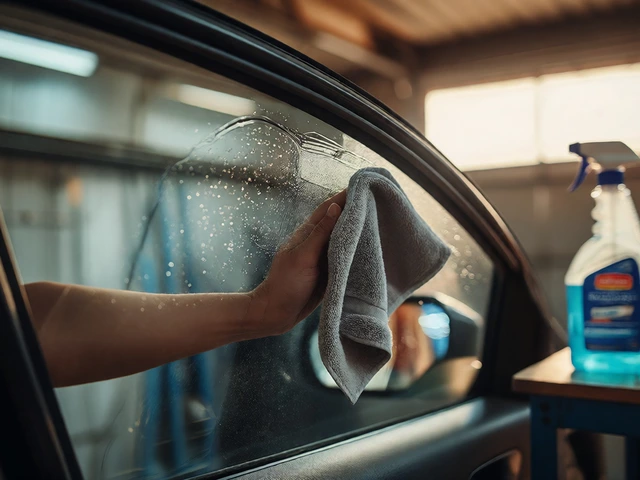
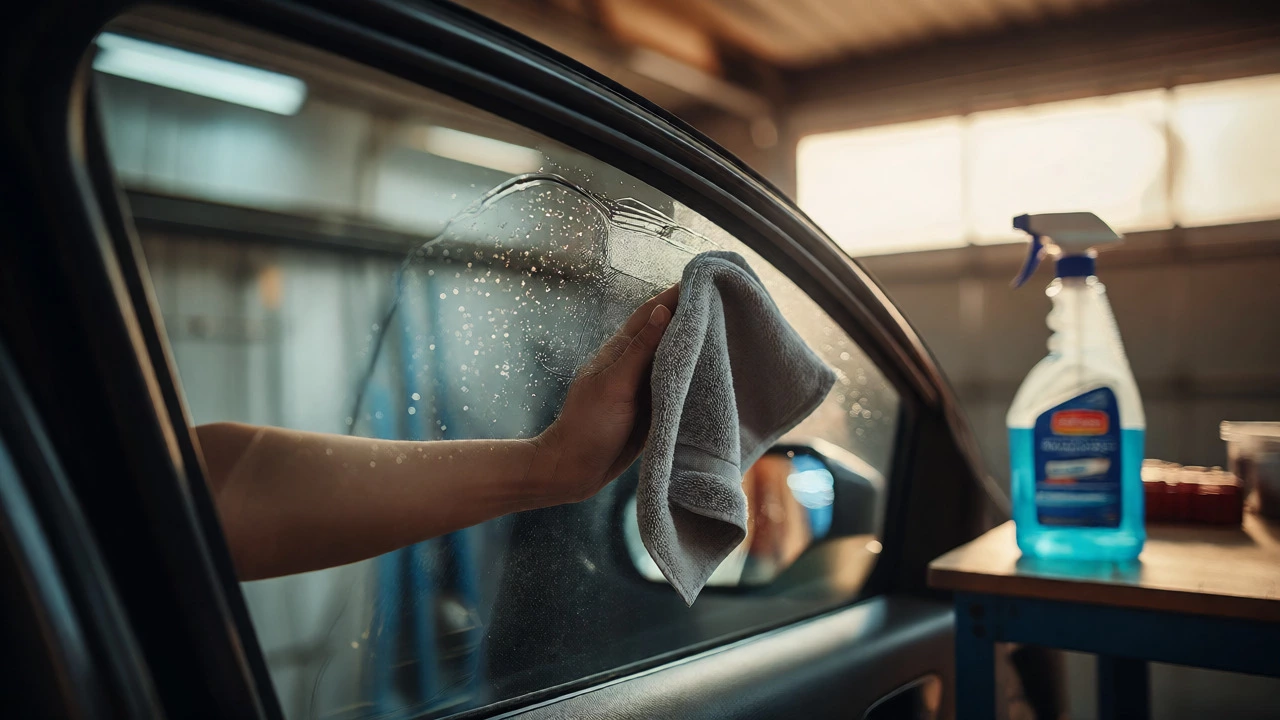
Start by spraying the glass generously with your ammonia-free cleaner or soapy water mix. Use a soft sponge or a clean microfiber cloth to wipe away loose dirt, pollen, and dust. Don’t worry about perfection yet; you’re just removing the top layer of grime. Take a moment to inspect the glass. Look for chips, cracks, or deep scratches. Tint won’t hide structural damage, and applying it over cracked glass can sometimes worsen the crack due to thermal expansion later.
2. The Razor Blade Technique
This is the step most beginners skip, and it’s the biggest reason for failed installs. Keep the glass wet. Hold the razor blade at a shallow angle-about 30 to 45 degrees-to the glass surface. Gently scrape across the entire pane. You’ll feel resistance when you hit stuck-on debris like tree sap, bird droppings, or old sticker glue. The water acts as a lubricant, preventing the steel blade from scratching the glass. Work systematically: top to bottom, then side to side. Once you’ve scraped the whole surface, wipe it clean with a damp towel.
| Cleaner Type | Effectiveness | Risk to Tint | Residue Left |
|---|---|---|---|
| Household Glass Cleaner (with Ammonia) | High | High (if used post-tint) | Moderate |
| Automotive Glass Cleaner (Ammonia-Free) | High | Low | Minimal |
| Water + Baby Shampoo | Moderate | None | Low (if rinsed well) |
| Vinegar & Water Mix | Low-Moderate | Low | Low |
| Isopropyl Alcohol (Final Wipe) | N/A (Degreaser) | None | Zero (Evaporates) |
3. The Final Degrease
After scraping, the glass might still feel slightly greasy from road film or previous waxes. Spray a small amount of isopropyl alcohol mixed with distilled water (a 50/50 ratio works well) onto a clean, dry microfiber towel. Wipe the glass thoroughly. This step removes any invisible oils. The goal here is to make the glass "hydrophobic" in a way that allows the slip solution (the water you spray when applying the tint) to spread evenly rather than beading up irregularly.
4. The Lint Check
Hold the glass up to the light or shine a flashlight across it. Look for any stray fibers from your towels. Even one tiny hair can create a visible defect under the film. If you find lint, blow it off gently or use a fresh, dry towel to pick it up. Do not use compressed air cans directly on the glass if they spray propellant, as that can leave oily spots.
Common Mistakes That Ruin New Tint
Even with the right products, human error creeps in. One major mistake is cleaning the inside of the window after the outside is already prepped. Dust falls from the ceiling or your clothes onto the freshly cleaned inner surface. Always clean the interior first, then the exterior, or do them simultaneously if you have a helper. Another trap is using dirty tools. If your razor blade has been sitting in a drawer collecting dust, it will scratch the glass. Change blades frequently-a dull blade requires more pressure, increasing the risk of scratches.
Also, beware of silicone-based products. Some quick-detail sprays contain silicone, which creates a slick surface that repels water but also prevents adhesives from sticking. If you recently had your car detailed, mention it to your installer. They may need to perform a deeper clay bar treatment on the glass to remove embedded contaminants that standard washing misses.
Why Surface Energy Matters
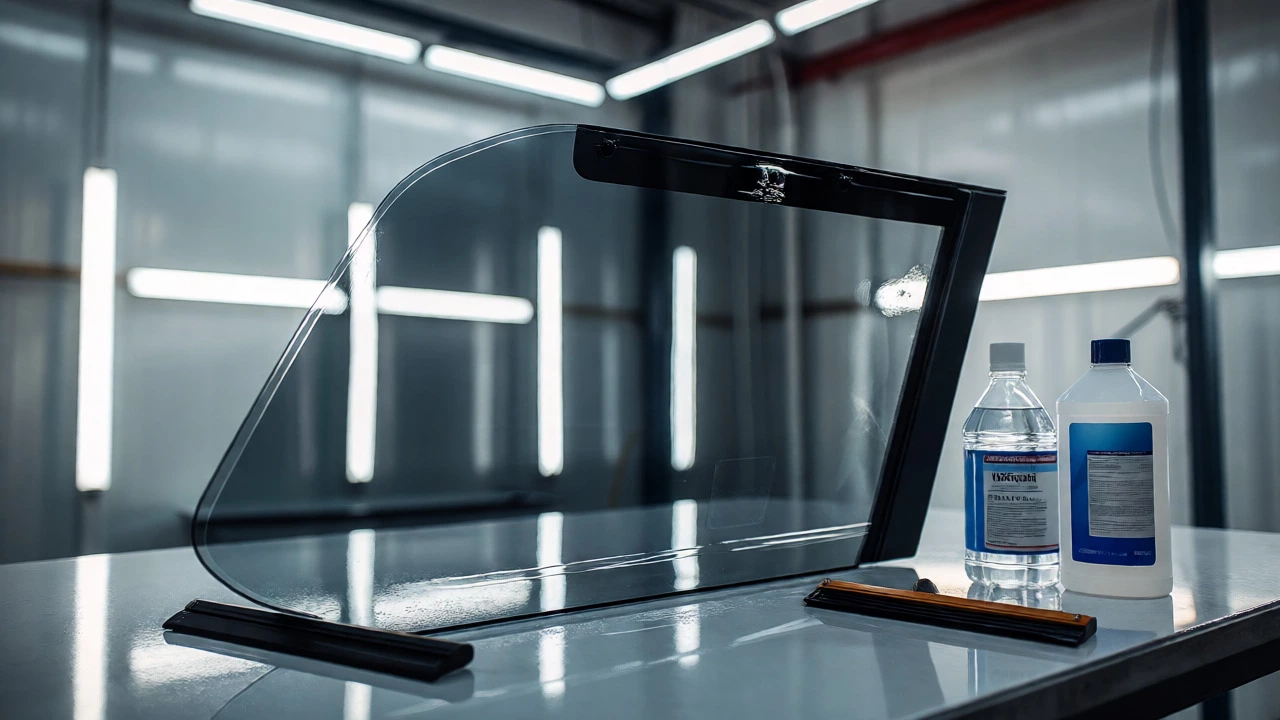
Think of the glass surface as having a certain energy level. Dirty glass has low surface energy because contaminants block the bond. Clean glass has high surface energy, allowing the adhesive molecules in the tint to lock onto the silica in the glass. When you use the wrong cleaner, you lower that energy again. Isopropyl alcohol helps restore this high-energy state by stripping away organic compounds. This is why pros often do a final alcohol wipe right before peeling the backing liner off the tint roll. It ensures the surface is chemically neutral and ready to bond instantly.
FAQ: Pre-Tint Cleaning Questions
Can I use vinegar to clean windows before tinting?
Yes, a mixture of white vinegar and distilled water is safe and effective for pre-tint cleaning. Vinegar cuts through mineral deposits and grease without damaging the glass or leaving harmful residues. However, it has a strong smell, so ensure the area is ventilated. Just remember to rinse thoroughly with distilled water afterward to prevent any lingering acidity from affecting the adhesive long-term.
Do I need to clean the inside of the window too?
Absolutely. Window tint is applied to the inside surface of the glass. Any dust, fingerprints, or debris on the interior side will get trapped under the film. In fact, the interior is usually dirtier than the exterior because of HVAC dust and contact from hands. Clean the inside meticulously before starting the exterior prep.
What happens if I don't use a razor blade?
If you skip the razor blade step, hardened contaminants like tree sap, tar, or old sticker residue will remain on the glass. These bumps create air pockets or prevent the film from lying flat against the surface. Over time, these areas can become focal points for peeling or bubbling, especially as the car expands and contracts with temperature changes.
Is rubbing alcohol bad for window tint?
Rubbing alcohol (isopropyl alcohol) is generally safe for cured window tint and excellent for pre-installation prep. It evaporates quickly and doesn't leave residues. However, avoid using high concentrations (like 99%) repeatedly on older, cheap dyed films, as it can occasionally cause slight fading if the film quality is poor. For modern ceramic or carbon films, it is completely safe.
How soon after cleaning should I apply the tint?
Apply the tint as soon as possible after the final cleaning, ideally within minutes. The longer the glass sits, the more likely airborne dust will settle on the sticky-ready surface. If there's a delay, cover the cleaned glass with a clean plastic sheet or tape off the edges to keep dust out until the installer is ready to lay the film.