Most people pay big dollars at detailers when the car interior gets grubby. But did you know even first-timers can get results just as good at home? Forget expensive tools; the difference between a tired interior and a fresh one comes down to method. It's a bit like roasting coffee beans at home versus getting it from a fancy café. If you follow some tricks, patience, and a bit of elbow grease, you can turn even the nastiest ride into something you’ll actually want people to see. Here’s how you do it right, from the dust in the dash vents to splotchy seat stains.
Essential Tools and Materials: What You Actually Need
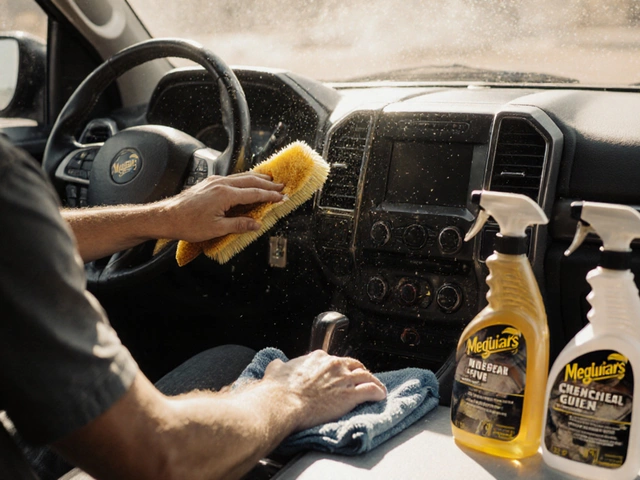
Walk through any auto store and you’ll see rows of bottles promising miracles. Truth is, most of detailing comes down to decent cleaning gear and a bit of smart prep. First up, you’ll want a vacuum with attachments – don’t skip the crevice tool, it gets into those evil spots between the seats and console. Forget expensive steamers unless you’re running a business—spray bottles, a solid set of microfibre cloths, a soft brush, a stiff brush (for mats), and a decent interior cleaning solution are your must-haves.
For pet people or anyone who’s ever smashed an emergency Macca’s in the car? Lint rollers and old toothbrushes work wonders. Leather seats will want a conditioner; cloth seats might need a foaming upholstery cleaner. If your car stinks—maybe sandwiches left under the passenger seat (I’ve been there)—activated charcoal bags or a proper ozone bomb can fix it. Air compressors can help, but unless you already own one, use a paintbrush for the dust in vents and buttons instead.
To make this more relatable, check out the typical toolkit most top-ranked detailers in Melbourne say they use each week.
| Tool | Purpose | Estimated Cost (AUD) |
|---|---|---|
| Vacuum with attachments | Cleans seats, floors, vents | $60–$200 |
| Spray bottles | Holds cleaner, water | $5–$15 |
| Microfibre cloths | Wiping, no scratches | $10–$30 |
| Soft & stiff brushes | Loosen grime, carpets | $10–$30 |
| Interior cleaner | All-surface cleaning | $10–$40 |
| Leather conditioner | Treats leather surfaces | $20–$50 |
| Lint roller | Removes hair, fluff | $5–$10 |
| Toothbrush/paintbrush | Detailing nooks | $2–$10 |
| Activated charcoal bag | Neutralizes odour | $12–$20 |
If you want to get fancy, there are even clip-on cleaning gel putties that absorb dust from vents and buttons, and handheld portable vacuums for cramped car parks. But honestly, the stuff above covers 90% of what you’ll actually need.
Step-By-Step Interior Detailing: From Filthy to Fresh
So where do you start? Preparation is everything. Empty the car. Pull out all the floor mats, rubbish, footy boots, loose coins—get it all out. Trust me, it’s way easier to vacuum when you’re not wrestling a stale sandwich out from under the seat. Next, shake out the mats outside. If they’re rubber, give them a hosing and let them dry in the sun. If they’re carpet, a stiff brush can loosen grit before vacuuming.
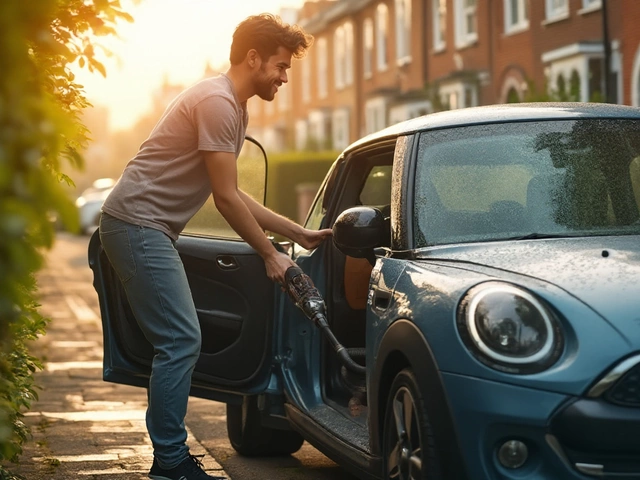
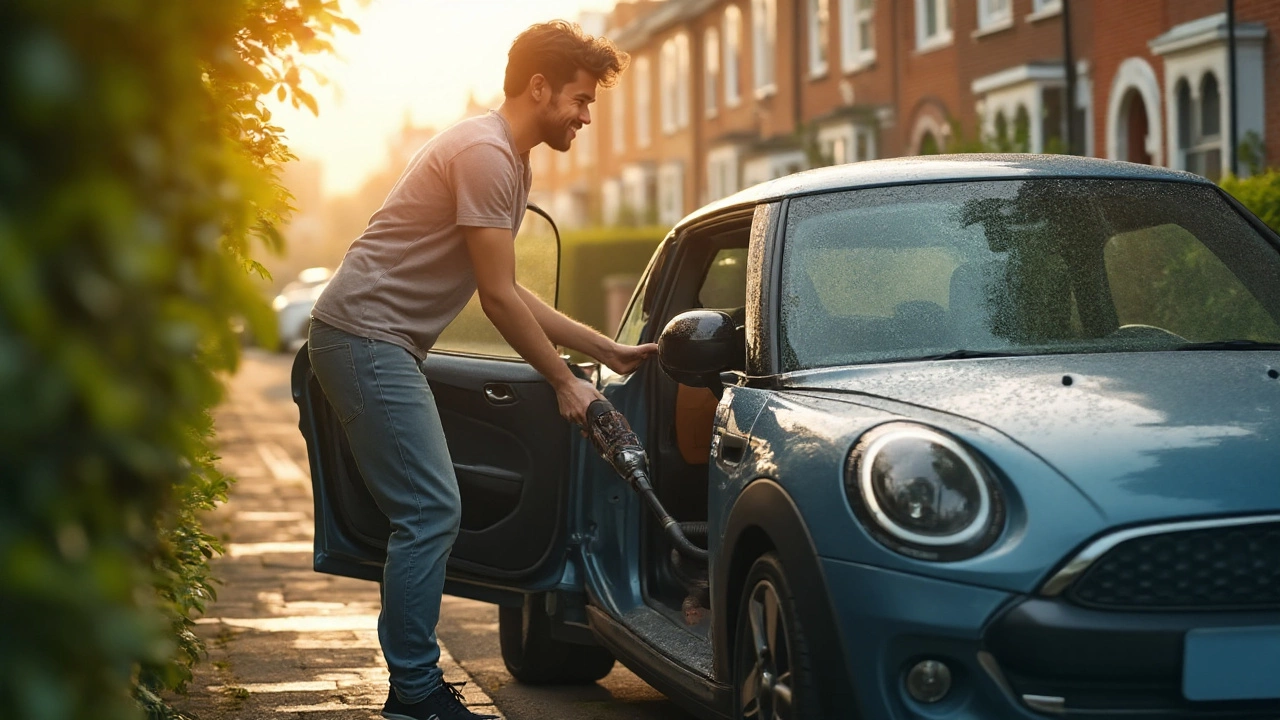
Grab the vacuum and tackle the floor. Start from the top—seats and seatbacks—then work down to the floor and under the pedals. Use the nozzle and brush accessories to hunt down every nugget and clump. Run the crevice tool between the console and seats. Drivers always drop things here, from M&M's to old receipts. For sticky bits in cup holders, spray with cleaner, let it soak, then wipe with a rag or use an old toothbrush to agitate the grime away.
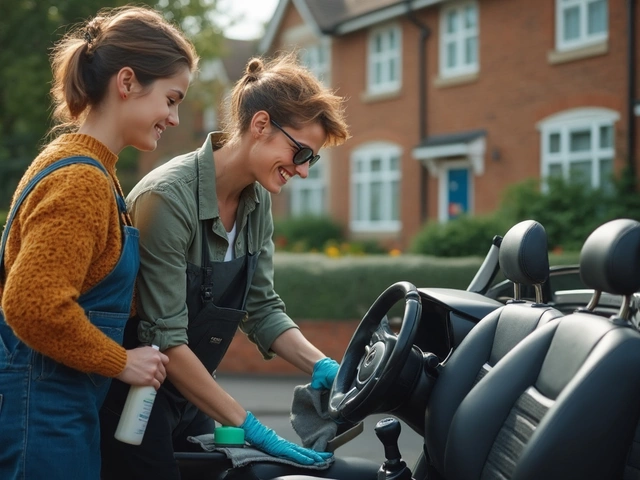
For the dash and vents, use a soft paintbrush, lightly dampened, to flick away dust. Microfibre cloths are magical here because they trap particles rather than just shifting them around. Use a gentle all-purpose interior cleaner, sprayed onto the cloth (not the surface—especially anywhere near screens or electronics). Wipe down all surfaces, buttons, screens (use screen-safe cleaners), and that gross area behind the steering wheel where fingers usually leave smears.
Seats need a tailored approach—cloth options are usually the messiest, but if you use too much water, you risk mildew. Mist the fabric with upholstery cleaner, scrub lightly with a soft brush, then blot with a clean towel to soak up residue. Leather seats? Use a product designed for car leather, never regular household cleaners. Always condition after cleaning, or the leather may crack and fade (especially under harsh Aussie sun).
Don't forget the seatbelts. Pull them out, wipe with a mild cleaner and a slightly damp cloth, and don’t let them snap back while still wet. For windows, use a proper automotive glass cleaner and a fresh cloth—nothing sets off a cleaning job like streak-free glass. Do both the inside and outside for max effect. Get into mirrors and the tricky corners near the mounting points.
Now, about the centre console. It’s the snack pit of the car. Most car owners never realize they’re parking years of coffee stains, sticky change, or sunscreen here. Use cotton buds for detail work in tight spots like window switches or cup holder inserts—just avoid spraying directly into electrical bits.
The boot (or trunk, if you’re not local) matters too—clear it out, vacuum, and remember to remove the spare wheel cover if you spot a mess underneath. If the boot lining smells, sprinkle with baking soda, let it sit for an hour, then vacuum it out. Works wonders on pet smells and old milk disasters.
Mats and carpets can trap heaps of invisible allergens and dust mites. The Allergy Centre of Melbourne says that vacuuming and cleaning mats just once a month can cut common car allergens by up to 55%—not a bad stat if you’ve got asthmatics or hayfever sufferers in the family.
Finish with final touches: air vents can get a quick blast from an air duster or a go with that paintbrush, pop an air freshener (avoid anything too strong or it’ll make the interior smell like a teenage boy’s locker room), and stash your emergency snacks in a sealed tin—just in case.
- Remove rubbish and personal items
- Take out mats, shake, then clean them
- Vacuum seats, floors, under seats, and mats
- Clean vents with paintbrush or compressed air
- Wipe all plastic and vinyl surfaces
- Condition leather (if you have it)
- Wipe windows and mirrors, inside and out
- Extract crumbs and dust from the centre console
- Deal with lingering odours using baking soda or charcoal bags
- Check all pockets —they hide wrappers, coins, and the odd lost sock
It’s actually super satisfying, especially because you’ll see proper results pretty quickly. Plus, a tidy interior just feels better to drive.

Pro Tips and Mistakes to Avoid: What Actually Works (and What Doesn't)
No one wants to spend an hour detailing only to end up with wet seats, weird chemical smells, or fogged-up glass. So here are the tricks most pros use that regular DIYers often overlook. First up: use cleaners sparingly. More foam or liquid doesn’t equal a cleaner car—it can mean soaked seats and trapped dampness, which leads to weird odours for weeks.
Don’t ever use household window cleaner containing ammonia on tinted windows—this can actually destroy the tint, and in some imported models, even cause plastic spots. Use proper automotive glass cleaner only. For tech-heavy dashboards, never spray products directly—moisture in screens or buttons equals a world of grief. Always spray onto a cloth first. Want streak-free windows? Two towel trick: wipe with a damp microfibre, then buff out with a fresh, dry one.
If you’re keen on that brand-new-car smell, remember most “air fresheners” just mask the odour for a week or two. Charcoal bags and replacing cabin air filters are far better for lasting results. In fact, a survey by Australia’s RACV found old cabin filters are the number one reason for mystery smells (be honest—when’s the last time you checked yours?).
Sunlight is your friend for drying mats, but the enemy for leather and plastics. After you clean, keep the car parked in the shade for a few hours so moisturized surfaces don’t dry out and crack. Don’t go heavy-handed on shiny dressings; glossy dashboards might look nice, but in Aussie sun, glare can be deathly annoying and even dangerous. Use “matte finish” or low-gloss protectants only.
If you have young kids, seat covers and all-weather mats save you hours next time. Food accidents, nappy explosions—they’re easier to clean off covers and hard rubber than baked in to fabric. And for pet hair, the old rubber glove trick: put on a slightly damp rubber glove and run your hand along seats. The static helps hair clump for easy pickup—same trick works on carpets, too.
Paying for a proper detail isn’t wasted money, but once you master this at home, you’ll be amazed just how far a Sunday afternoon and the right gear goes. Your car not only *looks* better but keeps its value higher, too—used car dealers reckon a professionally cleaned interior can bump up a sale price by $400–$700, just on presentation alone.
So, to answer how to detail your own car interior—grab those essentials, work methodically, go gentle and dry, not wild and wet, and add a twist of patience. The best part? Cruising Melbourne streets, windows down, knowing your car’s not just another crime scene of crumbs and stains, but a spot you actually want mates to jump in. Give it a go next weekend; your future self will thank you.