Most folks wouldn’t guess how much dirt and grime lives inside a car—even when it looks pretty sparkly from the curb. One trip through a drive-thru car wash just can’t touch the science and art behind auto detailing. It’s wild: A recent survey by Carfax found that more than 50% of car owners clean their vehicles less than once a month, and almost one in five admit to cleaning them only a few times a year. Ever slid into a friend’s car and felt like you needed hazmat gear? That right there is why auto detailing was basically invented.
Detailing isn’t about hosing the mud off and spraying some pine scent in the dash vents. We’re talking about giving your ride full VIP treatment, inside and out. No fancy degree required, just a bit of time, the right tools, and a few tricks up your sleeve. Ever wonder how pros make a car look better than new? Stick around—there’s a method to the madness.
Prepping for the Deep Clean: What You Actually Need
Most people screw up right from the start—they either go all-in with fancy cleaning products they don’t need, or they skip the essentials and regret it later. The trick is to pick smarter, not just spend more. Here’s the minimum kit: two buckets (one for washing, one for rinsing), a microfiber wash mitt, a set of clean microfiber towels, a soft bristle brush, a bottle of pH-neutral car shampoo, and a vacuum with attachments. Be honest—have you used kitchen towels on your car before? Don’t. They scratch paint like sandpaper.
Set yourself up with good lighting, especially if you’re working in a garage. Clean cars hide secrets in shadows, and there’s always that one stubborn coffee stain you’ll only spot when the light hits it just right. If you want to get fancy, try picking up a clay bar for the paint. It grabs onto buried dirt you cannot see, and one pass can make paint feel slick as glass. Wax and sealants are optional but add serious pop to the color and protect your hard work.
Have a game plan. Start with the inside while the outside cools if the car’s been out in the sun. It sounds backwards, but if you try to wash a hot car, soap dries too fast, leaving marks. So, line up your tools, set aside a few hours, and maybe cue up your favorite playlist. A little prep makes the whole process less of a chore and more like therapy for your ride.
The Interior: Where the Real Dirt Hides
Crumbs in the seats, dog hair in impossible places, coffee spills on the console—you name it, your car’s interior has it. Start by tossing all the junk: fast food wrappers, empty water bottles, receipts from five months ago. The less clutter, the better your cleaning will go. Pull out the floor mats and give them a serious shake (or a good blast with a hose and some cleaner if they’re rubber).
Grab the vacuum. Start with the seats, hit all the seams and crevices, and don’t be shy about moving those seats back and forth to get all the forgotten stuff. Use the brush attachment for pet hair and stuck-in dirt, especially on fabric seats. For sticky stains, a mix of water and a bit of all-purpose cleaner goes a long way—just use it sparingly and don’t soak the fabric.
Ever notice a shiny, greasy look to your dash? That’s from cheap cleaners or even sunscreen transferred from your hands. Go for a matte finish interior cleaner or just a damp, clean microfiber. Don’t forget the steering wheel—it’s one of the germiest spots in the whole car, according to a study by Queen Mary University of London. If you have leather, a leather-specific cleaner and conditioner keeps it from cracking and fading. Cup holders are dirt magnets—use a small, soft brush and a little cleaner, then wipe clean. Finally, clean the glass from the inside. Most people wipe the outside and wonder why the windshield’s still smeary. Use a fresh towel for this to avoid streaks. Doing the inside first keeps any dust or crumbs you kick up from ruining your finished exterior.

Exterior Wash: Busting the Myths and Doing It Right
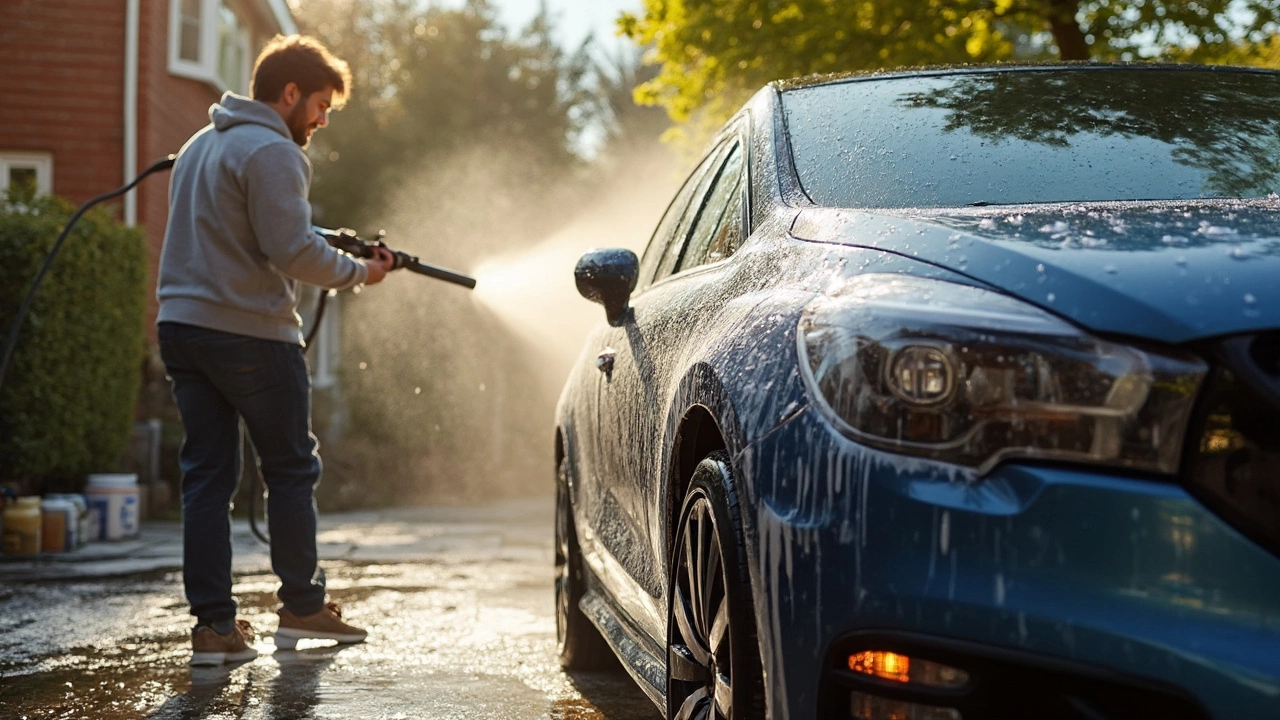
This is where people usually go wrong. Ever seen someone use dish soap on their car? Bad move—it strips wax and can wreck your paint over time. Stick to a dedicated car shampoo, one that’s pH balanced so it cleans without damaging the surface. Remember the two-bucket method: one for sudsy water, one to rinse your wash mitt. Dunk, wash a section, rinse the mitt. It keeps dirt off your paint and means fewer swirl marks.
Start from the top—the roof and windows—then work your way down. Lower panels pick up the worst grime, so you don’t want to drag that up across clean surfaces. Use long, straight strokes instead of big circles to avoid soap residue and reduce scratching. Rinse after every big section. Wheels and tires deserve their own brush and mitt—don’t use your paint mitt! Brake dust is brutal and can etch into rims if left too long. Use a wheel-specific cleaner and a stiff brush, but skip the wire brushes. Soft brushes get the job done without leaving marks.
Think a splash of water dries off on its own? Not a good look. Water spots can actually leave permanent marks, especially if you’re in a hard water area. Dry your car with clean microfiber towels or a soft drying chamois, patting instead of dragging to prevent scratches. If you spotted any leftover bugs or tar, use a bug and tar remover—don’t just scrub harder, or you’ll risk making it worse. Once dry, check for missed spots. A clay bar is your secret weapon here; it’ll pick up stuff your eyes can’t see but your fingers can feel. Glide the bar across the paint with spray detailer. If it feels rough, it’s picking up junk. Smooth means you’re good to move on.
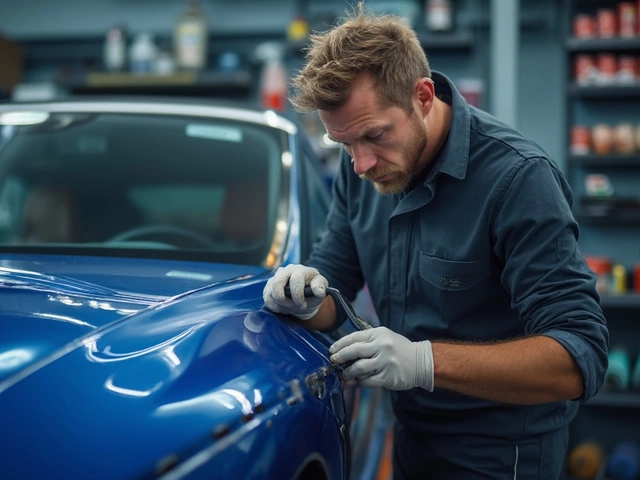
Paint Perfection: Wax, Polish, and Protection
The shine you get from a good wash is nice, but it lasts about as long as a TikTok trend. You want jaw-dropping gloss? That’s where polish and wax come in. Polish goes first. This removes little scratches, oxidation, and those stubborn marks that just don’t budge with soap. You can do this by hand with a foam pad, but it’s much easier using a dual-action polisher—just keep it moving and don’t press too hard. Let the machine do the work. Focus on one section at a time: hood, then fenders, then doors. Take your time and wipe off any residue with a microfiber towel.
Now, wax seals in the shine and adds a protective layer against the elements. Carnauba wax gives a deep, wet look, while synthetic wax lasts longer and is easier to apply. Don’t slather it on—thin, even coats are better. Let it haze, then buff with a fresh towel. Want to be efficient? Work in the shade, since sun makes wax hard to remove. Some folks use paint sealant or ceramic coatings for long-lasting shine and durability, but old-school wax still gets the job done and is satisfying to apply.
If you want to go the extra mile, pay attention to the details: Chrome trim, door jambs, badges, and plastic trim usually need a specific product. A detail brush helps you get into badge nooks without scratching. The difference is visible: A fully detailed car has no leftover wax in the edges, no dull plastic, and absolutely no water spots.

Finishing Touches: Glass, Tires, and the Must-See Details
Ever cleaned your car and realized your windows are still streaky? Glass is easy to mess up. Use a dedicated automotive glass cleaner and a waffle-weave microfiber towel. Roll down windows an inch and wipe the top edge—most people skip this, leaving a grime line the next time the window moves.
For tires, skip the silicone-based shiny sprays that sling residue up your fenders. Water-based tire dressings give a clean, dark look that doesn’t attract dust. Apply with a foam applicator, let it sit, then wipe off the excess so it doesn’t transfer onto your paint. The same goes for wheel wells—spritz a little all-purpose cleaner, scrub with a brush, rinse, and you’ll be surprised how much better your ride looks with clean arches.
Plastic trim and headlights can look faded as cars age. There are specific restorer products out there—just rub them in with a foam pad and buff off. For foggy headlights, a headlight restoration kit makes a wild difference, even on older cars. Finally, walk around the car in good light. Spot a fingerprint or a bit of missed polish? Tweak those last bits. Fresh air freshener inside, and you’re good to go. If you keep up with detailing once a month or even every other month, you can skip the deep-clean marathon in the future.
Here's a quick bonus tip: Always store your microfiber towels separately from the rest of the laundry. Wash them without fabric softener, since residue can transfer to your paint next time you use them. Taking care of the little things adds up to a ride that turns heads and keeps its value—it’s the difference between a car that just looks clean and one that feels truly loved.