Ever tried to detail your car and ended up with muddy water splashed back onto freshly cleaned doors? Yeah, that feeling sucks. There’s a right way and a wrong way to go about car detailing, and starting with the right order saves a ton of time (and headaches). Using a good detailing kit can help, but your results depend even more on how you tackle the job, step by step.
If you wash the body before the wheels, you’ll probably have to spray or wipe down those shiny panels all over again. And if you polish before you clean your glass, expect annoying streaks that never seem to go away. The pros have a method, and they stick to it for a reason: it works every time, and you’ll avoid making a mess of your hard work.
- Why Order Matters in Car Detailing
- Start on the Inside: Interior Cleaning Steps
- Wheels and Tires: The Messiest First
- Washing the Exterior: Safe and Thorough
- Paint Decontamination and Polishing
- Finishing Touches: Glass, Trim, and Protection
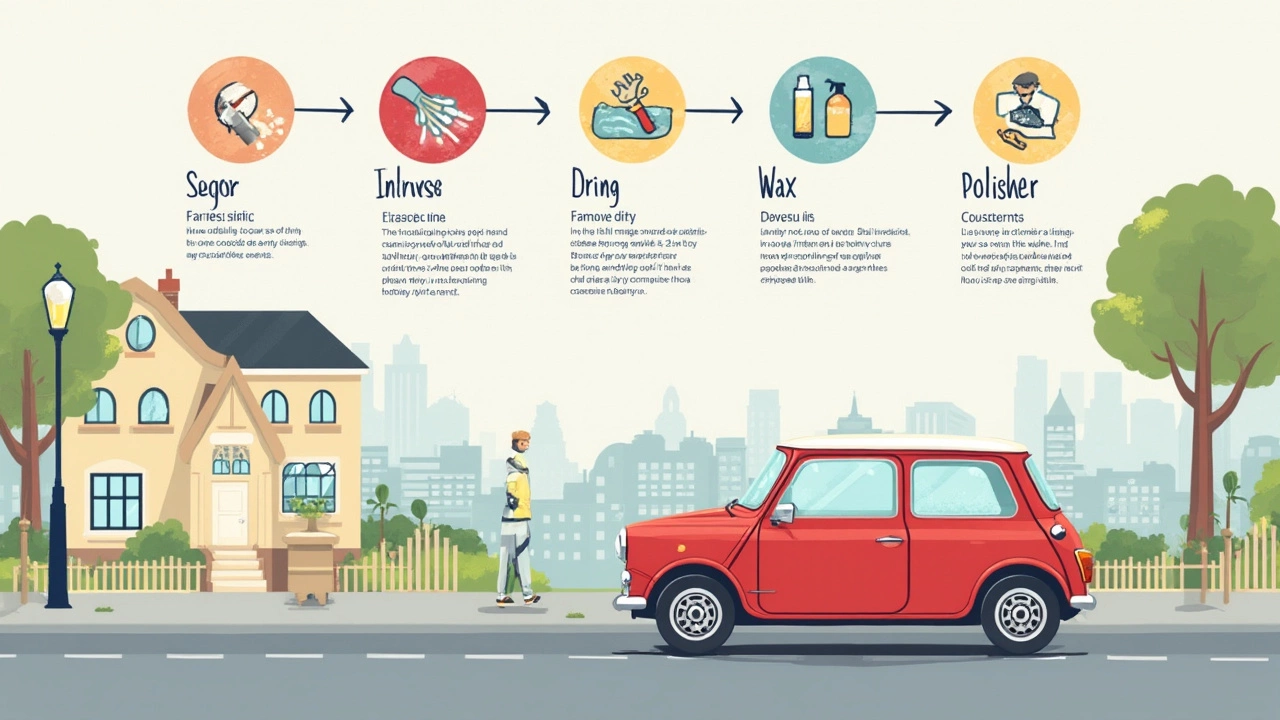
Why Order Matters in Car Detailing
So, why’s the order such a big deal when detailing your ride? Think of it like cleaning your kitchen. Would you mop the floor first and then wipe crumbs off the countertops? No way—the floor ends up dirty again, and you just made more work for yourself. Detailing a car works the same. If you skip around or do things in a random order, you’ll double up your work and risk scratches, streaks, or lasting damage.
The main idea is to move from the dirtiest, roughest areas to the cleanest. Start with parts that splatter muck everywhere (like tires and wheel wells), then work your way inward to the delicate surfaces. This way, you push all the dirt out and never have to re-clean anything. A car detailing kit usually includes everything you need for every step, but even the best kit can’t help if you don’t use the right sequence.
- Minimize cross-contamination: Dirty wheels can fling brake dust and grime onto the paint. Cleaning wheels first stops this mess from undoing your progress on the body.
- Protect sensitive materials: If you use harsh cleaners meant for wheels or engine bays on leather or paint, you might stain or damage them. Doing each area in the right order means using the safest cleaner for each part.
- Save time and elbow grease: A logical workflow keeps you from wasting time going back over spots.
Stats from a 2023 survey of professional detailers showed that about 80% say the number one mistake beginners make is doing things out of order—usually washing body panels before the wheels or forgetting to clean inside surfaces first. That ends up costing an extra 30-40 minutes per session on average.
| Step | Common Mistake | Extra Time Required (avg.) |
|---|---|---|
| Body wash before wheels | Dirt splatter on panels | 15 min |
| Exterior before interior | Interior dust settles on paint | 10 min |
| Glass cleaning early | Streaks from polish, overspray | 8 min |
Bottom line: order matters if you want to do the job right, keep your gear in good shape, and actually enjoy that just-detailed look.
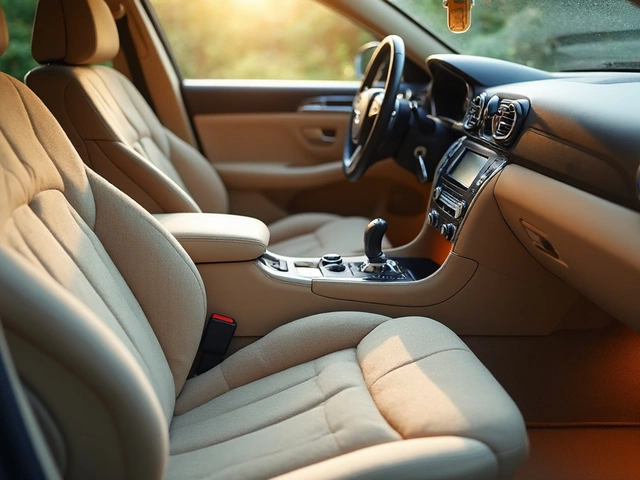
Start on the Inside: Interior Cleaning Steps
The inside of your car is like a second living room—sometimes messier. Most folks skip straight to the shiny bodywork, but smart detailers know you start inside. Why? Because when you clean out the doors, pockets, and dash, dirt can fall to the mats and sills. If you’ve already washed the outside, you’ll just be inviting grime back in. Here’s where your car detailing kit earns its keep.
- Declutter first: Toss out old receipts, bottles, and whatever else got shoved under the seats. This makes the real cleaning way easier.
- Vacuum everything: Seats, carpets, mats, trunk—get every crumb. Use a crevice tool to dig out the stuff hiding along seams and between cushions. Pro tip: Work top to bottom so dust falls where you haven’t cleaned yet.
- Clean hard surfaces: Use an interior cleaner for dashboards, door panels, and consoles. Microfiber towels pull up dust better than paper towels. Avoid spraying product directly onto screens—spray the towel instead.
- Focus on seats: Fabric seats need upholstery cleaner and maybe a soft brush. Leather? Grab a leather cleaner and some conditioner after to keep it from cracking. Don’t forget seat backs and headrests.
- Glass and mirrors: Interior glass picks up haze from off-gassing, especially the windshield. Use a specific glass cleaner and a streak-free towel. Do this last so you don’t smear fingerprints or dust back on.
- Add scent (optional): Air fresheners or odor eliminators cap off the clean and keep things pleasant.
If you’re not sure what to hit first, this step-by-step order covers all the bases. Check out this quick rundown on the areas people most often miss:
- Under the seats
- Vents and cup holders
- Seatbelts
- Rear parcel shelf
Keeping the air inside clean matters too. If your ride has a cabin air filter, swap it out every 12,000 to 15,000 miles for best results. Here’s a snapshot of how much stuff can really build up inside a car:
| Area | Average Bacteria Count per sq. inch* |
|---|---|
| Steering Wheel | 629 |
| Seatbelt | 403 |
| Gear Shift | 356 |
| Dashboard | 317 |
*Source: Study from Queen Mary University of London, 2023
If you want your car smelling and feeling as good as it looks outside, always start on the inside. Finish it off with a quick wipe-down after every trip and you’ll keep the grime from powering up again before your next deep detail.
Wheels and Tires: The Messiest First
Most of the grime on a car comes from the wheels and tires. That’s why pro detailers always go after them first. If you wash the car body before tackling the wheels, brake dust and dirty water usually splash back onto surfaces you just cleaned. Plus, tire dressing sometimes drips down, messing up your paint or plastic trims if you haven’t addressed it first.
Modern brake pads drop fine metallic dust that’s tough to clean. Left too long, it can even pit your rims. The best move is to get all four wheels done at the start. Here's a simple but effective routine:
- Start by rinsing the wheels with a strong jet of water—this knocks off loose dirt and cools down hot brakes. You want to avoid chemical products on hot surfaces since they can stain.
- Use a dedicated wheel cleaner, not just car soap. Wheel cleaners have extra punch to tackle iron, tar, and brake dust. Spray liberally and let it dwell for a minute or two (follow your product’s label).
- Scrub with a wheel brush for the rims, and a separate brush for the tires. Don’t use these brushes on your paint, as they pick up grit that can scratch.
- Agitate crevices and lug nuts with a smaller detailing brush—these are dirt magnets.
- Rinse very thoroughly before moving on.
Quick note: tire cleaning matters just as much as wheels. Old tire dressing and road grime will stop new products from bonding well. Clean rubber looks better and helps the tire shine last. Always finish by wiping the wheels and tires dry with a separate microfiber. You don’t want leftover water spots or cross-contamination in later steps.
If you came here looking for hacks, grab a dedicated car detailing kit with a wheel-specific brush—it’ll help reach the barrel behind the spokes and save your knuckles. Most people skip the wheels or rush them, but they’re front and center for anyone checking out your ride.
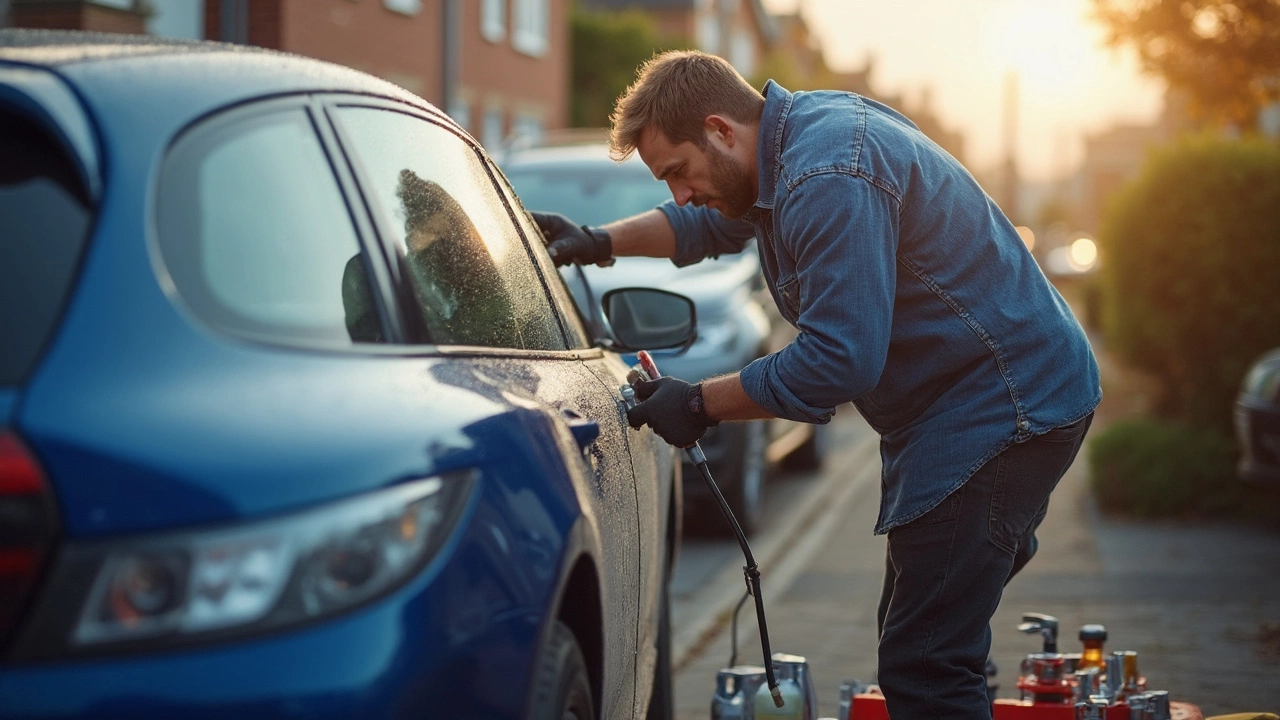
Washing the Exterior: Safe and Thorough
This is where most people start getting excited and also where mistakes can ruin your effort. You want to wash your car’s paint the right way so you don’t scratch or damage the surface. It’s not just about blasting water and scrubbing like crazy. Good washing technique keeps your paint looking fresh and adds years of life to it.
Grab your car detailing kit with at least two buckets—one for soapy water, one for rinsing your mitt. Using the two-bucket method makes a real difference because you won’t rub grit from one panel onto another. Stick with microfiber mitts or wash pads—those old kitchen sponges can actually scratch the clearcoat.
Here’s a typical order for washing the exterior safely:
- Rinse the car with clean water to remove loose dirt and dust. This quick rinse helps prevent scratches while washing.
- Start at the roof and work your way down. Dirty water runs down, so you’ll always clean downwards, never the other way around.
- Use straight lines with your wash mitt, not circles. Circles can leave visible scratches known as swirl marks.
- Rinse your mitt every couple of passes in the clean water bucket, getting rid of any grit before dipping into the soap bucket again.
- Leave the bumpers and lower panels for last—they collect the most grime.
- Once done, rinse the whole car again, making sure no suds are left behind. Soap can leave spots if you let it dry.
- Dry right away with a clean microfiber towel. Don’t use old bath towels—they cause scratches, too.
Pressure washers get the job done faster, but set it too high and you’ll damage trim or force water into electronics. Keep it under 2,000 PSI and use a wide spray nozzle if you go this route.
| Tool | Why Use It |
|---|---|
| Microfiber Mitt | Traps dirt and rinses easily, less chance of scratching |
| Two Buckets | Keeps dirt out of wash water, reduces swirls |
| pH-Balanced Car Soap | Doesn’t strip wax or sealant, gentle for paint |
| Microfiber Towels | Absorb water fast, won’t leave lint or scratches |
Washing in direct sunlight makes the job tougher—water and soap dry fast, leaving ugly spots and streaks. Try to wash in the shade or early morning if possible. Keep going in small sections, rinse often, and your car will look fresh when you’re done.
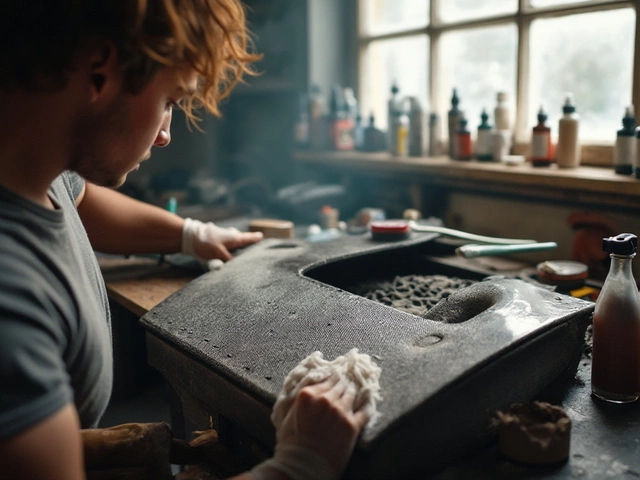
Paint Decontamination and Polishing
Think your car is clean after a simple wash? Not quite. Even after hitting it with shampoo, the paint can still feel gritty. That’s because stuff like tree sap, road tar, and brake dust clings to your car. This is where paint decontamination steps in—and it changes the game.
You’ll want to start with a clay bar or a synthetic clay pad. These tools grab onto contaminants that soap just slides over. Here’s how you do it:
- Wash and dry your car first—never clay a dirty car, unless you want scratches.
- Spray some clay lubricant on a small area.
- Glide the clay bar gently over the paint. If it sticks, there’s crud there. When it slides easily, you’re good.
- Keep folding the clay to a fresh side as it turns dirty.
- Wipe off the area with a clean microfiber towel.
Once the paint is smooth, it’s time for polishing. This step removes light scratches, swirl marks, and minor oxidation. You’ll need a good polish (either a compound for heavier correction or a finishing polish for a fine look) and an applicator pad or a dual-action polisher. Here’s a basic process:
- Apply a small amount of polish to your pad.
- Work it into a 2x2 foot section with light pressure.
- Let the polish do the work—don’t push hard.
- Buff off any residue with a clean microfiber towel.
Why bother with these steps? Fact: after a proper decontamination and polish, paint is up to 30% glossier compared to wash-only jobs. And here’s a handy table for quick results:
| Step | Purpose | Average Time |
|---|---|---|
| Clay Bar Treatment | Removes stuck-on contaminants | 20-40 min |
| Polishing | Removes swirls/scratches, adds gloss | 30-60 min |
Some car owners skip straight to waxing, but you’re just sealing in the grime and scratches. Focus on paint decontamination and polishing for real results. And if you’re using car detailing kits, most high-quality sets include both a clay bar and polish to make this step smooth—literally and figuratively.
Want your car detailing to look professional? Don’t skip this section. You’ll see and feel the difference, promise.
Finishing Touches: Glass, Trim, and Protection
This last round is where you really bump up your car’s wow factor. Skipping the finishing touches is the fastest way to make a nice detail job look just okay instead of epic. Here’s how the pros tie it all together and protect what you just cleaned.
Start with the glass. Always clean your windows and mirrors after the rest of the car, so you don’t have polish or wax dust sticking to them. For best results, use a proper glass cleaner and two microfiber towels—one to clean, one to buff dry. Go one window at a time, and roll them down an inch so you can clean the very top edges too.
- Pro tip: Don’t use the same towel you used on the body or wheels. Residue can cause streaks or scratches.
- Use side-to-side motions for the outside glass and up-and-down for the inside. This helps spot which side has streaks later.
Now take care of the trim and plastics. UV rays cause fading and cracking, especially in older cars. Apply a trim restorer or protectant, hitting any weather stripping, door handles, or black rubber pieces. Stick with product made for the job; household stuff like tire shine can stain or get greasy. Most plastic protectants last a few weeks to a couple months, depending on the weather.
| Trim/Area | Recommended Product | Protection Duration |
|---|---|---|
| Exterior Plastic Trim | Silicone-based trim restorer | 4-8 weeks |
| Rubber Seals | Rubber conditioner | 1-2 months |
| Glass | Automotive glass cleaner | Every wash |
The last step: protection. This means wax, sealant, or a spray ceramic coating, depending on your car detailing kit. Waxing isn’t just about shine—it adds a slippery layer that keeps dirt and water from sticking to your paint. Most carnauba waxes last about 6-8 weeks, while sprayed sealants or ceramics can push that to a few months. Spray products are quick and foolproof, but paste wax gives that old-school, ultra-glossy look if you don’t mind a bit more elbow grease.
- Spray or apply wax/sealant one panel at a time.
- Use a foam or microfiber applicator, following the directions on the bottle.
- Buff with a clean microfiber towel after the layer hazes.
Don’t forget door jambs and hidden paint edges—those zones collect the most grime and really pop when they’re protected. Weekly touch-ups with spray detailer will keep your finish looking fresh and make future cleaning much easier.