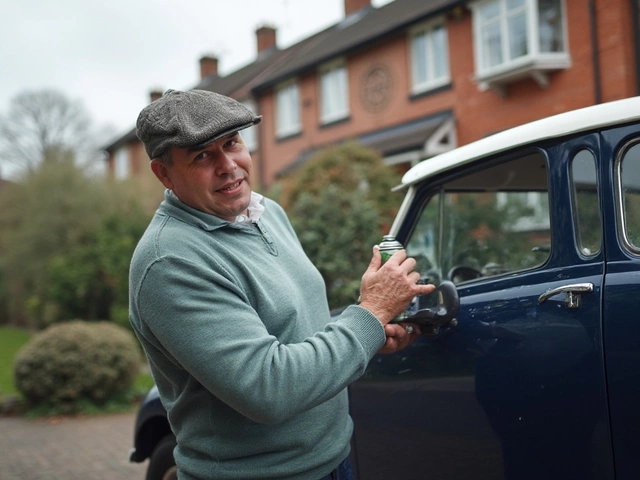
Find a scratch on your car, and suddenly it’s the only thing you can see. If you think pros just wave a magic wand, think again. They’ve got a whole arsenal aimed at different types of scratches—trust me, it’s not one-size-fits-all.
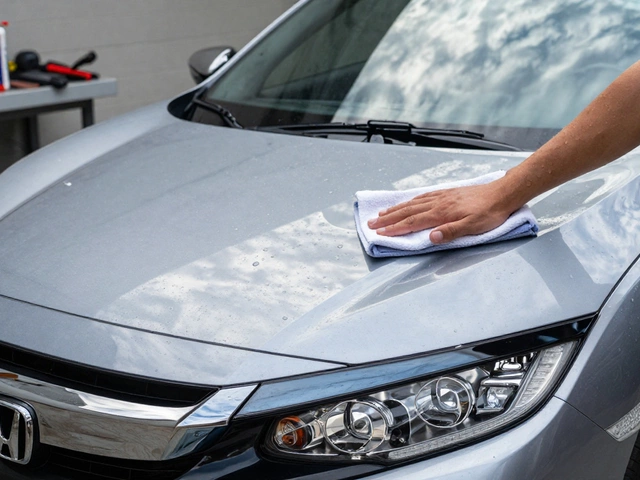
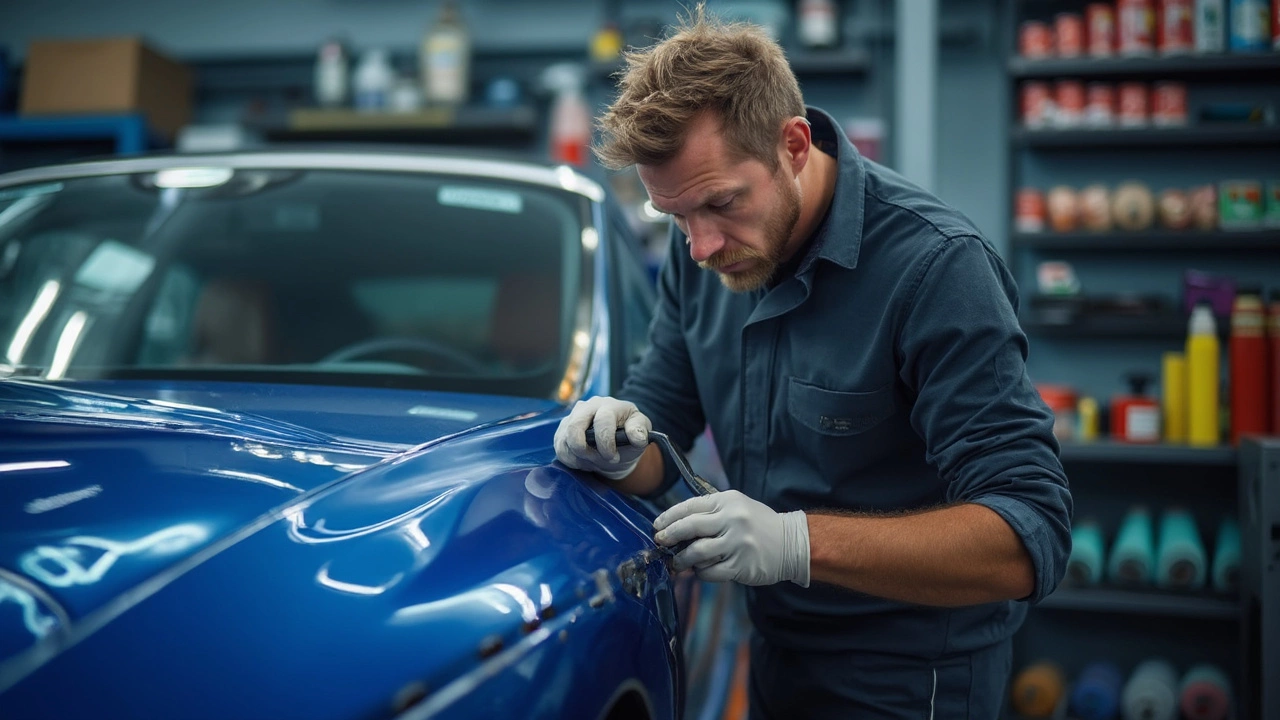
Tiny scuffs from keys or parking lot mishaps? Most detailers reach for a scratch remover compound or a special polish. These products break down the sharp edges of the scratch so light doesn’t catch them, making the mark way less obvious. For heavier scratches that you can feel with a fingernail, things get trickier. That’s when detailers bust out the big guns: a dual-action polisher and a more abrasive cutting compound. They’ll work the area, removing a thin layer of clear coat to blend the scratch out—sounds risky, but in skilled hands, it works wonders.
Before any product touches your paint, they size up the scratch. Is it just sitting in the clear coat, or did it slice down to the actual paint or even the metal? If you see silver peeking through, don’t waste money on over-the-counter kits. This one’s for the pros (or a body shop).
- Why Scratches Happen and Why They Matter
- How Detailers Figure Out the Right Fix
- The Secret Weapons: Compounds, Polishes, and Kits
- Do Those DIY Scratch Removers Actually Work?
- Tips for Preventing Future Scratches
- When It’s Time to Call a Pro
Why Scratches Happen and Why They Matter
It doesn’t take much to scratch your car, and the reasons are almost endless. Sometimes, it’s a grocery cart bumping into your fender or your kid’s bike brushing against the door. Even washing your car with a gritty old sponge can leave marks. Tree branches, sand from the road, and even automatic car washes can be troublemakers.
Here’s a quick look at the most common scratch culprits:
- Keys or bags brushed against paint
- Pebbles or road debris hitting at high speed
- Improper washing or drying
- Parking lot mishaps
- Weather—hail or ice scraping
Now, why should you actually care about these scratches? It’s not just about looks (though nobody wants their ride looking beat up). Car paint isn’t just for style. The top clear coat acts like armor against rust, salt, UV rays, and moisture. When the armor gets cut, all the bad stuff can creep in and start damaging the metal underneath.
Check out a quick breakdown of paint protection:
| Layer | Purpose | Scratch Risk |
|---|---|---|
| Clear Coat | Shine, protects color and blocks UV rays | Most scratches happen here |
| Base Coat | Gives car its color | Deep scratches can reach this |
| Primer | Helps paint stick to metal | Very deep scratches expose this |
| Metal/Body | Structure of the car | If exposed, rust risk jumps up |
Even a small scratch that breaks through the clear coat can open the door to bigger problems. You might not see rust right away, but give it a few months of rain or road salt and you’re looking at a headache. That’s why car detailers don’t waste time fixing scratches—the payoff is a car that looks better and lasts longer.
How Detailers Figure Out the Right Fix
Not all scratches are equal, and pro car detailers know this better than anyone. The first thing they do is inspect the scratch in good light. Bright shop lights or even a flashlight help them see exactly what they’re dealing with.
They run a fingernail across the scratch. If their nail catches, that means it’s deeper than just the clear coat—more work, bigger risk. If it doesn’t, good news: it often means a quick fix will do the trick. This simple test saves time and helps detailers avoid making a shallow scratch worse by being too aggressive.
Here’s how they break it down:
- Surface scratches: Only in the clear coat. These are the easiest to fix with polishes or compounds.
- Deeper scratches: Into the paint layer. May need wet sanding first, then polish and compound. Sometimes touch-up paint is next.
- Very deep scratches: Down to primer or metal. This usually means body shop territory, but a detailer might improve the look so it’s less noticeable.
Some even use a special scratch gauge, but the fingernail trick is surprisingly reliable. Good detailers always clean the area before starting—dirt in a scratch can make things worse fast.
Here’s a quick cheat sheet that a lot of shops use:
| Scratch Depth | Test | Common Fix |
|---|---|---|
| Light (surface only) | Nail glides over | Polish or compound |
| Moderate (into paint) | Nail catches | Wet sand, compound, polish |
| Heavy (to primer/metal) | Visible base/metal | Paint touch-up or professional repair |
If you’re unsure, a detailer will usually spot the difference in seconds. The right diagnosis means you get a better job and cut out wasted money on stuff that won’t work for your car’s problem.
The Secret Weapons: Compounds, Polishes, and Kits
Every car detailer has a stash of go-to products, and not all of them cost a fortune. If you're curious what actually sits on their shelves, it's a mix of abrasive compounds, gentle polishes, and those all-in-one car detailing kits you see stacked at auto stores.
Let’s break it down. Scratch remover compounds—like Meguiar’s Ultimate Compound or 3M Scratch Remover—work by shaving off a thin layer of clear coat, enough to level out the scratch. For swirl marks or spider-web scrapes, detailers usually grab a finishing polish such as Menzerna SF3500 or Chemical Guys VSS. This stuff isn’t as gritty as a compound; it’s more about smoothing and adding gloss once the scratch is mostly gone.
If the job calls for more than just elbow grease, pros reach for a dual-action polisher. Think of it as a power sander but gentle enough for car paint. Pads matter too: foam pads for polishes, microfiber or wool pads for heavy compounds. Changing the pad can mean the difference between getting results or just rubbing in circles.
- Compounds (for deeper scratches): Meguiar’s, 3M, Turtle Wax Rubbing Compound
- Polishes (for light marks and gloss): Menzerna, Chemical Guys, Griot’s Garage
- Detailing kits (all-in-one): Mothers California Gold, Meguiar’s Quik Scratch Eraser Kit
Here’s a snapshot of common products and what they’re good for:
| Product | Type | Best For | Estimated Cost |
|---|---|---|---|
| Meguiar’s Ultimate Compound | Compound | Medium scratches, oxidized paint | $12-$20 |
| Chemical Guys VSS | All-in-one polish | Light swirls, faint scratches | $18-$25 |
| Mothers California Gold Kit | Kit with compound, polish, pads | Quick DIY scratch fixes | $18-$30 |
| 3M Scratch Remover | Compound/Polish | Water spots, light scratches | $8-$15 |
Detailers always start with the least aggressive product and pad, checking results before stepping up to something stronger. Go too hard, and you risk burning through the clear coat—which nobody wants. If you’re working by hand, you’ll need patience. Polishing machines speed things up, but they can also do more damage if you don't know what you’re doing.
One more tip: Most kits won’t completely erase deep scratches, but they’ll make small ones almost fade out of sight. Got something ugly on your car’s finish? See if it catches with your nail. If not, chances are a good compound or kit can help you out.

Do Those DIY Scratch Removers Actually Work?
Every car aisle and website pushes DIY kits, promising to zap away scratches like magic. So, can you trust those store-bought scratch removers? Bottom line: it depends on what you’re up against. If you’re dealing with a shallow scratch—one you can barely feel with your fingernail—most DIY kits can help fade it. But they won’t totally erase anything too deep, even if the box says otherwise.
Most over-the-counter options, like Meguiar’s ScratchX or Turtle Wax Scratch Repair & Renew, use mild abrasives that basically smooth out the edges of a scratch or scuff. You spread the stuff over your paint, buff it in, and wipe off the excess. It’s quick and simple, not pro-level, but for that annoying mark from your kid’s bike, it works well enough. Here’s how the process usually goes:
- Wash and dry the area around the scratch
- Squeeze a bit of car detailers’ scratch remover onto a soft cloth
- Rub it onto the scratch using small, tight circles
- Buff off the residue with a clean microfiber towel
But again, if the scratch is deep enough to snag your nail, save your cash. No off-the-shelf kit will fix that. For clear-coat scratches and small marks, DIY options do the job—just keep expectations realistic.
| Product | Best For | Success Rate (Surface Scratches) | Success Rate (Deep Scratches) |
|---|---|---|---|
| Meguiar’s ScratchX | Light surface scuffs | 85% | 10% |
| Turtle Wax Scratch Repair & Renew | Minor clear coat marks | 80% | 5% |
| 3M Scratch Remover | Fine swirl marks | 78% | 7% |
One more tip—avoid hacks like using toothpaste or baking soda. They can dull your paint and just make a mess. Stick to products actually made for cars. When in doubt, do a test spot in a hidden area and check the results before you attack a visible scratch.
Tips for Preventing Future Scratches
It’s no secret: keeping your car scratch-free is way easier than fixing scratches later. Even pro-level car detailers say prevention is where you save the most money and headaches. Here’s how to give your paint a fighting chance.
- Wash smart, not hard. Use a microfiber mitt and two-bucket method (one soapy, one clean water) to avoid grinding dirt into the paint. Don’t ever use an old sponge or a bathroom towel. Those tiny particles cause swirls and scratches.
- Wax or ceramic coats matter. A layer of wax, or for next-level protection, a ceramic coating, adds a slick barrier. You’re not bulletproof, but small scratches are much less likely. Some ceramic coatings can reduce the risk of light scratches by 40% compared to unprotected paint.
- Skip drive-thru car washes. The brush machines at automatic washes collect grit from every car, then spin all that mess onto your paint. It’s like scrubbing your hood with sandpaper.
- Be picky about parking. If you care about your paint, stick to end spots, away from shopping carts and other car doors. If possible, park under shade but avoid trees that drop sap or twigs.
- Mind what you haul. Tossing groceries or strollers in your trunk? Watch for buckles, zippers, and loose hardware that can drag over the bumper or fenders.
- Cover up. If you don’t use your car every day, a fitted car cover keeps off dust, bird droppings, and random mishaps in the garage.
Just to show how much these steps add up, check out this quick comparison of paint protection methods and their effect on scratch risk:
| Protection Method | Average Reduction in Light Scratch Risk |
|---|---|
| No Protection | 0% |
| Basic Wax | ~20% |
| Synthetic Sealant | ~30% |
| Ceramic Coating | ~40% |
| Paint Protection Film (PPF) | 60% or more |
There’s no magic to prevention. Just some habits and the right gear, and you’ll hardly ever worry about scratches—or have to call a detailer to rescue your ride.
When It’s Time to Call a Pro
It’s tempting to think you can tackle any scratch with some compound and elbow grease, but there are times when calling a professional is just plain smart. If you see bare metal, primer, or the scratch runs your fingernail ragged, home products won’t cut it. Deep scratches usually need fillers, repainting, or at least some serious expertise with blending.
Here’s a simple checklist for knowing when to skip the DIY and get a real car detailer involved:
- The scratch is deeper than your clear coat and you see a different color (like gray primer or shiny metal).
- The scratch is long, goes across several panels, or shows signs of rust.
- Your first attempts with over-the-counter kits haven’t worked—it might make things worse with more rubbing.
- You care about resale value—paintwork by a pro often pays off when selling your car.
- The affected area is close to complex surfaces, like door handles or edges, where botched repairs really stand out.
Professional detailers don’t just have better gear—they know how to avoid burning through your clear coat, leaving swirl marks, or causing paint mismatch. Some auto shops even use digital paint matching with cameras to nail the color exactly. According to the International Carwash Association, 32% of DIY scratch repairs end up with visible marks or further paint damage—hardly worth the risk if it’s your daily ride or a car you’re proud of.
| DIY Repair | Pro Detailer/Body Shop |
|---|---|
| Good for light clear coat scratches | Handles deep paint/primer/metal scratches |
| Risk of making it worse if done wrong | High success rate with paint blending and protection |
| Costs $15–$50 for kits | Costs $100–$500 depending on depth and length |
For stuff that’s minor, go ahead and try a kit. But if you spot anything that looks like it’d cost a fortune to fix if made worse, get a quote from a local detailer before grabbing more polish. Sometimes paying a pro up front saves you a much bigger headache (and bill) later on.