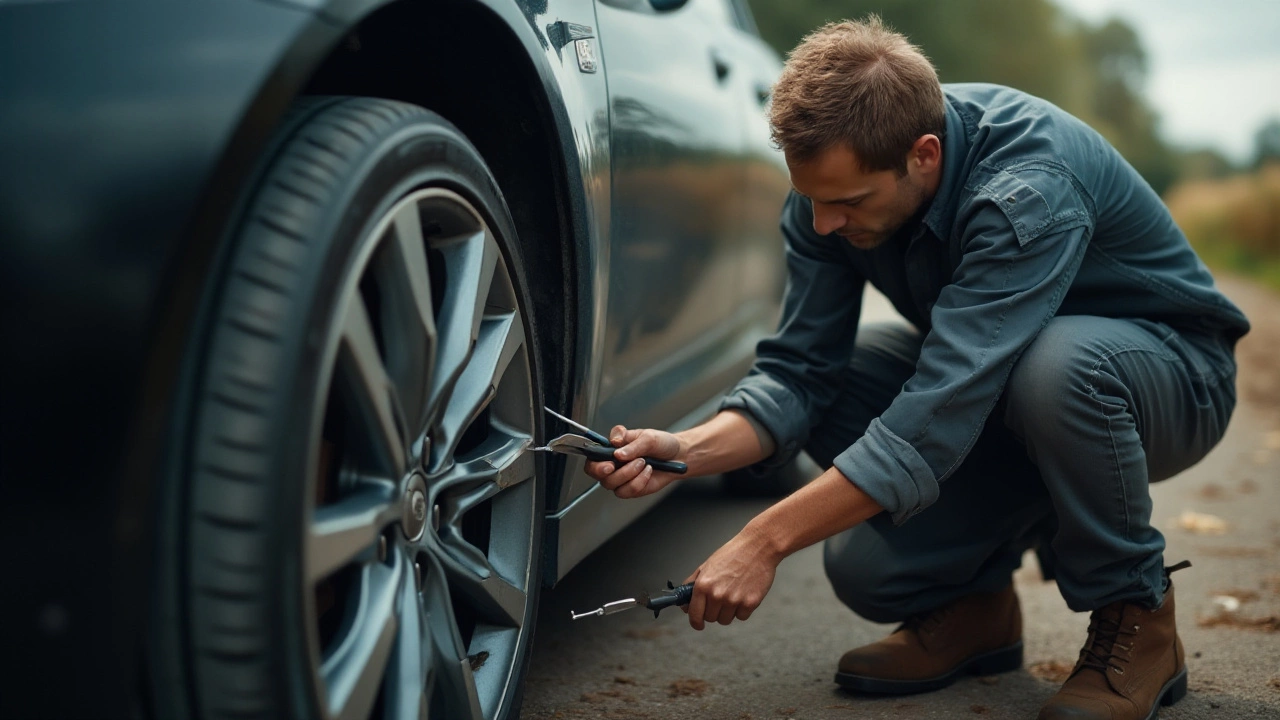
Alloy wheels are more than just aesthetic; they are pivotal to your car's overall performance. However, these wheels can suffer from curb rash, blemishes, or corrosion over time. Refurbishing your alloy wheels not only restores their original beauty but also extends their lifespan.
The time it takes to refurbish an alloy wheel largely depends on several factors, including the type and extent of damage, the repair method chosen, and whether you tackle the project yourself or enlist professional help. This article breaks down the process, offering helpful tips and insights to bring your wheels back to life.
Before embarking on this journey, it’s crucial to assess the underlying damage and gather the necessary tools and materials. Understanding these elements can help car owners gauge how much time the refurbishment will demand and decide on the best approach to take.
- Understanding Wheel Damage
- Tools and Materials Required
- Refurbishment Techniques
- Time Estimates for Each Step
- DIY vs. Professional Services
Understanding Wheel Damage
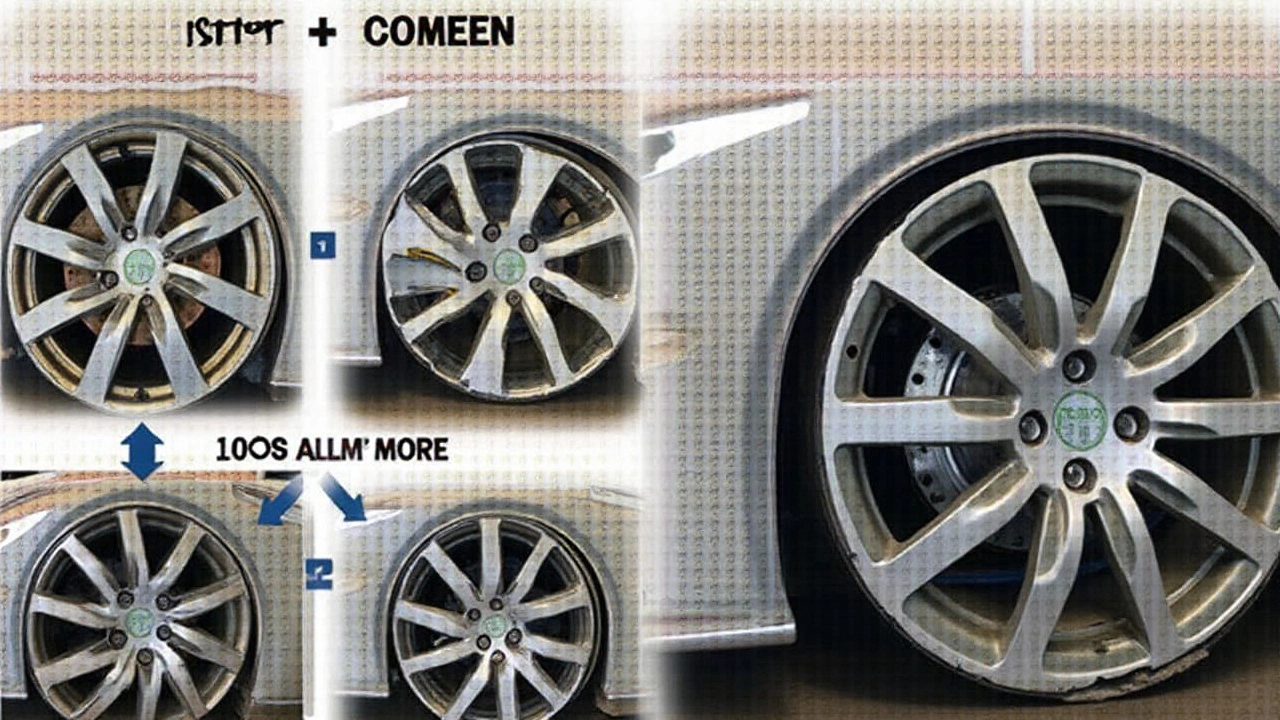
The journey to refurbishing your alloy wheels starts with a keen understanding of the potential damages they can incur. Every bump, scrape, and scuff adds its own signature mark. Alloy wheels, known for their lightweight and decent heat conduction, aren't without their vulnerabilities. The most common issues include curb rash, corrosion, cracks, and even bent wheels. Recognizing the type of damage guides you toward the most effective repair technique.
According to a survey by the American Automobile Association, over 40% of drivers experience wheel damage at some point in their vehicle's life due to road conditions and accidents.Curb rash is perhaps the most common form of damage, marked by scratches and scuffs from contact with curbs. It's largely a cosmetic issue but can be troublesome if left untreated, leading to potential corrosion. Speaking of corrosion, exposure to salts, water, and varied weather conditions can lead to the unsightly pitting and rust on the surface of your wonderful wheels.
Occasionally, you may face more severe damages like cracks and warping, especially with the rise of pothole-ridden roads. Cracks often arise from direct impacts and can compromise the structural integrity of the wheel, making them a safety concern. In contrast, warped wheels result from continuous stress and can lead to uncomfortable vibrations during your drive. This requires realignment or replacement if severe. Identifying these issues early is crucial as they determine whether a quick DIY fix is possible or if professional repair is warranted.
Understanding these types of damages not only empowers you as a car owner but also helps in enhancing the longevity of your wheels. Keeping an eye on wheel conditions, especially during routine cleaning or maintenance checks, can save significant repair costs down the road. Regularly washing your wheels to prevent corrosion and avoiding harsh road conditions when possible can reduce the likelihood of encountering severe damage.
Regular inspection and early detection are key strategies to maintaining the integrity of your alloy wheels. By familiarizing yourself with the types of damage, you can become adept at determining when a simple sand and paint job will suffice or when it's time to engage a wheel repair professional. This proactive approach not only assures the aesthetic charm of your alloy wheels but also ensures that they contribute positively to the overall performance and safety of your vehicle.
Tools and Materials Required
Refurbishing your alloy wheels involves gathering the right arsenal to ensure a smooth and effective process. The foundational tools include a good set of tire irons and a sturdy jack, essential for safely removing the wheel from the vehicle. Once you have the wheel off, the fun begins with a variety of sandpapers. Typically, you'll want to start with a lower grit, perhaps around 120, and work your way up to 400 or even 600, depending on the severity of the damage you're tackling. The aim is to smooth out those nicks from curb kisses, leaving a clean base ready for refinishing.
A drill fitted with a wire brush attachment is a handy tool for removing rust and stubborn old paint, something any seasoned DIY enthusiast would recommend. Of course, a proper cleaning agent is crucial. A simple degreaser or even soap and water can go a long way in ensuring that surfaces are free from any contamination before you get to the delicate spraying stage. Applying a primer needs precision, so a reliable spray gun will be an invaluable part of your toolkit, especially when paired with a quality paint and lacquer to finish off the project. Tire masks or tape can also be critically useful to protect areas that shouldn't be painted.
As for materials, make sure you have a durable clear coat handy. The clear coat not only gives the wheels a glossy finish but acts as a shield against future scratches. For those committed to perfection, using a wax polish as a final touch can really make the alloy wheels pop. It's interesting to note that professional mechanics often suggest incorporating a torque wrench into your set of tools to ensure lug nuts are appropriately tensioned after reinstallation. Wasting time on reworking due to under or over-tightening can be easily avoided with this tool in your kit.
"The tools don't make the mechanic, but a well-prepared toolkit can make any task much more efficient," said renowned automotive technician Henry Olsen. This quote resonates well for both seasoned experts and amateur enthusiasts embarking on the refurbishment process.
While many might be tempted to purchase the cheapest products available, think of it as an investment in safety and aesthetics. Quality materials ensure longevity and make the time spent worthwhile. Moreover, consider beginner's trials before hitting the real project with mock experiments, which can spare many unnecessary mistakes. Having these materials and tools at your disposal not only aids in effective repair but also aids in preserving the value of your vehicle in the long run.
| Tool/Material | Purpose |
|---|---|
| Sandpaper (120 to 600 grit) | Smoothing out scratches and damage |
| Wire brush drill attachment | Removing old paint and rust |
| Spray Gun | Applying primer and paint evenly |
| Clear Coat | Protective finishing layer |
| Torque wrench | Ensuring accurate lug nut tension |
Refurbishment Techniques
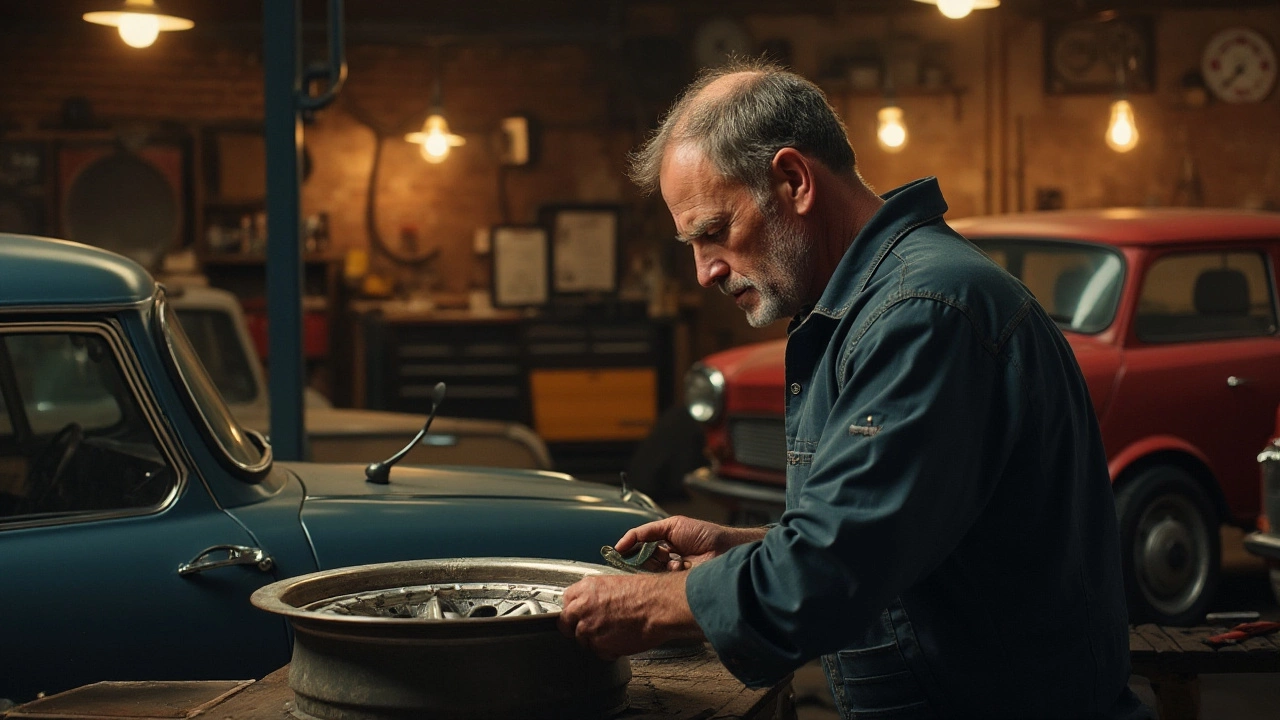
Refurbishing alloy wheels involves multiple techniques, each tailored to address specific types of damage and desired outcomes. Whether it's scuffs from an unfortunate encounter with the curb, or the weather has taken a toll, knowing the right approach is key to successful restoration. One highly effective method is the powder coating process. This technique involves using a dry powder that's cured under heat, resulting in a durable finish. It's known for its resilience against chips and abrasions, making it a popular choice among professionals. A typical process starts with cleaning the wheel thoroughly to remove any dirt and grease, followed by sandblasting to eradicate previous coatings and surface imperfections.
Alternative methods like wet painting are preferred for those looking for a glossy and customized finish. Unlike powder coating, wet painting allows for a wide variety of colors and finishes, offering more flexibility. This process also starts with careful preparation, but differs in the application of a liquid paint that's sprayed onto the wheel. The complexities of achieving a mirror-like shine often require layers of primer, paint, and lacquer, each meticulously applied and cured. After applying the paint, technicians often use a clear lacquer to seal in the color, providing a shield against the elements. "The right technique can make all the difference," says John Lester of WheelMaster Repair. He notes,
"Choosing between powder coating and wet painting often depends on the balance between durability and aesthetic preference."
For more severe damage, techniques such as CNC diamond cutting or SMART (Small to Medium Area Repair Technology) repairs are employed. CNC diamond cutting restores the wheel by shaving off a thin layer with a precise machine, revealing a smooth and shiny surface underneath. This is ideal for wheels with deep scratches or gouges. The SMART repair approach focuses on smaller affected areas, which helps preserve much of the wheel's original finish while addressing the damage. It involves filling in imperfections with specialized materials that match the wheel's original surface.
Between the range of techniques and the specific requirements your wheels may have, understanding the time commitment for each method can help you decide. Here's a simple breakdown of the key techniques:
- Powder Coating: Ideal for durability, takes about 1-2 days.
- Wet Painting: Offers more color choices, typically requires a couple of days.
- CNC Diamond Cutting: Precision repair that usually requires 3-4 days.
- SMART Repairs: Quick and localized, often done in a single day.
While DIY options exist, the intricacies associated with each technique often mean that professional services can deliver a higher-quality result. Plus, knowing that the technicians have the right tools and expertise can ease your mind. The range and complexity of wheel repair methods confirm why partnering with professionals often yields the most satisfying results. With a blend of the right technique and skilled hands, your wheels can look just as stunning as they perform.
Time Estimates for Each Step
Refurbishing an alloy wheel requires careful planning to effectively restore its appearance and functionality. The time each step takes can vary based on factors like the wheel's condition, available tools, and whether the work is done professionally or DIY. Understanding the specifics of each phase will help you manage your expectations and plan your time efficiently.
Inspection and Initial Cleaning
The journey begins with inspecting the wheels to assess the extent and type of damage, such as curb rash, deep scratches, or corrosion. This stage typically takes about 15 to 30 minutes per wheel if done meticulously. You don’t want to rush through this as a clear understanding of the damage informs the subsequent steps. Cleaning is crucial to remove dirt and brake dust, which can mask underlying issues. This part can take another 20 to 30 minutes depending on the tools used and the wheel's condition. Remember, a thorough inspection and cleaning set the foundation for a successful refurbishment.
Stripping and Sanding
Next, you'll embark on stripping the wheel of its old paint or finish, which usually takes around 45 minutes to an hour per wheel. Using chemical strippers can expedite this, but safety precautions must be followed meticulously. Sanding follows, which can vary in duration based on damage severity but typically takes another hour per wheel. Sanding prepares the wheel surface, ensuring smoothness and adherence during painting. Refinishing expert Mark Trueman suggests,
"Proper sanding can make or break your wheels' finish. Take your time, and the results will speak for themselves."The key here is patience and precision.
Repair and Application of Filler
Repairing gouges or dents involves using appropriate fillers and can take up to 45 minutes per wheel. The filler must dry completely before sanding smooth, so consider factoring in drying time as well. Depending on environmental conditions, drying may take anywhere from half an hour to a full hour. This step is often repeated until perfection is reached, showing the importance of attention to detail. It’s a labor of love that pays off in the final result.
Primer, Painting, and Finishing
Applying primer prepares the wheel for painting and takes about 20 minutes per coat, with drying time in between. Painting might take 30 to 45 minutes per coat, and it's not unusual to need multiple coats for the best outcome. A protective lacquer is applied to finish the wheel, requiring roughly the same attention and time as painting. In total, you might spend a good two to four hours painting and finishing each wheel. According to the National Auto Body Council,
| Process | Estimated Time |
|---|---|
| Cleaning & Inspection | Up to 1 hour |
| Stripping & Sanding | 1.5 - 2 hours |
| Repair & Filling | 1.5 hours |
| Painting & Finishing | 2 - 4 hours |
Final Touches and Curing
The curing process is your last hurdle. After the finishing touches, wheels need to cure fully, which could take several hours or up to a day. This waiting period is vital because it ensures the wheel has reached the desired strength and durability, making all previous efforts worthwhile. Replacing the wheels on your vehicle marks the end of this rewarding process, and while each step takes time, seeing your refurbished alloy wheels return to service is indeed satisfying.
DIY vs. Professional Services
Deciding between tackling a wheel refurbishment yourself or seeking professional help is a choice that depends on various factors such as skill level, time availability, budget, and desired finish quality. Many car enthusiasts relish the opportunity to delve into a DIY project, finding satisfaction in transforming their vehicle’s appearance with their own hands. However, it’s essential to assess whether one possesses the required expertise and tools to handle the intricacies of alloy wheel repair. Self-repair can involve complex tasks like sanding, priming, painting, and using specialized equipment to rectify issues like curb rash or dents.
Engagement in DIY can prove to be a rewarding experience; not only might one save some money, but they also gain valuable skills in the process. Kevin McDonald, a renowned name in auto refurbishment, once mentioned in 'Car Enthusiast Weekly',
"There's no education quite like DIY. You learn as much from your mistakes as you do from your successes."On the other hand, professional services offer a level of quality and reliability that can be difficult to match without the right equipment and experience. Professionals equipped with state-of-the-art tools have the expertise to ensure every angle of your alloy wheels is addressed thoroughly and cohesively, leading to a more durable and flawless finish.
When you consider timing, DIY can often take much longer, as most amateurs must allot several hours across days for each wheel, especially when unforeseen complications arise. However, those opting for professional services usually face shorter turnaround times, with many businesses completing the task within a day or two, guaranteeing their work with warranties as a testament to their quality service. This convenience can be particularly appealing for those who use their vehicles daily or require a quick fix.
Budget is another significant consideration. While DIY methods may initially appear more economical, the costs can escalate quickly with the purchase of necessary equipment, materials, and potential corrective measures if errors occur. Professional services might seem pricier upfront, but they often include comprehensive packages that cover numerous steps from start to finish, along with the peace of mind of knowing that skilled hands are at work. Here's a simplified comparison of typical costs when choosing between DIY and hiring a professional:
| Aspect | DIY Cost | Professional Cost |
|---|---|---|
| Materials & Tools | $50-$200 | Included |
| Labor | Free (Your Time) | $75-$150 per wheel |
| Quality & Warranty | Variable | Guaranteed |
Ultimately, whether you take the DIY route or enlist professional services, it's crucial to weigh these factors against your personal needs and capabilities. For car enthusiasts who have a passion for hands-on work and time to spare, refurbishing their own alloy wheels can be a fulfilling project. Conversely, for those who prioritize quality assurance and time, entrusting professionals provides a seamless solution, resulting in expertly refinished wheels ready to hit the road.

