LED Headlight Resistor Calculator
Enter your vehicle's original halogen wattage and LED wattage to calculate the recommended resistor value.
LED headlights installation can look intimidating, but with the right prep you’ll have brighter, whiter light in under an hour. Below you’ll find everything you need - tools, legal checks, a clear step‑by‑step process and tips to avoid common headaches.
Key Takeaways
- LED heads need a proper wiring harness or load resistor to stop flickering.
- Check Australian Design Rules (ADR) for legal beam pattern and aim.
- Most DIY jobs finish in 45‑60 minutes with basic tools.
- Always test before fully re‑assembling the headlight housing.
Understanding LED Headlights
When you hear "LED headlights", think of a compact light source that uses semiconductor diodes to produce bright, white illumination. LED headlights are a type of automotive lighting that replace traditional halogen bulbs with energy‑efficient LEDs, offering longer life and sharper beams. They differ from Halogen headlights, which use a tungsten filament inside a gas‑filled bulb, and from Xenon HID headlights, which generate light through an electric arc inside a gas‑filled tube.
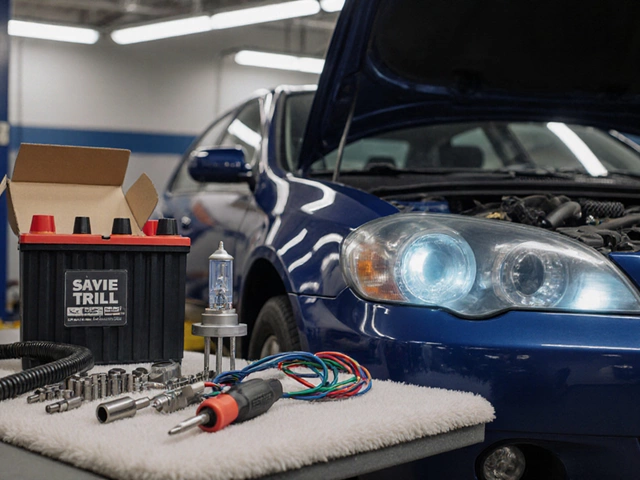
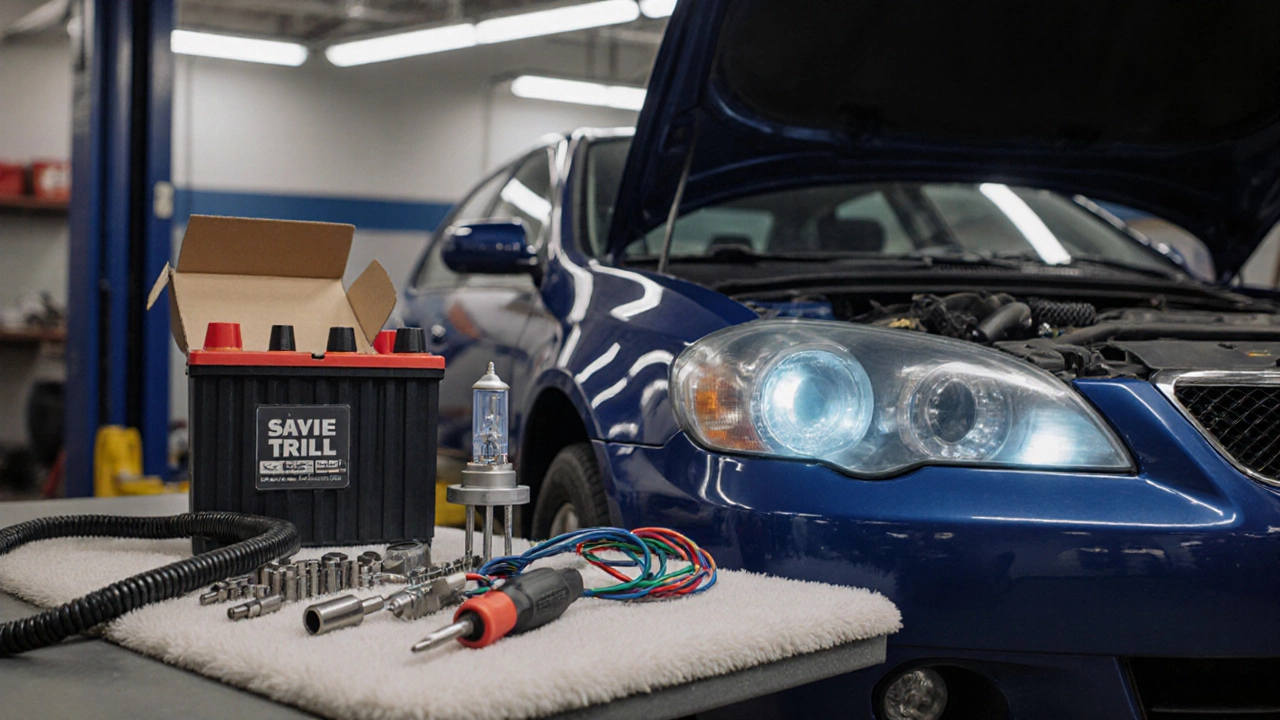
Tools & Parts You’ll Need
- New LED headlight kit (make sure it lists compatibility with your car’s make/model).
- Vehicle‑specific headlight housing - you’ll be reinstalling this after the swap.
- Replacement wiring harness (often supplied with the LED kit) or a set of load resistors to prevent hyper‑flashing.
- Optional ballast or driver - required for some high‑output LED units.
- Basic hand tools: socket set, flat‑head screwdriver, Phillips screwdriver, Torx bits (if your car uses them).
- Safety gear: gloves, eye protection.
- Battery disconnect clip or a 10‑amp fuse pull‑out tool.
- Headlight aim tool - a cheap laser or alignment kit helps keep your beam within legal limits.
Safety & Legal Checks
Australia’s Australian Design Rules (ADR) set strict limits on lane‑width and glare. Before you start, verify that the LED kit is ADR‑approved for your vehicle. While many aftermarket LEDs claim “legal use”, you’re still responsible for proper aim.
Also, confirm that the LED power draw won’t overload the vehicle ECU. Most modern ECUs tolerate the few extra watts, but cheap LED kits without resistors can trigger error codes or cause the high‑beam relay to chatter.
Step‑by‑Step Installation
- Disconnect the battery. Pull the negative terminal and secure it away. This prevents accidental shorts while you work.
- Remove the old headlight assembly. Usually a few bolts (10mm or Torx). Gently pull the housing forward; you’ll see the halogen bulb seated in a socket.
- Unplug the original wiring harness. Press the release tab and pull the connector out. If your LED kit includes a dedicated harness, set the old one aside.
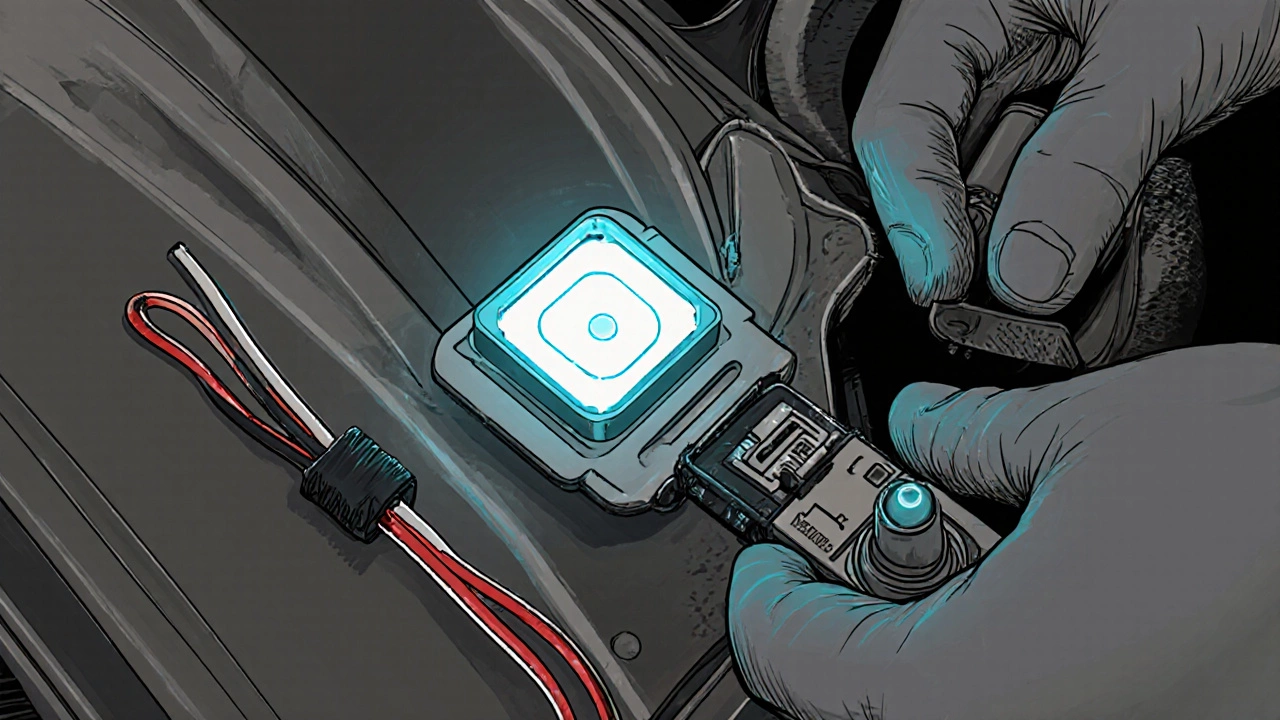
- Install the load resistor (if needed). Connect the resistor in parallel with the LED’s positive wire. This mimics the resistance of a halogen bulb and stops hyper‑flashing. Secure it with zip‑ties away from moving parts.
- Attach the LED unit. Slide the LED into the headlight housing where the halogen bulb sat. Some kits have a snap‑in mount; others use a small bracket.
- Connect the wiring harness. Plug the new harness into the vehicle’s connector, then into the LED driver (or directly into the LED if it’s a plug‑and‑play unit). Double‑check polarity - the red wire is positive.
- Re‑install the housing. Tighten the retaining bolts to the manufacturer’s torque spec (usually around 5Nm). Avoid over‑tightening, which can crack the housing.
- Reconnect the battery. Re‑attach the negative terminal and tighten.
- Test the lights. Turn on low‑beam and high‑beam. Look for steady illumination, no flicker, and proper brightness. If you see flicker, verify resistor connections or try a different driver.
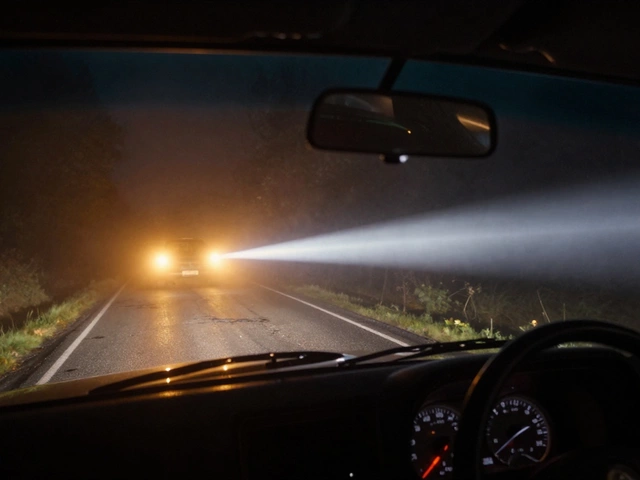
- Aim the headlights. Use your headlight aim tool on a flat wall 25ft away. Adjust the vertical and horizontal screws until the top of the low‑beam cut‑off line sits about 2‑inches below the center of the beam.
- Final check. Walk around the car, verify that both sides have identical aim, and make sure no wiring is loose.
Common Pitfalls & Pro Tips
- Pitfall: Forgetting the resistor. Result: Hyper‑flashing, error codes, and potential damage to the ECU.
Tip: Use a resistor rated for at least 2W and match the original halogen wattage (usually 55W). - Pitfall: Incorrect polarity. Result: LED won’t light or will flash repeatedly.
Tip: Many LED kits have a small polarity switch on the driver - flip it until the light stays steady. - Pitfall: Mounting the LED too deep in the housing. Result: Beam pattern becomes overly wide, causing glare.
Tip: Follow the manufacturer’s depth guide; some kits require a shim. - Pitfall: Skipping the aim step. Result: You could blind oncoming drivers and fail an MOT‑type inspection.
Tip: Aim on a cold night when the road is dark; you’ll see the beam shape more clearly.
Maintenance & Troubleshooting
LEDs last years, but the wiring can degrade. If you notice dimming after a few months, check the connector for corrosion. Clean with electrical contact spray. For occasional flicker, re‑seat the resistor or replace the driver.
Should the ECU throw a “headlamp malfunction” warning, disconnect the battery, wait 30 seconds, then reconnect. If the error persists, verify the resistor value - a mismatch can trick the ECU into thinking the bulb has failed.
LED vs Halogen vs Xenon - Quick Comparison
| Attribute | LED Headlights | Halogen Headlights | Xenon HID Headlights |
|---|---|---|---|
| Power Consumption | 10‑20W per side | 55‑65W per side | 35‑55W per side |
| Typical Lifespan | 30,000‑50,000hours | 1,000‑2,000hours | 10,000‑20,000hours |
| Beam Quality | Sharp, focused, low glare | Warm, wider spread | Very bright, high glare if mis‑aimed |
| Legal (ADR) | Approved when properly aimed | Standard, always legal | Requires specific housing, often illegal after‑market |
| Cost (per set) | $150‑$300 | $30‑$70 | $200‑$400 |
Frequently Asked Questions
Do LED headlights need a separate ballast?
Most modern LED kits include an internal driver, so a separate ballast isn’t required. Older kits or high‑output LEDs may need an external ballast to regulate voltage.
Can I install LED headlights on my 2010 Subaru without a wiring harness?
Yes, but you’ll need a load resistor to keep the ECU happy. Plug‑in harnesses are sold for most popular models and include the resistor.
Will LED headlights make my car illegal in Australia?
Only if the beam pattern exceeds ADR limits or if you use a non‑approved kit. Proper aim and an ADR‑approved product keep you legal.
Do I need to replace both low‑beam and high‑beam LEDs together?
You can replace them separately, but matching colour temperature and intensity gives a consistent look. Many kits sell a combo set for both beams.
What’s the best way to test the LEDs before re‑installing the housing?
Hook the LED to a 12V power source or the car’s battery with the resistor in place. If the light stays steady for a few seconds, the wiring is correct.