Lowering Springs Installation Difficulty & Cost Estimator
Project Configuration
Analysis Results
Required Tool Checklist
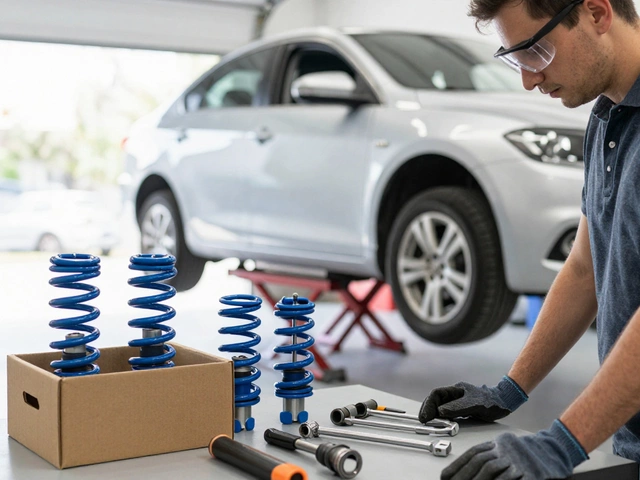
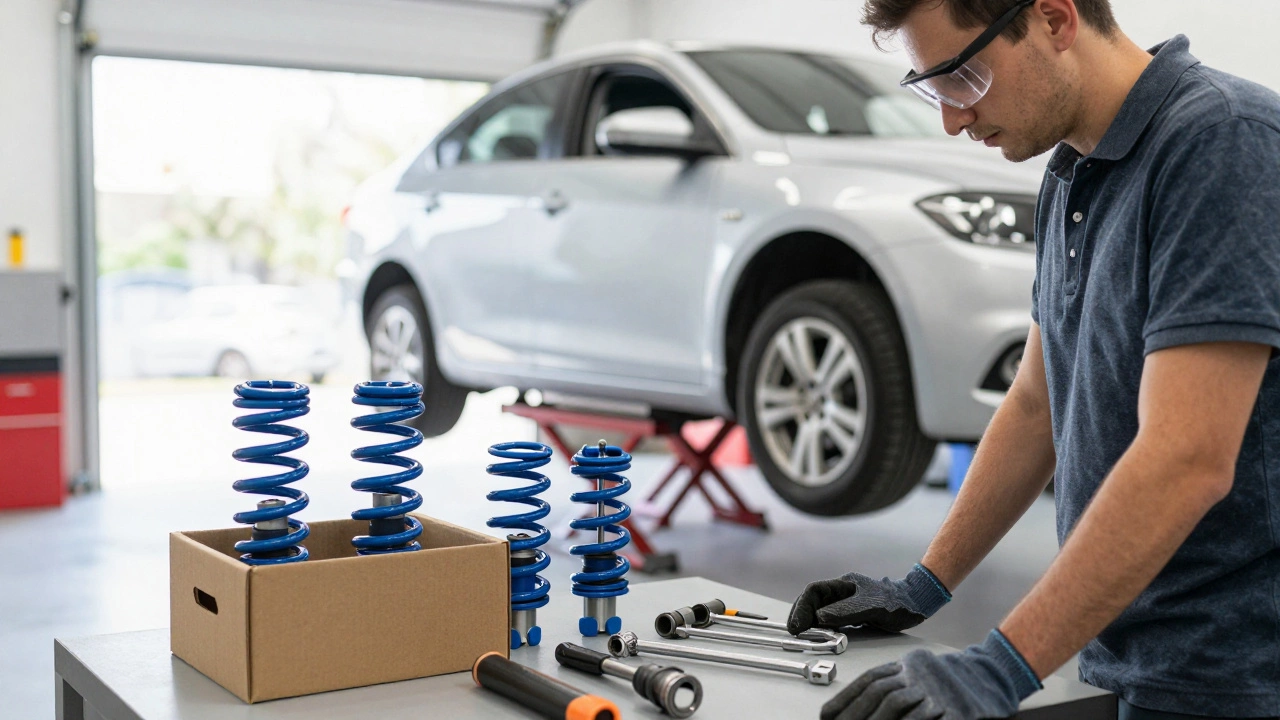
Picture this: you’ve just bought a set of high-quality lowering springs is coil springs designed to reduce a vehicle's ride height for improved aesthetics and handling. These springs replace your factory units to drop the car closer to the ground. You’re excited. The car will look aggressive, handle sharper in corners, and finally match the stance you’ve been dreaming about. But then comes the dreaded question that pops up on every forum thread: "Is it actually hard to put them on?"
The short answer? It depends entirely on how your car’s suspension is built. For some vehicles, it’s a Saturday afternoon job with basic tools. For others, it’s a nightmare that requires specialized equipment or a trip to the mechanic. Let’s cut through the noise and look at what really makes installing lowering springs difficult, so you can decide if you should tackle it yourself or pay someone else to do it.
The Two Main Ways to Install Lowering Springs
Before you even touch a wrench, you need to understand the two primary methods of installation. This distinction is the single biggest factor in determining difficulty. Most cars fall into one of these two categories, and knowing which one yours belongs to saves you hours of frustration.
Method 1: The Top-Mounted Coilover Style (Easier)
On many modern front-wheel-drive cars and some rear-wheel-drive sedans, the spring sits inside a shock absorber assembly that bolts directly to the top of the strut tower. Think of it like a tall sandwich where the bread is the strut mount, the meat is the shock, and the cheese is the spring.
To install lowering springs here, you typically don’t need to compress the spring itself. Instead, you unbolt the top mount from the chassis, lower the entire assembly, remove the bottom bolt connecting it to the steering knuckle, and slide the old spring out. You then slide the new, shorter spring in, reassemble everything, and bolt it back up. No spring compressor needed. Just torque wrenches and patience.
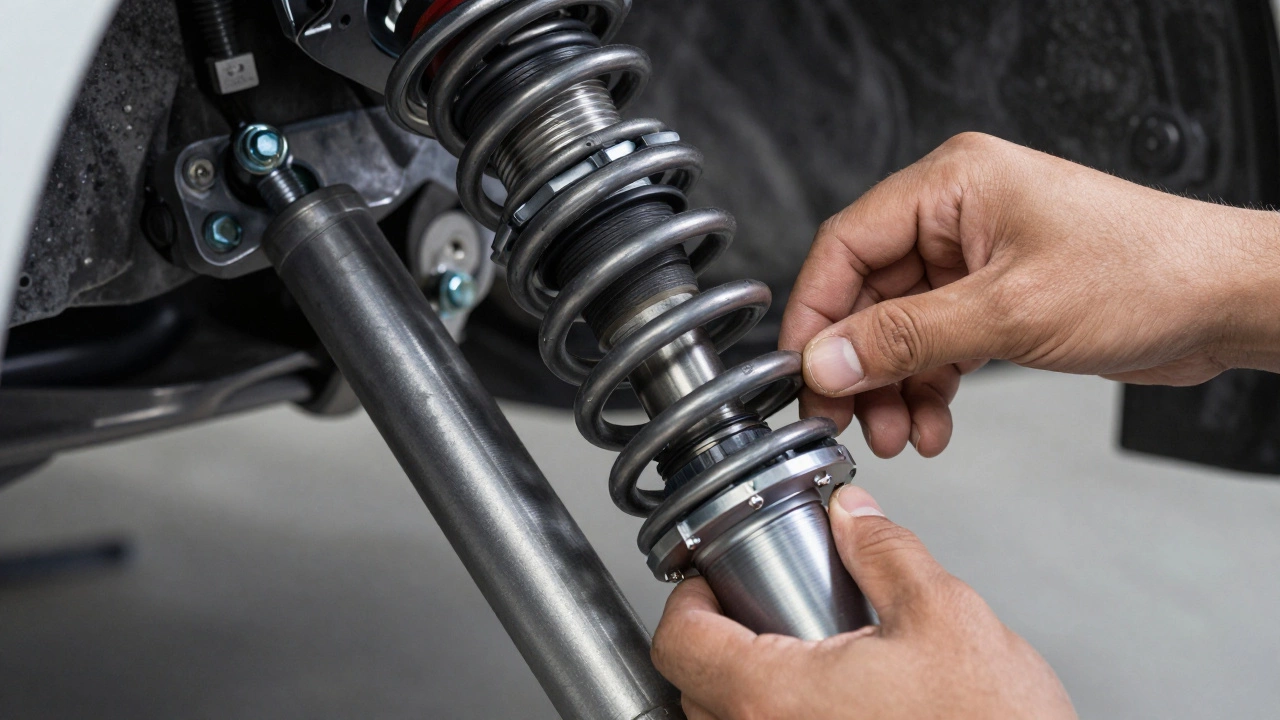
Method 2: The Separate Spring Perch Style (Harder)
This is where things get tricky. On many performance cars, trucks, and older European models, the spring sits independently between a lower perch on the control arm and an upper perch on the chassis or subframe. The shock absorber is often mounted separately nearby.
To change these springs, you must physically compress the old spring to remove it. This means you need a heavy-duty spring compressor tool is a mechanical device used to safely compress coil springs during suspension maintenance. Without this tool, the spring remains under immense tension and cannot be removed. If you try to force it without proper compression, you risk serious injury or damaging your new parts.
| Feature | Top-Mounted (Strut Assembly) | Separate Perch (Independent Spring) |
|---|---|---|
| Difficulty Level | Moderate | High |
| Special Tools Needed | Basic socket set, jack stands | Spring compressor, impact gun recommended |
| Safety Risk | Low (if jacked properly) | High (spring tension release) |
| Time Required | d>2-4 hours per corner | 4-6+ hours per corner |
Tools You Actually Need (And What You Can Skip)
Let’s talk gear. You don’t need a professional garage, but you do need more than a basic toolkit. Here’s what separates a successful DIY install from a disaster:
- Floor Jack and Jack Stands: Never rely solely on a hydraulic jack. Use rated jack stands to support the frame or designated lift points. Your life depends on this.
- Torque Wrench: Suspension bolts have specific torque specs. Overtightening strips threads; undertightening causes wobbling. Get a click-type torque wrench.
- Socket Set: Metric sizes are standard for most imports, while SAE (imperial) is common for American trucks. Check your car’s manual first.
- Penetration Oil: Rusty bolts are the enemy. Spray PB Blaster or WD-40 Specialist on all fasteners 24 hours before starting.
- Spring Compressor (If applicable): If your car uses separate perches, rent or buy a pair of quality spring compressors. Cheap ones slip and cause accidents.
Common Pitfalls That Make Installation Harder Than It Should Be
Even experienced mechanics make mistakes when installing lowering springs. Avoid these common traps to save time and money:
Ignoring Bushings and Control Arms
When you drop a car, the geometry changes. The angles of your control arms shift, putting extra stress on rubber bushings. If your current bushings are worn, they’ll fail quickly after lowering. Many DIYers skip replacing them, only to hear clunking noises within weeks. Consider upgrading to polyurethane bushings for better durability.
Forgetting About Alignment
Lowering springs change your camber, caster, and toe settings. Even if you install them perfectly, your wheels will likely be out of spec. Driving without an alignment wears tires unevenly and reduces grip. Budget for a post-install alignment-it’s not optional.
Using the Wrong Drop Height
Not all lowering springs are created equal. Some drop 1 inch, others 3 inches. Dropping too much can cause tire rubbing against fenders or wheel wells, especially during turns or bumps. Measure your clearance carefully. If you’re unsure, start with a milder drop (1-1.5 inches) and test fit before committing to extreme heights.
Step-by-Step: Installing Top-Mounted Lowering Springs
If your car uses the easier top-mounted style, follow this general process. Always consult your vehicle-specific service manual for exact torque values and safety warnings.
- Lift and Secure: Raise the car using a floor jack and place jack stands under solid frame points. Remove the wheels.
- Remove Top Mount Bolts: Locate the three or four bolts holding the strut assembly to the chassis. Loosen them slightly, then fully remove once the weight is off the suspension.
- Disconnect Bottom Bolt: Unbolt the lower strut mount from the steering knuckle or control arm. Support the strut with a helper or a bungee cord to prevent sudden drops.
- Extract Old Spring: Slide the old spring out of the shock body. Note the orientation-some springs have a wider end that faces up or down.
- Install New Spring: Slide the new lowering spring into place. Ensure it seats correctly on both perches.
- Reassemble: Reconnect the bottom bolt, align the top mount, and hand-tighten all bolts. Lower the car slowly until the tire touches the ground but doesn’t bear full weight.
- Torque Fasteners: Tighten all bolts to manufacturer specifications using your torque wrench. Repeat for other corners.

When to Call a Professional Mechanic
There’s no shame in paying for expertise. Consider hiring a pro if:
- Your car uses separate spring perches and you lack a spring compressor.
- You’re uncomfortable working under a raised vehicle.
- Bolts are severely rusted or stripped, requiring heat or extraction tools.
- You want warranty coverage on the installation labor.
In Melbourne, Australia, where I live, labor rates for suspension work average $80-$120 per hour. Factor in parts markup if buying through a shop. Doing it yourself can save $300-$600, but only if you have the right tools and confidence.
Final Thoughts: Is It Worth the Effort?
Installing lowering springs isn’t inherently "hard," but it demands respect for safety and precision. If your car allows easy access and you have basic mechanical skills, it’s a rewarding project that enhances both looks and performance. However, never rush the process. Take your time, double-check every bolt, and prioritize safety over speed. Your car-and your wallet-will thank you.
Can I install lowering springs myself if I’ve never worked on a car before?
It’s possible but not recommended for complete beginners. Suspension work involves critical safety components. Start with simpler projects like changing oil or brake pads first. If you proceed, watch detailed YouTube tutorials for your specific car model and consider having an experienced friend supervise.
Do I need to replace my shocks when installing lowering springs?
Not always, but it’s highly advised. Factory shocks are tuned for stock ride height and damping. Lowering springs increase stiffness, which can overwhelm old shocks, leading to harsh rides or premature failure. Upgrading to matching coilovers or performance shocks improves handling and comfort significantly.
How long does it take to install lowering springs on a typical sedan?
For top-mounted systems, expect 2-4 hours per corner for a novice. Experienced DIYers might finish all four corners in 3-5 hours total. Separate perch systems add 1-2 hours per corner due to spring compression requirements. Always allocate extra time for unexpected issues like rusty bolts.
Will lowering springs void my car’s warranty?
In many regions, including Australia and the US, manufacturers cannot void your entire warranty simply because you modified suspension. However, they can deny claims related to suspension, steering, or drivetrain damage caused by the modification. Keep receipts and documentation proving proper installation to protect your rights.
What happens if I don’t get an alignment after installing lowering springs?
You’ll experience uneven tire wear, reduced fuel efficiency, and poor handling. The car may pull to one side, and steering could feel vague. Over time, misalignment stresses suspension components, leading to costly repairs. An alignment costs $100-$200 and prevents thousands in potential damage.