Car Interior Color Cost Estimator
Estimate your DIY interior color transformation costs based on the parts you want to modify. Remember: professional results require proper preparation!
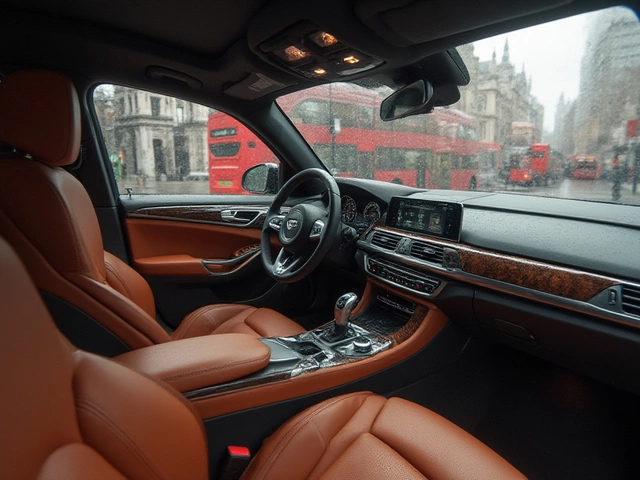
Most people think adding color to their car interior means replacing entire seats or buying a new dashboard. But you don’t need to spend thousands or tear your car apart to make it pop. With the right materials and a little patience, you can transform a dull, worn-out cabin into something fresh, bold, and uniquely yours - for under $200.
Start with the right surfaces
Not every part of your interior can be painted or dyed. Vinyl, plastic, and leather are the easiest to work with. Metal, fabric, and carpet? Skip those. You can’t dye fabric seats without ruining them, and painting carpet just makes a sticky mess. Focus on the dashboard, center console, door panels, steering wheel, and gear shift knob. These are the pieces that show wear and dominate your view while driving.
Look at your dash. If it’s faded, cracked, or looks like it’s been bleached by the sun, that’s your best candidate for a color change. Same with the plastic trim around your vents or the gear selector. These parts are usually made of hard ABS plastic or TPO (thermoplastic olefin), which takes dye and paint well when prepped right.
Use a dedicated interior dye or paint
Don’t use regular spray paint. It won’t flex with the plastic, and it’ll crack or peel in weeks. Instead, use a product made for automotive interiors. Plasti Dip and ColorBond are two of the most trusted brands. Both are flexible, UV-resistant, and designed to bond with plastic surfaces. ColorBond even comes in 20+ factory-matched colors, so you can match your original shade or go bold with matte black, red, or even green.
Plasti Dip is removable - great if you’re unsure. ColorBond is permanent. If you want to sell the car later, Plasti Dip gives you an easy reset. If you’re keeping it for years, ColorBond lasts longer and feels more like factory finish.
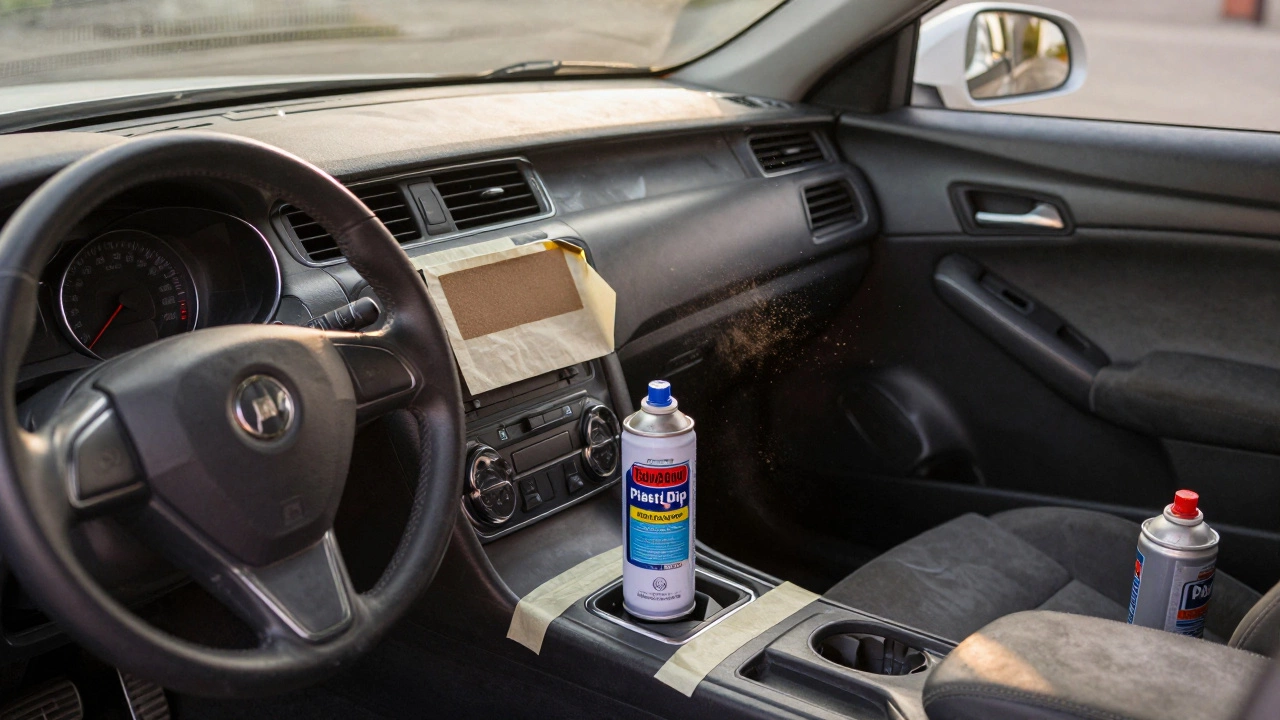
Prep work is everything
You can skip this step and end up with a messy, uneven job. Or you can spend 2 hours prepping and get results that look professional. There’s no middle ground.
- Remove parts if possible. Take off the gear shift knob, center console trim, and door handle covers. This gives you clean, flat surfaces to work on.
- Clean everything with isopropyl alcohol (90% or higher). Wipe down every surface twice. Dust, grease, and wax prevent adhesion.
- Mask off areas you don’t want painted. Use painter’s tape and newspaper. Cover the steering wheel, pedals, and any buttons or screens. Even a tiny speck of paint on a touchscreen can ruin your day.
- Sand lightly with 400-grit sandpaper. This roughs up the surface so the dye sticks. Don’t go crazy - just a quick pass to remove gloss.
- Wipe again with alcohol after sanding. Dust from sanding is invisible but will ruin your finish.
Skipping prep is why most DIY jobs look cheap. It’s not about the product - it’s about the prep.
Apply in thin, even coats
One thick coat = runs, drips, and uneven color. Three thin coats = smooth, professional finish.
- Work in a well-ventilated area. Open garage doors, use a fan. Fumes from these products are strong.
- Shake the can for 2 full minutes. Then let it sit for 30 seconds before spraying.
- Hold the can 8-12 inches from the surface. Spray in slow, even passes. Don’t pause mid-spray.
- Wait 15-20 minutes between coats. Don’t rush. The product needs time to set.
- Apply at least 3 coats. For deep colors like black or red, go for 4 or 5.
After the final coat, let it cure for 24 hours before putting parts back. Touching it too soon leaves fingerprints that won’t come off.
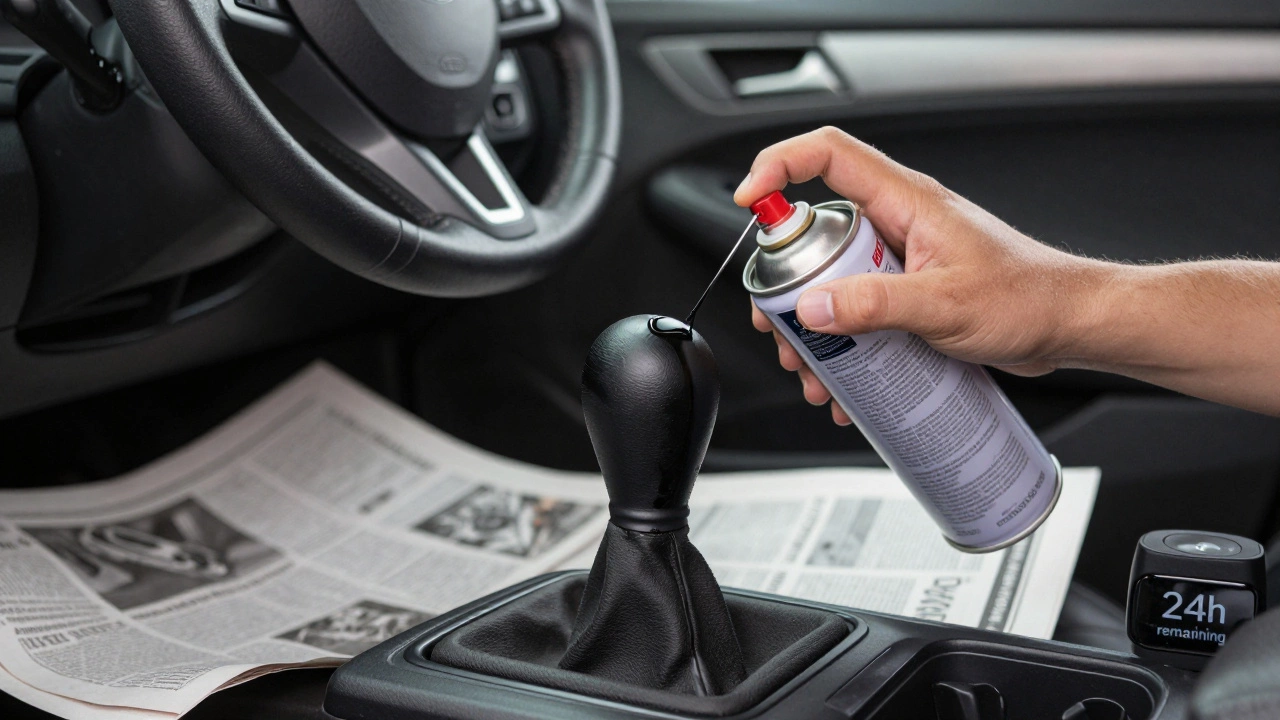
Upgrade your steering wheel
The steering wheel is the most-used part of your interior - and the most worn. If the leather is cracked or the plastic is faded, a color change here makes a huge difference.
Use a steering wheel dye kit like Chemical Guys VRP or Meguiar’s Ultimate Black. These are made for leather and vinyl. Clean the wheel with a degreaser, then apply the dye with a foam brush. Two coats, 30 minutes apart. Let it dry overnight. You’ll be amazed at how much better the whole cabin feels.
Pro tip: Wrap the rim with masking tape to protect your hands from overspray. It’s easy to miss, but you’ll thank yourself later.
Accent with colored stitching or trim
If you’re feeling ambitious, add contrast stitching to your seats or door panels. You don’t need a sewing machine. Buy pre-made stitching kits from Amazon or Etsy. They come with color-matched thread, needles, and instructions. Even if you’ve never sewn before, you can do it in a weekend.
Or, try peel-and-stick vinyl trim strips. They come in red, blue, carbon fiber, and even neon. Stick them along the edges of your dash or around the vents. They’re removable and look like factory upgrades. Brands like 3M and WrapCar make these for under $30.
What not to do
- Don’t use household spray paint. It’ll chip off in a month.
- Don’t paint over cracked leather without repairing it first. The crack will show through.
- Don’t skip the alcohol wipe-down. Even a fingerprint can cause bubbling.
- Don’t spray in direct sunlight. Heat makes the paint dry too fast and causes orange peel.
- Don’t rush the curing time. If you reinstall parts too soon, you’ll scratch the finish.
Real results, real cost
A friend of mine did his 2018 Honda Civic interior last year. He bought a $45 ColorBond kit in matte black, spent 3 hours prepping, and applied 4 coats. The dash, center console, and door panels went from dull gray to sleek, modern black. He didn’t touch the seats. The whole job cost $62. He got compliments every time he parked at a coffee shop.
Another guy used Plasti Dip on his 2015 Ford Mustang. He picked a bright red for the center console and gear shifter. He left the dash stock. The contrast made the cabin feel sportier. He sold the car six months later for $2,000 more than the asking price.
How long does it last?
Properly applied interior dye lasts 3-5 years. UV exposure fades it, but modern products have UV blockers built in. If you park in the sun daily, you might see slight fading after 2 years. But it won’t peel or flake like cheap paint.
Reapplication is easy. Just clean the surface, lightly sand, and re-spray. No need to remove old coating unless it’s damaged.
When to call a pro
If your interior has deep cracks, melted plastic from sun exposure, or you’re trying to color-match a rare factory shade, it’s worth hiring a professional. Mobile detailers who specialize in interior restoration charge $150-$400, depending on the car. But if you’re just changing the color for fun or to hide wear? DIY is not just possible - it’s better.
Can I paint my car’s dashboard with regular spray paint?
No. Regular spray paint isn’t flexible and will crack when the plastic expands with heat. Use a product made for automotive interiors like ColorBond or Plasti Dip. They’re designed to bend with the material and resist UV damage.
How much does it cost to add color to a car interior?
You can do it for $50-$150. The main cost is the dye or paint kit ($35-$70), masking tape, alcohol, and sandpaper. If you remove parts yourself, you save on labor. Professional jobs start at $200 and can go over $800 for full custom work.
Will dyeing my interior affect my car’s resale value?
It depends. Neutral colors like black, gray, or dark brown usually help. Bright colors like neon green or purple might hurt resale unless the car is a tuner model. If you use removable products like Plasti Dip, you can revert to stock before selling. Permanent paint should match the original factory tone for best results.
Can I dye fabric seats?
Not with standard interior dyes. Fabric seats absorb liquid unevenly and can stain permanently. If you want to change fabric color, you need a specialized fabric dye like Rit DyeMore, and even then, results vary. It’s better to replace the seat covers or add custom throw pillows with contrast stitching.
How long does it take to color a car interior?
Plan for 4-6 hours total. Cleaning and prepping takes 2-3 hours. Applying 3-4 coats takes 1-2 hours, with drying time in between. Letting it cure overnight adds another 12-24 hours. Most people finish in one weekend.
Next steps
Start small. Pick one part - maybe the gear shifter or center console. Buy a $40 ColorBond kit in your favorite color. Practice on a scrap piece of plastic first. If you like the result, move to the bigger pieces. You don’t need to do everything at once.
Take before and after photos. Share them online. You’ll be surprised how many people ask where you got your kit. That’s how you know you did it right.