Ask any car enthusiast about upgrades and body kits will come up fast. They make a boring sedan look fierce, and give sports cars even more attitude. Still, there’s a wild debate every year: are body kits easy to install? It’s not quite a yes or no answer. A lot rides on the kind of kit, the car itself, and how handy you are with tools. The craziest part? Some kits snap on in an afternoon. Others demand serious sweat and a few phone calls to friends who know their way around fiberglass dust. Before you start ripping bumpers off, there’s a lot you’ll want to know.
What Makes a Body Kit Easy or Hard to Install?
The first thing that messes people up is believing every body kit is built the same. Big mistake. Let’s break it down with three main types: simple lip kits, full bumper replacements, and widebody kits. Lip kits usually just bolt or tape onto the factory bumpers—no major surgery needed there. These can take as little as two hours with patience, a drill, and decent weather. A lot of famous brands, like Maxton Design or EZ Lip, build these with the DIY crowd in mind. The hardest part is often lining the part up, since the double-sided tape won’t let you undo mistakes easily.
Bumper replacements crank the difficulty up a notch. Suddenly you’re dealing with removing the whole factory bumper. On newer cars, this means unplugging parking sensors, possibly cameras, and even radar units if your ride has modern safety tech. Forget to disconnect your battery and your dash could light up with 'malfunction' errors. The fitment depends on how well the kit was molded—some premium brands fit cleanly, but cheap eBay kits might need extra sanding, trimming, or creativity with mounting brackets. Expect to spend anywhere from three to six hours here, especially if paint is about to happen.
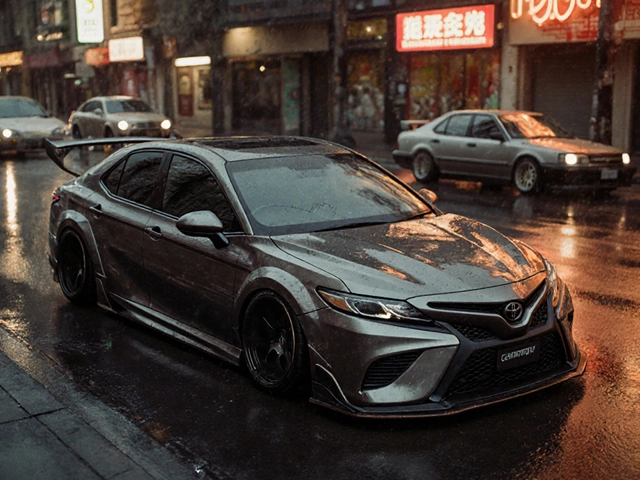
Now, widebody kits are a league apart. Think bolt-on fender flares, or full Rocket Bunny style. You’ll be drilling into metal, potentially cutting your wheel arches, and sealing edges so water doesn’t sneak in. This isn’t reversible, so if you mess up, it’s a lifelong reminder on your quarter panels. Some body shops will charge upwards of $2,000 just for the install, not counting paint or additional labor. Want wild? You’ll pay in time, money, and a healthy dose of guts.
Materials matter too. Polyurethane bends and flexes, great for daily drivers. Fiberglass comes cheap and light but cracks easy if you hit a speed bump too fast. ABS plastic splits the difference. On average, most DIY-ers find polyurethane lip kits to be the simplest entry point—no wonder they’re top sellers every Amazon Prime Day.
One last factor: your own tools and space. Got a decent socket set, a jack, and a garage? You’re in a better spot. Stuck in an apartment parking lot with nothing but a screwdriver? You’ll struggle, even with the best YouTube guide on hand. Weather counts too—a sudden rainstorm can ruin adhesive bonds or make paint bubble. Timing your install on a dry, mild day is practical wisdom most guides skip over.
Must-Know Steps and Rookie Mistakes When Installing Body Kits
No matter what kit you choose, the basic game plan is the same: test-fit, prep, install, then finish. Here’s what separates a show-worthy job from a driveway hack job.
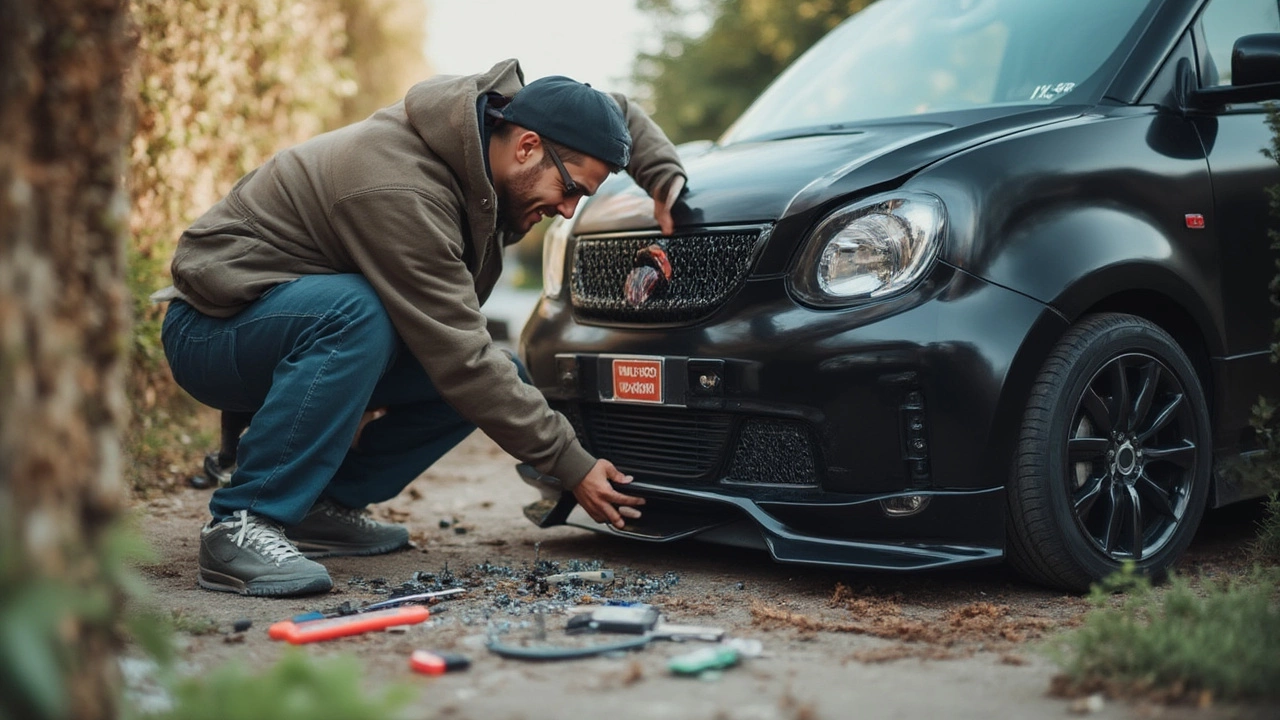
- Test Fit Everything: Pull the part out of the box and hold it up to your car before drilling or painting anything. Every car—even of the same year and model—can have slight differences thanks to accidents or the way the panel was originally hung. If something looks off, mark any spots that tug or leave gaps. Fixing it after paint is a nightmare.
- Preparation is Everything: Clean the mounting area with rubbing alcohol—debris makes tape peel off and paint bubble. If you’re using adhesive, some folks swear by a quick warm-up with a hair-dryer for the tape. Sanding rough edges with 320-grit sandpaper helps the part sit flush too, especially with fiberglass kits.
- Follow the Instructions But Don’t Trust Them Blindly: Instructions from reputable brands make life easier, but not all kits come with clear guides. If instructions are lacking, forums and YouTube are gold mines. Search for your specific car and kit—chances are, someone’s already battled through the exact same headache.
- Use the Right Fasteners: Most kits ship with self-tapping screws. They’re quick, but not always long-term safe, especially if you live where it rains. Upgrading to stainless steel bolts or riv-nuts means less chance of future rusting or loosening parts.
- Paint Before You Install (Usually): Professional shops paint before install, since taping and blending is easier off the car. Spraying after install can leave overspray on your windows, lights, or even other panels. Plus, you avoid tricky masking lines. Just make sure you final fit-test before heading to the paint booth. Trimming painted panels is a recipe for chipping and peeling.
Let’s look at the top mistakes people make:
- Skipping Alignment: Nothing looks cheaper than a crooked side skirt or a spoiler that doesn’t line up with the trunk edge.
- Using Low-Quality Adhesive: Bargain tape and glue won’t hold up. You need 3M automotive tape for any non-bolted part.
- Ignoring Weather: If it’s cold or wet, adhesives take longer to set or may not bond at all. That means sagging lips or flapping splitters when you hit the highway.
- Goofing Up the Cutting: On widebody installs, cutting metal fenders is forever. Always mark twice, cut once, then seal with primer to prevent rust.
- Forgetting Legal Rules: Some states care about how much a body kit sticks out, or whether it covers tires. Cops don’t mess around, so check local rules before you finish up.
If you crave some cold numbers, here’s how long each install type tends to take, based on real reports from amateur and pro installers (hours):
| Kit Type | DIY Average Time | Pro Shop Avg. Time |
|---|---|---|
| Lip/Splitter | 2-4 | 1-2 |
| Bumper Replacement | 3-6 | 2-4 |
| Widebody (Full) | 12-20 | 8-16 |
Biggest tip? Take your time and don’t skip dry-fitting before you grab the drill.
Insider Facts, Pro Tips, and the Hidden Realities
Now for the fun details they forget to mention in most so-called installation guides. First, body kits have exploded since the Fast & Furious age—some years, eBay saw more than 12,000 body kit listings just for Hondas and Subarus. People want that aggressive look, but actual installs? Fewer than half of those kits make it onto cars as planned. The reasons? Buyers get overwhelmed, mess up the first steps, or try skipping necessary body shop work.
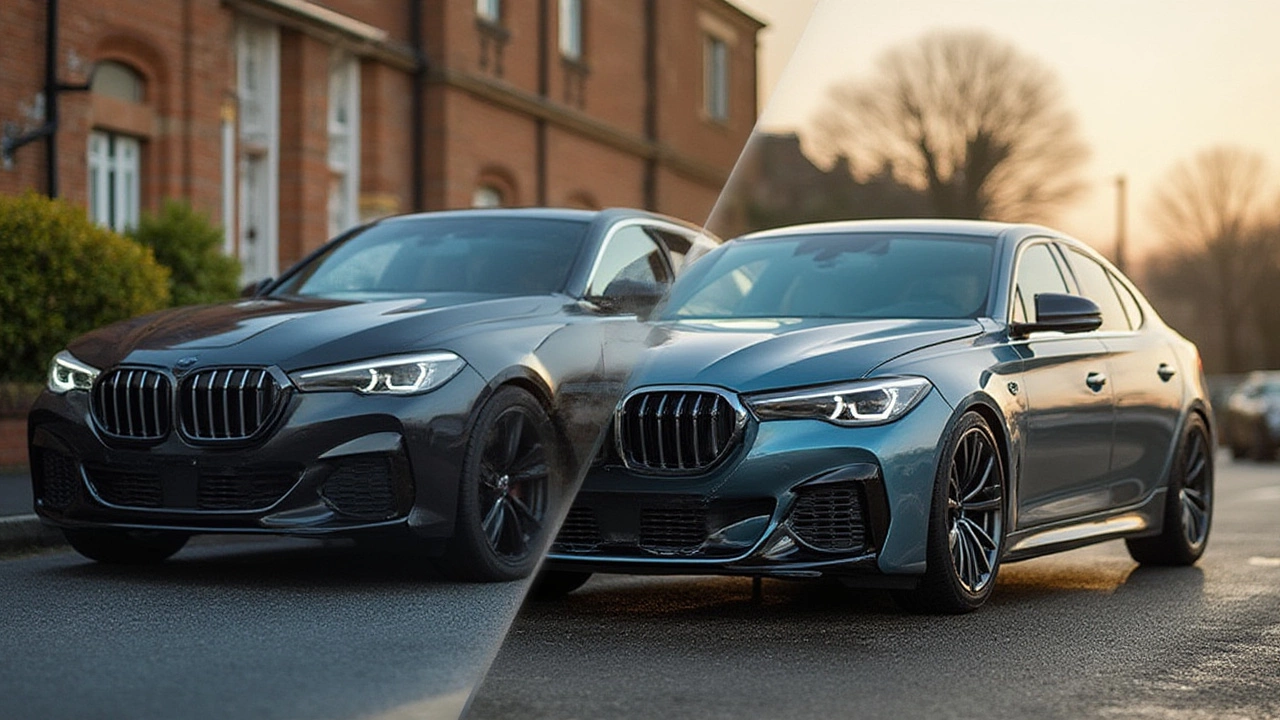
If you want a genuinely pro result for a show car or resale value, most experts recommend pre-fitting every piece, then letting a local paint shop handle the color matching. Why? Paint codes sometimes fade over time on your existing panels, and home spray cans rarely look OEM. Some high-end wraps hide small fitment flaws, but won’t cover wild gaps on cheap kits. If you’re mixing old and new parts, even fresh-from-the-box kits may mismatch if your car’s ever been hit or resprayed. Pro tip: Ask the paint shop for a blend into adjacent panels—it costs extra but hides color differences nearly perfectly.
Let’s tackle fitment nightmares. Sometimes, holes in the kit won’t line up with factory mounting points. You might curse the day you decided on that 'universal fit' piece. Don’t just drill a new hole and hope—it’s stronger to use a washer, rubber grommet, or even a riv-nut to avoid cracking plastic later. With fiberglass, avoid overtightening—it’ll crack around mounts, and that puts you back to sanding and repainting. For truly wild widebody installs, many top builds use flexible adhesive seam sealers instead of hard fillers. These flex with the bodywork and stop cracks from appearing after a few hot-cold cycles.
Another tip straight from the forums: always factor in hidden costs. Body kits themselves run $200 to $3,500 depending on how wild or premium they are. But paint, extra fasteners, possibly a few new tools, and fixing mistakes can double that price. Shipping on big kits (think full bumpers) adds hundreds, thanks to the weird box sizes and insurance. Want a professional result and professional paint? Budget at least as much for labor as you spent on the kit—no joke.
For DIY-ers, the best advice is to have a friend around, at least for the heavy lifting. Test-fitting doors, hoods, or bumpers alone is a recipe for dropping parts or scuffing paint. Even pro shops rarely do installs solo—two pairs of hands are twice as steady. When grabbing tools, invest in decent panel pry tools so you don’t gouge all your factory clips. And for anyone second-guessing their skills, there’s no shame in pre-fitting it yourself, then dropping the car (and the kit) off at a shop for final touch-ups. You save cash by doing some legwork, and let the pros handle critical color matching or tricky fastener work.
So, is installing a body kit easy? If you stick to simple, reputable lip kits and have even basic tools and a few free hours, you’ll enjoy it and your car will look smart. Wild widebody installs with cutting? That’s another level—think of it like skydiving with your car’s aesthetics. If you’re okay with risk, and love details, go for it. Just don’t expect to nail it on your first ever try. But the feeling when you step back and see the transformation—that’s why people do it. And that thrill? Worth every curse word and skinned knuckle.