So you're thinking about spicing up your car's interior with Katzkin leather, but you're not sure if it's something you can tackle yourself? You're in the right place! Katzkin offers high-quality aftermarket leather seats that can make your ride look like a luxury vehicle. And yes, you can install them on your own if you're up for the challenge.
Installing Katzkin isn't rocket science, but it does require some basic tools, a dash of patience, and a little elbow grease. You won't need to be an auto upholstery expert, but knowing your way around car interiors will definitely help. We'll cover what you need and give you a step-by-step guide to replacing your old fabric or worn-out leather with something that looks and feels brand new.
- Understanding Katzkin Installation
- Tools You Need
- Step-by-Step Installation Process
- Common Challenges and Solutions
- Tips for a Successful DIY Installation
- What to Expect After Installation
Understanding Katzkin Installation
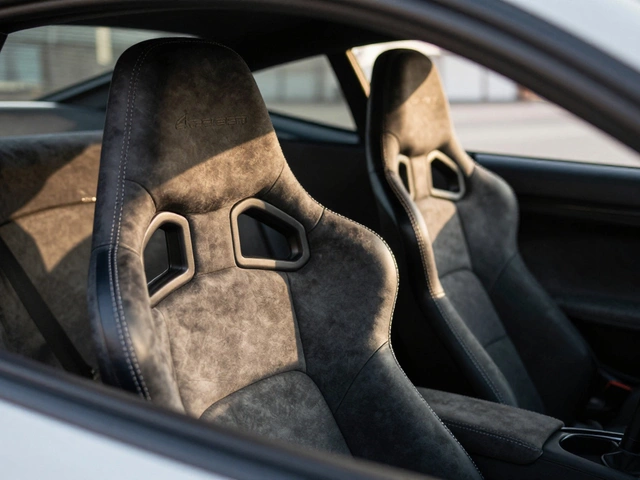
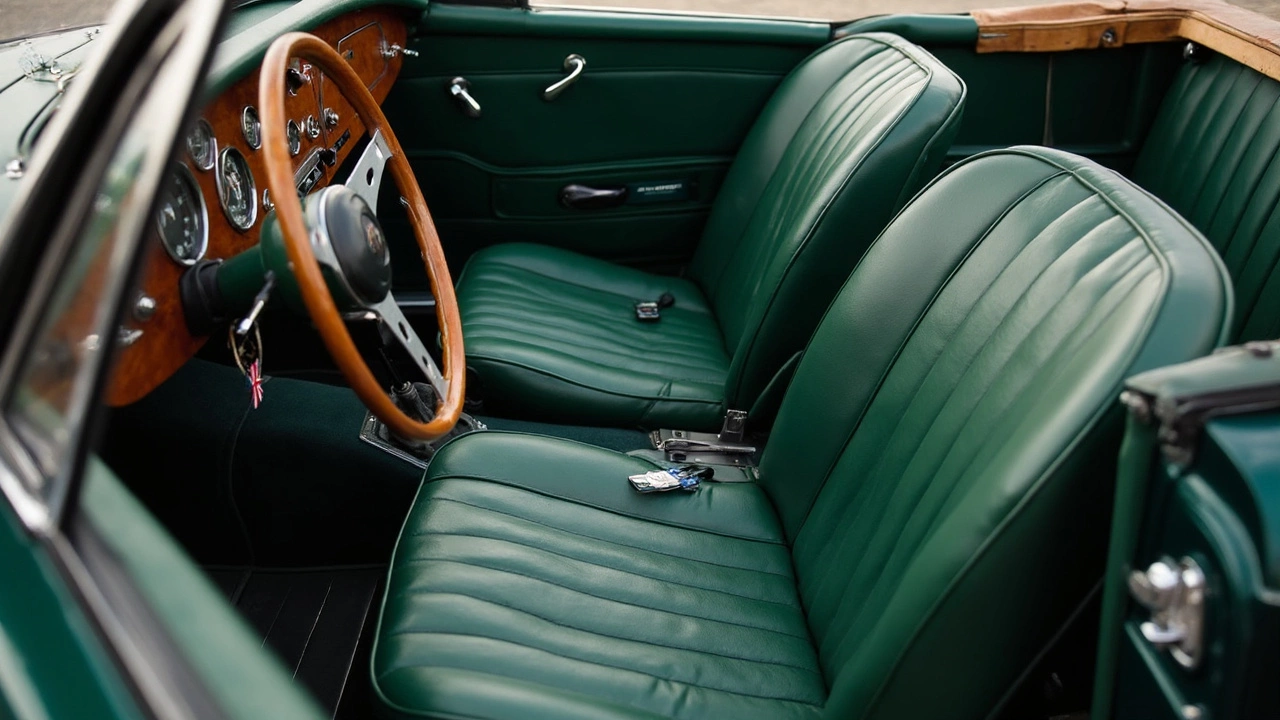
Before diving into the installation process, let's break down what Katzkin is all about. Katzkin is known for creating top-notch custom leather interiors that make your car feel brand new. These leather seats aren't just seat covers; they're complete upholstery replacements designed to fit your vehicle perfectly. Unlike generic seat covers, Katzkin makes your car look like it came that way from the factory.
The installation of Katzkin seats involves replacing your current seat materials - which could be fabric or old leather - with their custom-fit leather. This isn't the same as merely covering your seats. Instead, it gives your car a whole new interior by removing the existing fabric or leather and replacing it with the new, stylish leather kit. This is why some people might prefer to hire a professional installer if they're not comfortable with the task.
Why Consider DIY Installation?
You might wonder why you'd want to handle this on your own. Well, for starters, doing it yourself can save you a significant amount of cash since labor can be pricey. Plus, if you like rolling up your sleeves and getting hands-on with your projects, the DIY route lets you take pride in your work. It's a chance to truly personalize your vehicle, making it uniquely yours.
Here are some basic steps you'll follow in the process:
- Remove the seats from the car.
- Strip the old upholstery.
- Attach the new Katzkin leather using the tools required.
- Reinstall the seats in your car.
Fun Fact
Did you know that Katzkin's leather interior kits are custom-made to order? This means you can pick from a variety of colors and textures, designing an interior that suits your personal taste to a T.
Tools You Need
Before you get started on your Katzkin installation, you'll need to gather a few essential tools. Don’t worry, you won't be breaking the bank on this one. Most of these are basic tools you might already have around the house or garage.
Screwdrivers and Wrenches
A set of screwdrivers (Phillips and flathead) along with a basic set of wrenches will be useful for removing seats and any panels you might need to access during the installation.
Trim Removal Tools
A plastic trim removal tool is a lifesaver for popping out trim pieces without leaving nasty scratches. You definitely don't want to damage your interior while trying to improve it!
Utility Knife or Box Cutter
You'll need a sharp utility knife to trim any excess leather during the fitting process. Be careful here; a steady hand goes a long way in making clean cuts.
Pliers
A pair of pliers can help with stubborn clips or if you need some extra grip when pulling sections tight.
Electric Drill (Optional)
If your vehicle's seats are bolted with extra-tight screws, an electric drill can save you a lot of muscle power.
| Tool | Usage |
|---|---|
| Screwdrivers & Wrenches | Seat & panel removal |
| Trim Removal Tools | Safe trim dismantling |
| Utility Knife | Trimming excess material |
| Pliers | Handling clips and grips |
| Electric Drill | For stubborn screws (optional) |
Having these tools ready before you begin your DIY car upholstery project not only saves time but can also prevent headaches in the middle of the job. Trust me, nothing derails motivation like having to run to the store halfway through!
Step-by-Step Installation Process
Ready to roll up your sleeves and get those Katzkin seats installed? Let's break it down into manageable steps so you can transform your car interior without breaking a sweat.
Step 1: Gather Your Tools
Before you dive in, make sure you've got all the necessary tools. You'll need a socket set, screwdrivers, pliers, utility knife, and hog ring pliers. Don't forget the hog rings themselves; these are key to securing the new leather to the seat frame.
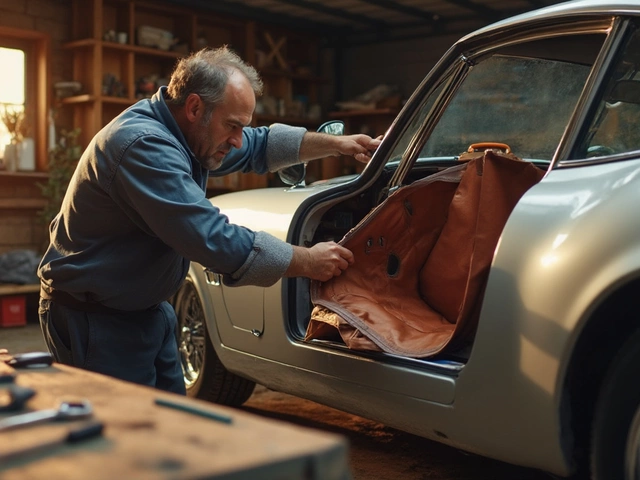
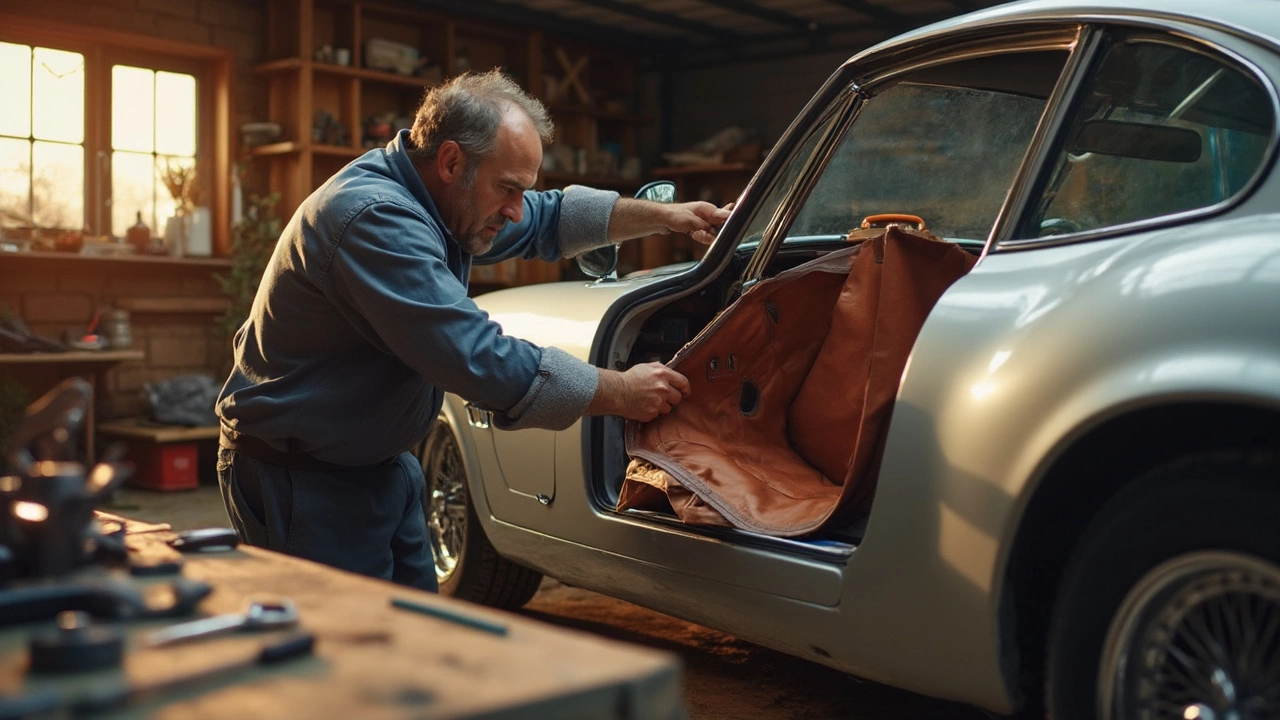
Step 2: Remove the Old Upholstery
Carefully take out the car seats. You'll usually need a socket wrench for this part. Once they're out, remove the old seat covers. This might involve clipping some hog rings, so have your pliers handy. Be patient and go slowly to avoid damaging the seat foam.
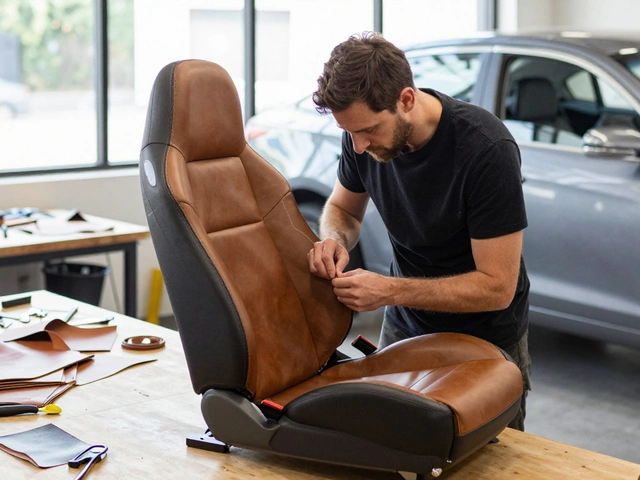
Step 3: Install the New Katzkin Leather
Now for the exciting part—putting on your new custom car seats. Start with the center panels and work your way out to ensure everything aligns correctly. Stretch the leather gently and secure it with the provided fasteners.
- Lay the leather over the seat back and cushion.
- Use hog rings to attach the leather to the frame, following the seat's contours.
- Make sure to tuck and smooth as you go to avoid wrinkles.
Step 4: Reassemble and Test
Reinstall the seats back into your car using the reverse process of removal. Double-check that everything is tight and secure. Give the seats a final adjust to make sure they're fitting just right.
Step 5: Clean Up and Enjoy
After installing, give your new car interior upgrade a quick wipe-down to remove any fingerprints or dust. Now, step back and admire your handiwork. You've just given your ride a whole new look!
What's interesting is that many DIYers find they save up to 50% compared to hiring a professional. Plus, there's the added satisfaction of knowing you did it yourself. Drive comfortably in your new, stylish seats!
Common Challenges and Solutions
Hey there, aspiring DIYer! Let me guess—you’re ready to jump into your Katzkin installation, but there's this nagging feeling about potential hiccups. Don't worry, we’ve got you covered. Here are some common challenges folks face when diving into this project and how you can handle them.
Challenge 1: Removing the Old Upholstery
The initial hurdle is getting rid of the old seat covers. They are snugly fit and some might even be glued. Careful prying and patience should do the trick without tearing the interior foam.
- Solution: Use a flathead screwdriver or trim removal tool to gently tease the fabric away. A heat gun can help loosen any adhesive.
Challenge 2: Dealing with Wiring
Modern cars have a lot of tech packed into the seats—heaters, airbag sensors, you name it. Navigating these wires can be a puzzle.
- Solution: Before you start, take pictures of everything so you know what goes where. Tag wires with tape. Connectors usually have different shapes, making them harder to mix up.
Challenge 3: Getting a Perfect Fit
When installing, making sure everything aligns perfectly is easier said than done.
- Solution: Start at one end and work towards the other, pulling the cover taut as you go. Use clips to hold things in place while you adjust.
Challenge 4: Securing the New Upholstery
Once everything looks set, it’s crucial to secure the new upholstery, especially if it's leather, which is less forgiving than fabric.
- Solution: Investing in a hog ring plier makes this job a breeze. Use it to secure the fabric to the seat frame. Start from the center and work outwards to avoid lumps.
Remember, a little patience and steady hands can go a long way. With each seat, it gets easier, and before you know it, your car will have an upgraded interior. Happy DIY-ing!
Tips for a Successful DIY Installation
Thinking about installing your own Katzkin seats and want to make sure it goes smoothly? Here's a handy guide to help you do just that. With the right approach and a bit of know-how, your car can look like it just rolled off the showroom floor.
Preparation is Key
Before you even start, make sure you've got everything you need. Double-check your Katzkin kit to confirm you have all the parts. Missing pieces? Call customer support before you tear into things.
Gather all the necessary tools. You'll typically need a set of wrenches, screwdrivers, and pliers. A trim removal tool and hog ring pliers make the job easier too.
Take Photos
Before you dig in, take photos of your car's current setup. This way, you'll have a reference if you forget how things are supposed to look or how they fit together.
Work in a Clean, Clear Space
Give yourself plenty of room to work. You'll be pulling out seats and wrestling with bulky pieces, so a clean, spacious area is ideal. This is not a job for a cluttered garage corner.
Follow the Instructions
Katzkin provides detailed instructions and even the best DIY enthusiast can’t reinvent the wheel. Read through the entire guide before starting. That way, there won't be any surprises halfway through.
Take Your Time
Rushing through the process can lead to mistakes, like tearing the leather or misaligning covers. Set aside a full day, if possible, to complete this project. Patience is your friend!
Reach Out if Necessary
If you hit a snag, don't hesitate to reach out for help. There are online forums and YouTube tutorials packed with tips from folks who’ve done this before.
| Type | Time Required | Difficulty Level |
|---|---|---|
| Front Seats | 4-6 hours | Moderate |
| Back Seats | 3-5 hours | Moderate |
With these tips in mind, you'll not only save a bit of cash by doing it yourself, but you'll also get the satisfaction of having transformed your car with your own hands. Good luck!
What to Expect After Installation
Congratulations, you've managed to get those Katzkin seats installed! So, what’s next? Well, there's a bit more to it even after you've finished the install.
First off, you’ll probably notice a major difference in the aesthetics of your car's interior. Those premium leather seats don't just look good, they feel incredible too. But beyond how they spruce up your ride, there are a few practical aspects to consider post-installation.
Initial Tightness and Adjustment
Right after installation, the seats might feel a bit tight. This is normal. The leather will stretch over time and settle into a perfect fit. You might find it helpful to adjust your seats a few times to help the leather fit snugly over the contours of your car seats.
Care and Maintenance
Taking care of your new custom car seats can extend their life and keep them looking sharp. Regularly cleaning the leather and conditioning it every few months will retain that plush look and prevent cracking. If you’re using cleaning products, make sure they’re designed for leather to avoid any damage.
Comfort and Feel
Most people report a noticeable upgrade in comfort that Katzkin seats provide. Since they’re made to fit your car's model perfectly, these seats can improve your driving experience right off the bat.
Resale Value
If you ever decide to sell your car, having Katzkin installation could be a great selling point. Potential buyers often appreciate the luxury feel and look of leather interiors, which can enhance the car's value.
Remember, if you face any issues or are dissatisfied with the fit, most suppliers offer support or adjustments. It’s not just a one-time investment; it’s about enjoying the transformation and maintaining it over time.