Body Kit Budget Estimator
Budget Tier
OEM Replicas / PP Plastic
Mid-Range
Aftermarket / Polyurethane
Estimated Cost Breakdown
There is nothing quite like the transformation of a fresh set of panels. You park your car in the garage, and suddenly it looks like it belongs on a magazine cover or a track day lineup. But then you look at your bank account, and that excitement hits a wall. The sticker shock for car body kits is real, often ranging from a few hundred dollars to tens of thousands, depending on materials and fitment. It is easy to get lost in the hype, buying parts that do not fit properly or paying for premium brands when a budget option would have done the job just as well.
Knowing how much you should actually spend depends entirely on what you want out of the modification. Are you chasing a subtle OEM+ look for daily driving, or are you building a show car with aggressive fender flares? Your budget needs to account for more than just the plastic; it must include labor, paint, and the inevitable surprise costs that come with modifying sheet metal.
The Three Tiers of Body Kit Pricing
To figure out your budget, you first need to understand where your money goes. The market is generally split into three distinct tiers based on material quality and manufacturing precision. Knowing which tier fits your goals will save you from overpaying or under-delivering on quality.
Budget Tier (OEM Replicas): These kits usually cost between $300 and $800 AUD for a full set (front bumper, side skirts, rear diffuser). They are typically made from Polypropylene (PP) or low-grade ABS plastic. The pros? They are cheap and durable enough for daily abuse. The cons? The fitment can be sloppy. Gaps might be uneven, and the surface finish often requires significant sanding before painting. If you are handy with a sander and filler, this is a great entry point.
Mid-Range Tier (Aftermarket Brands): Expect to pay between $1,500 and $4,000 AUD. Brands in this category use higher-quality polyurethane (PU) or reinforced ABS. The molds are sharper, meaning the lines are cleaner, and the fitment is significantly better. You still need professional installation, but you won’t spend hours trying to force a lip onto a bumper. This is the sweet spot for most enthusiasts who want a noticeable change without breaking the bank.
Premium Tier (Carbon Fiber & Custom): Prices here start at $5,000 and can easily exceed $20,000 AUD. We are talking about dry carbon, wet carbon, or bespoke fiberglass pieces from European or Japanese specialists. These kits offer superior strength-to-weight ratios and a unique aesthetic that mass-produced kits cannot match. However, they are fragile if dropped and require expert handling during installation.
Hidden Costs: Installation, Paint, and Prep
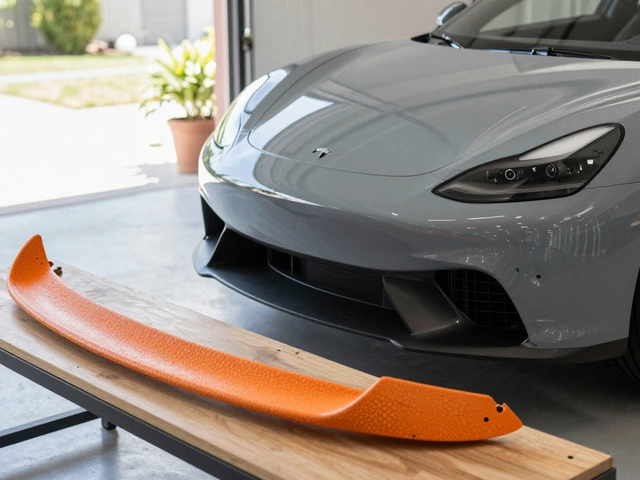
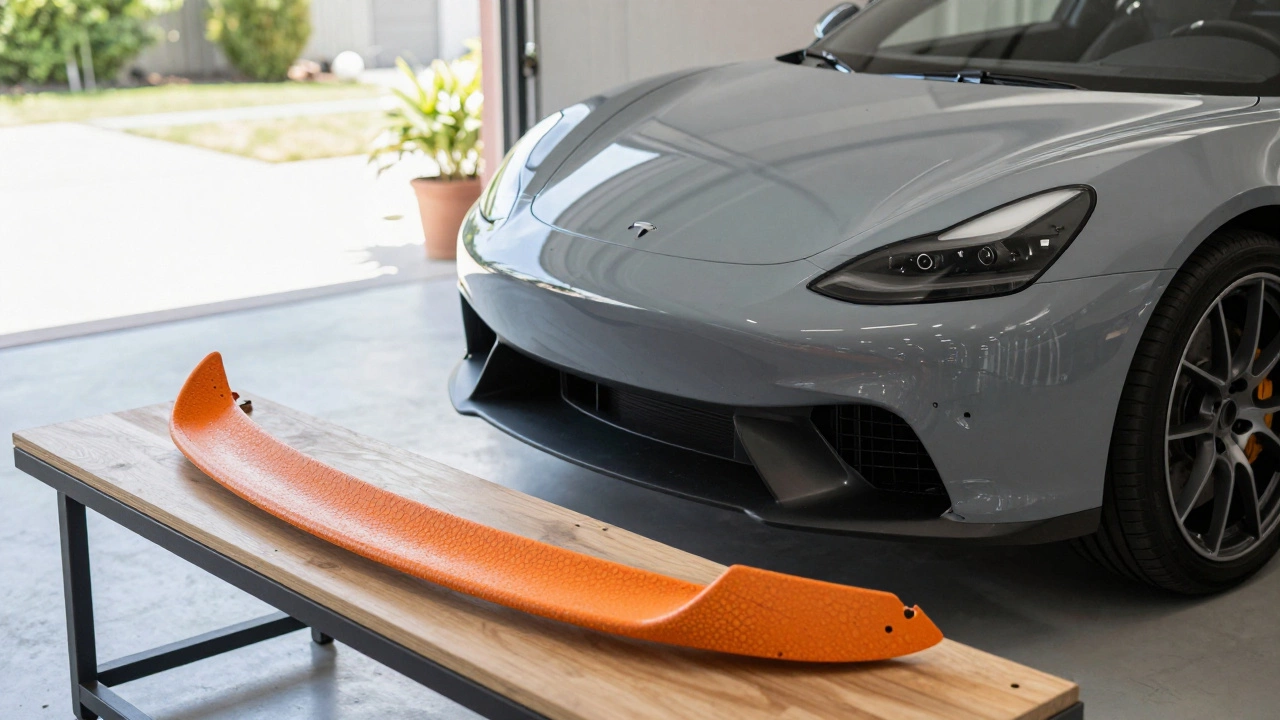
The biggest mistake buyers make is budgeting only for the parts. A body kit sitting in a box does nothing for your car’s appearance. In fact, unpainted polyurethane looks terrible-it has a rough, orange-peel texture that screams "unfinished." You must factor in the cost of preparation and finishing.
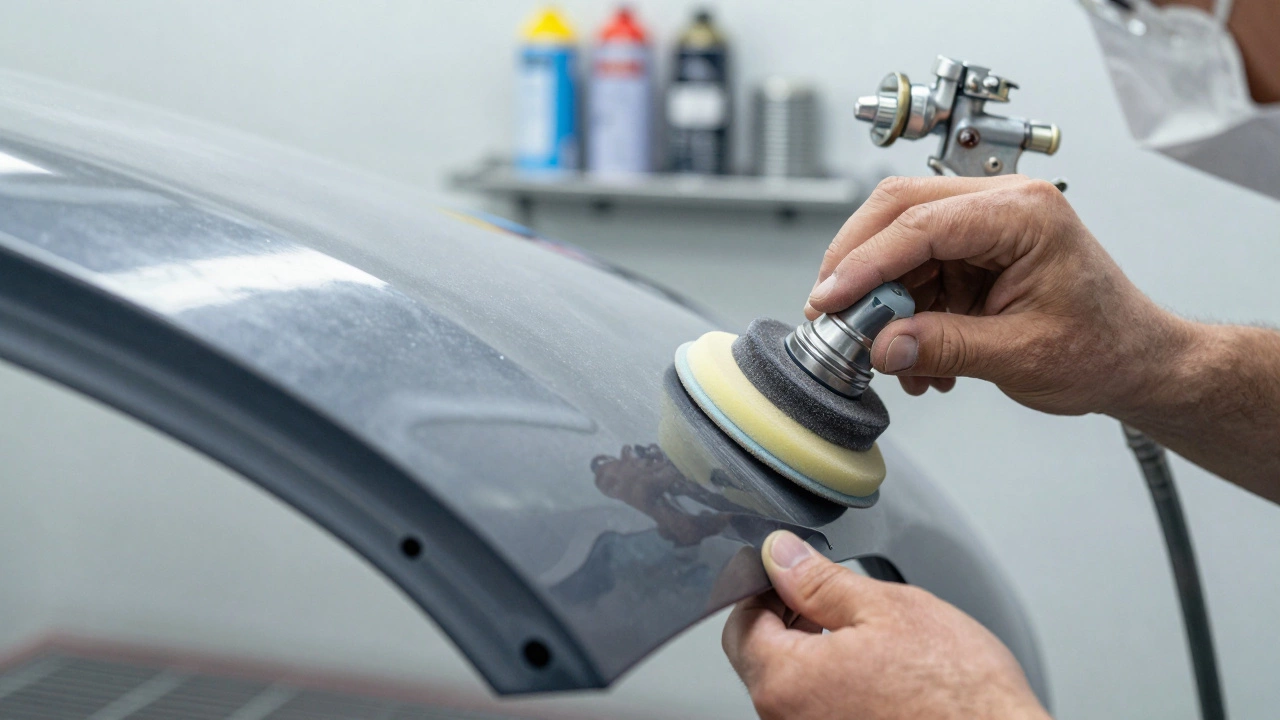
Sanding and Filler: Even high-end kits require smoothing. A professional painter will charge for prep time. For a budget kit, expect to pay an extra $500-$1,000 AUD just to fill gaps and smooth surfaces. Mid-range kits might only need minor touch-ups, costing around $200-$400 AUD in labor.
Paint Matching: This is non-negotiable unless you want a two-tone look. Painting three large panels (bumper, skirts, diffuser) involves masking, priming, base coat, clear coat, and blending. A reputable panel shop in Melbourne might charge $800-$1,500 AUD for this work, depending on the complexity of the color (metallics and pearls cost more).
Hardware and Adhesives: Do not skimp on mounting brackets. Cheap plastic clips fail. Investing in stainless steel hardware and high-strength automotive adhesives (like 3M Super Weatherstrip Adhesive) adds another $100-$200 AUD but ensures your kit stays on during highway drives.
| Component | Budget Tier | Mid-Range Tier | Premium Tier |
|---|---|---|---|
| Kit Parts Only | $300 - $800 | $1,500 - $4,000 | $5,000+ |
| Prep & Filler Labor | $500 - $1,000 | $200 - $400 | $100 - $300 |
| Paint & Clear Coat | $800 - $1,500 | $800 - $1,500 | $1,000 - $2,000 |
| Hardware/Adhesives | $100 - $200 | $100 - $200 | $100 - $200 |
| Total Estimated Cost | $1,700 - $3,500 | $2,600 - $5,700 | $6,200+ |
Material Matters: Polyurethane vs. Fiberglass vs. Carbon
The material of the kit dictates not just the price, but the longevity and maintenance. Choosing the wrong material for your climate or usage style can turn a dream mod into a nightmare repair bill.
Polyurethane (PU): This is the industry standard for mid-range kits. PU is flexible, which means it absorbs minor impacts without cracking. It is heavier than fiberglass but easier to sand and shape. If you live in Australia where UV exposure is intense, PU holds up well, provided it is painted correctly. It is the best all-rounder for street cars.
Fiberglass (FRP): Often found in cheaper kits, fiberglass is rigid and brittle. It cracks easily upon impact. However, it is lightweight and takes paint beautifully. If you buy a fiberglass kit, you must reinforce the mounting points with internal brackets. Otherwise, vibration from the road can cause stress fractures over time.
Carbon Fiber: Real carbon fiber is expensive because the layup process is labor-intensive. It offers the highest strength-to-weight ratio. However, distinguish between "wet" carbon (shiny, glossy, heavier resin) and "dry" carbon (matte, lighter, stronger). For most street applications, the weight savings are negligible compared to the cost. Save carbon fiber for track-focused builds where every kilogram counts.
Fitment Risks and Resale Value
Before you commit funds, consider the long-term implications. A poorly fitted body kit can detract from your car’s value. Potential buyers often view extensive modifications as a red flag, fearing hidden damage or poor craftsmanship.
If you plan to sell the car within two years, stick to OEM-style upgrades or reversible options like vinyl wraps. Aggressive wide-body kits are polarizing. While they look amazing to enthusiasts, they narrow the buyer pool significantly. Conversely, a high-quality, professionally installed mid-range kit on a classic or performance car can sometimes enhance resale value if the target audience appreciates that specific aesthetic.
Also, check local regulations. In Victoria, Australia, modifications must comply with VSCC (Vehicle Standards Compliance Committee) guidelines. Ensure your new bumpers do not interfere with safety features like sensors, cameras, or pedestrian protection mechanisms. Illegal modifications can void your insurance or lead to fines.
Alternatives to Permanent Modifications
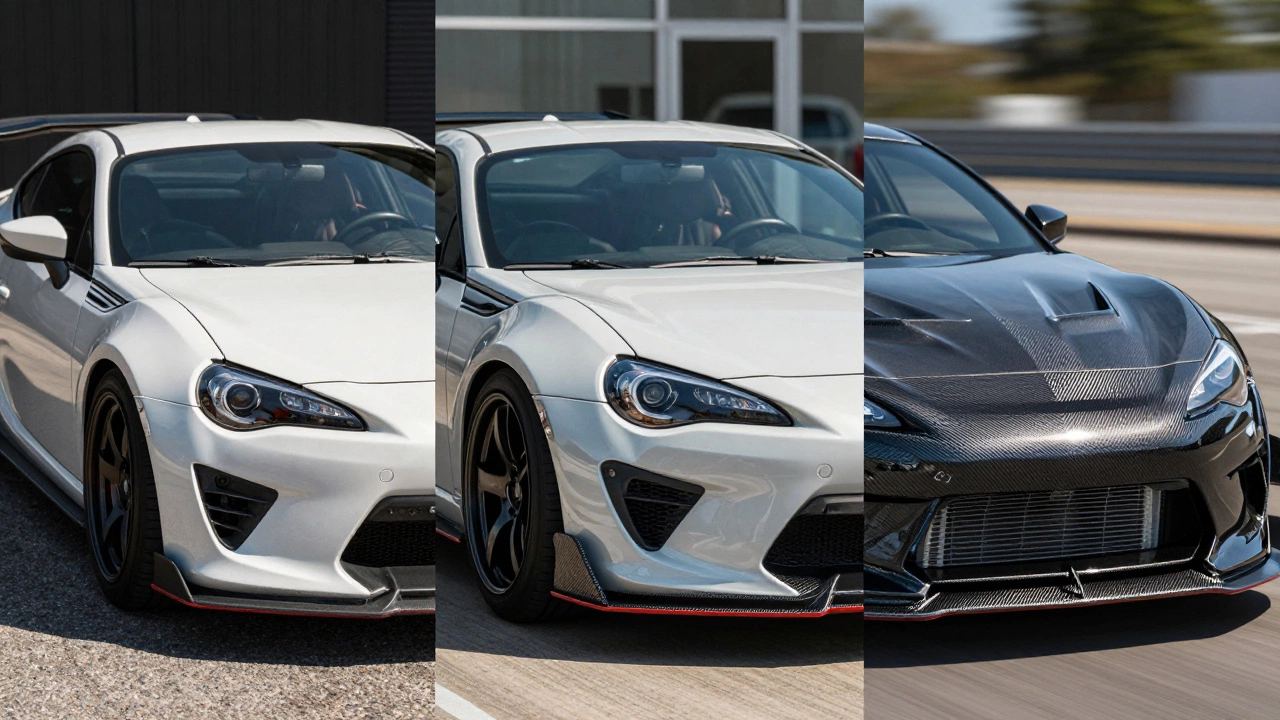
If the total cost feels too steep, or you are unsure about committing to a permanent change, consider alternatives. Vinyl wrapping individual panels is a popular trend. You can wrap just the front lip or rear diffuser for $300-$600 AUD. It allows you to test the look without drilling holes or altering the car’s structure. Plus, it is fully reversible.
Another option is renting or borrowing parts from friends to visualize the scale. Sometimes, a kit that looks incredible online overwhelms the car in person. Taking photos of your car with digital mockups can help you decide if the proportions work before spending a dime.
Final Verdict: What Is the Right Number?
For most drivers, the ideal budget sits in the mid-range tier. Aim to spend between $2,500 and $4,500 AUD total, including professional paint and installation. This range ensures you get a kit that fits well, lasts for years, and looks sharp without draining your savings. Avoid the cheapest options unless you are skilled in bodywork, and resist the urge to overspend on carbon fiber unless you have a specific performance goal.
Your car is a reflection of your taste and resources. Invest in quality materials and professional finishing. A modest kit done right always beats an expensive kit done poorly.
Is it worth buying a cheap body kit?
Cheap body kits (under $500) are only worth it if you have experience with auto body repair. They often require extensive sanding, filling, and reshaping to fit properly. If you hire a professional to install a cheap kit, the labor costs will likely exceed the savings, making a mid-range kit a better financial choice.
Do body kits affect car insurance?
Yes, most insurers require you to declare cosmetic modifications. While body kits rarely increase premiums significantly, failing to disclose them could void your policy in the event of a claim. Always check with your provider before installing new panels.
How long does it take to install a body kit?
Installation varies by complexity. A simple lip and diffuser might take 2-4 hours. A full wide-body kit with fender flares can take 2-5 days, especially if custom fabrication or extensive paint blending is required. Professional painters often schedule these jobs in blocks to ensure proper curing times.
Can I paint a body kit myself?
It is possible but challenging. Achieving a factory-smooth finish requires a spray booth, proper ventilation, and skill in mixing paints. Mistakes like runs, dust nibs, or uneven clear coats are common for DIYers. For a lasting result, professional painting is recommended.
Are universal body kits a good idea?
Universal kits are risky. They are designed to fit a range of vehicles, so fitment is rarely perfect. You will likely need to cut, grind, and reshape the panels extensively. Model-specific kits are almost always a better investment for both aesthetics and ease of installation.