Body Kit Installation Estimator
Select your project details below to get a realistic estimate for downtime and potential labor costs.
Select options and click Calculate to see results.
- Base Labor Time:
- Complexity Modifier:
- Material Prep/Paint:
Cost Projection
Based on avg $100/hr labor rate (Pro) or tool/equipment amortization (DIY).
You just bought that aggressive wide-body kit for your GTI or Supra. You’re imagining the finished look: wider fenders, sharper lines, instant street cred. But then reality hits. How long will this actually take? Will you be without your daily driver for three days? Three weeks? The answer isn't simple because body kit installation is rarely a quick bolt-on job. It depends entirely on the kit type, your car’s condition, and whether you’re hiring a pro or tackling it in your garage.
The Short Answer vs. The Reality
If you’re looking for a single number, here it is: professional installation typically takes 3 to 7 days. DIY projects can stretch from one weekend to two months. Why the huge gap? Because most people underestimate the prep work. A body kit isn’t just plastic pieces glued to a bumper. It involves removing factory parts, modifying existing panels, sanding, priming, painting, and reassembling. If you skip steps, you get gaps, rattles, and paint that peels off in six months.
Let’s break down the timeline based on the complexity of the kit. This helps you plan your downtime realistically.
| Kit Complexity | Professional Shop Time | DIY Home Garage Time | Key Challenges |
|---|---|---|---|
| Front Lip / Splitter Only | 4-8 hours | 1 day | Clearance issues, ground scraping |
| Bumper Cover Replacement | 1-2 days | 3-5 days | Aligning fog lights, sensor calibration |
| Full Side Skirt & Rear Diffuser | 2-3 days | 1 week | Panel gaps, adhesive curing time |
| Wide-Body Fender Flares | 5-7+ days | 2-4 weeks | Cutting metal, rust prevention, wheel offset |
| Custom Fabricated Kit | 2-6 weeks | N/A (Pro only) | Design iteration, mold making, custom paint |
Why Professional Shops Need Days, Not Hours
You might wonder why a shop charges for three days when they aren’t working on your car for 24 hours straight. They are billing for expertise and sequencing. Here’s what happens behind the closed doors:
- Day 1: Removal and Prep. Technicians strip the bumpers, headlights, and trim. They check for hidden damage or rust. If your car has parking sensors or adaptive cruise control radar, these must be carefully removed and recalibrated later.
- Day 2: Dry Fit and Modification. They place the new parts on the car without glue or bolts. This reveals alignment issues. Maybe the side skirt doesn’t line up with the door edge. Maybe the front lip interferes with the tow hook. They mark cutting lines and modify the existing chassis or brackets.
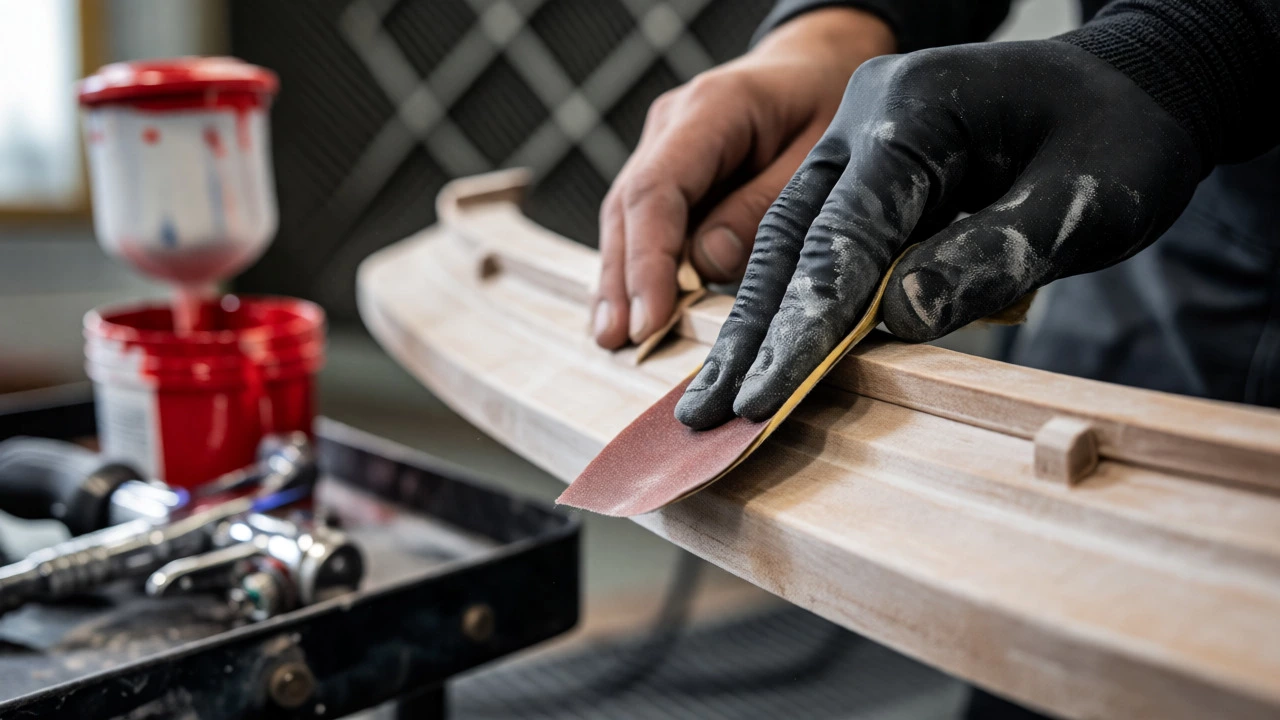
- Day 3: Paint Preparation. Most kits come unpainted. They sand the fiberglass or polyurethane, apply primer, and block-sand again. This ensures the paint bonds properly. Rushing this step causes orange peel texture or bubbling.
- Day 4: Painting and Curing. The parts go into the booth. Paint needs time to cure before handling. If you need color matching, they pull a sample from your car first.
- Day 5: Reassembly and QC. Everything goes back on. They adjust panel gaps to millimeter precision. Headlights are aimed. Sensors are tested. Finally, they wash the car to remove dust.
The DIY Trap: What Home Installers Miss
Doing it yourself saves money but demands serious time. If you have a standard bumper replacement kit, expect to spend 10-15 hours over several weekends. Here’s where home installers usually stall:
Paint Matching: Buying pre-painted parts is risky. Colors fade over time. Your 2020 red looks different than a fresh 2024 red batch. Custom mixing costs extra and requires waiting for the painter to finish their queue. If you paint it yourself, you need a spray gun, compressor, and a dust-free environment. Garage dust settles into wet clear coat instantly.
Adhesive Failures: Many kits use double-sided tape or silicone sealant. If you don’t clean the mounting surface with isopropyl alcohol thoroughly, the bond fails. Then you’re driving with a flap flapping at highway speeds, forcing you to stop and redo the job.
Tool Requirements: You need more than a socket set. For wide-body kits, you’ll need an angle grinder, rivet gun, and possibly spot welder drill bits. Cutting holes for exhaust tips or intercooler piping adds unexpected hours.
Factors That Slow Down Installation
Not all cars are created equal. Some platforms make fitting a body kit significantly harder.
Sensor-Laden Modern Cars
Newer vehicles (2018+) are packed with cameras and radar. Tesla Model 3, BMW G-series, and Audi A4s require careful routing of wiring harnesses. If you cut a hole for a vent and sever a camera wire, you trigger dashboard warnings. Diagnosing these electrical gremlins can add half a day to the job.
Rust and Previous Damage
If your car is older, say a 2010 Honda Civic, check the bumper brackets. Rust often corrodes the mounting points. You can’t just bolt new parts onto rotten metal. You might need to fabricate new brackets or weld reinforcement plates. This turns a simple swap into a fabrication project.
Wheel Offset Changes
A wide-body kit often requires new wheels or spacers to fill the fender arches. If you order the wrong offset, the tires rub against the inner liner. Adjusting this means returning wheels or adding shims, which delays completion until parts arrive.
Cost Implications of Time
Time equals money. Labor rates vary by region, but assume $80-$150 per hour at reputable shops. A 10-hour job costs $800-$1,500 in labor alone, plus parts. If the job drags on due to complications, the bill climbs.
Ask your installer for a quote breakdown. Is painting included? Are removal fees separate? Does the price cover sensor recalibration? Hidden fees often appear after the car is already disassembled.
How to Speed Up the Process
You can’t rush quality, but you can prepare. Follow these steps to minimize downtime:
- Pre-Paint Parts: Order your kit painted before booking the install slot. Provide your VIN so the painter matches the factory code exactly. This removes 2-3 days from the shop’s schedule.
- Inspect Mounting Points: Before dropping off the car, check if your factory brackets are intact. Replace broken clips beforehand.
- Choose Polyurethane Over Fiberglass: Polyurethane kits are flexible and easier to fit. They resist cracking and often snap into place better than rigid fiberglass, which may require heat shaping.
- Book Off-Peak Times: Shops are busiest in spring and fall. Winter slots often have shorter wait times.
Real-World Example: Installing a Front Lip
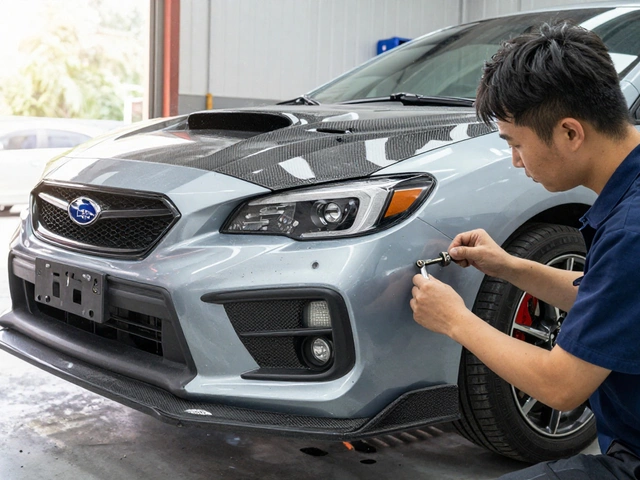
Let’s look at a common scenario: adding a front splitter to a Subaru WRX. The kit includes the lip, hardware, and instructions.
Hour 1: Lift the car. Remove under-tray screws. Lower the tray carefully to avoid damaging AC lines.
Hour 2: Clean the bumper underside with degreaser. Apply primer to the contact surfaces.
Hour 3: Dry fit the splitter. Mark drill holes. Check clearance against the ground jack stand.
Hour 4: Drill pilot holes. Install self-tapping screws. Tighten torque specs to prevent stripping plastic threads.
Hour 5: Test drive. Listen for wind noise or vibration. Adjust if necessary.
This took five hours total. A pro could do it in two, but the outcome is similar if you’re careful.
When to Hire a Specialist
Some jobs demand expert hands. If you’re installing a wide-body kit like Rocket Bunny or Pandem, hire a specialist. These involve cutting actual fenders. One mistake ruins expensive sheet metal. Specialists have experience with panel gap consistency across different lighting angles. They also know how to hide fasteners cleanly.
For simple splitters, skirts, or bumper covers, a competent general mechanic or skilled DIYer suffices. For anything involving structural changes or complex electronics integration, pay for the expertise.
Can I drive my car immediately after installation?
Yes, once the parts are bolted on and secure. However, avoid car washes for 48-72 hours to let adhesives fully cure. Also, keep speed moderate for the first few miles to ensure nothing vibrates loose.
Do body kits void my warranty?
Generally, no. Under the Magnuson-Moss Warranty Act in the US, manufacturers must prove the modification caused the failure to deny coverage. However, if you cut wires for sensors and cause electrical issues, those specific repairs might not be covered.
Which material installs faster: fiberglass or polyurethane?
Polyurethane installs faster. It is flexible, so it conforms to slight panel imperfections without needing extensive heat molding or filler. Fiberglass is rigid and often requires precise alignment and sanding to fit perfectly.
What if the body kit doesn't fit perfectly?
Small gaps (under 3mm) are normal and can be filled with automotive caulk. Larger gaps indicate manufacturing errors or incorrect mounting points. Do not force them shut with excessive pressure, as this cracks the material. Return the part if gaps exceed 5mm consistently.
Does painting add significant time?
Yes. Painting adds 2-4 days depending on the shop's workload and weather conditions for drying. Clear coat needs time to harden before buffing. Rushing this leads to soft paint that scratches easily.