Lowering Springs DIY Readiness Checker
Thinking about dropping your ride? Use this tool to check if you have the right gear, estimate the difficulty based on your location's rust factor, and see how much you could save.
Project Assessment
You’ve seen them on the street. That aggressive stance where the wheel arch just barely covers the tire lip. It looks fast, it looks planted, and honestly, it’s one of the most cost-effective ways to change how a car looks and handles. But then you look at the price tag for a professional install, or you watch a YouTube video where someone struggles with a seized bolt for three hours, and you hesitate. The big question isn't whether they work-they do-it's whether putting lowering springs on hard is actually within your skill set.
Here’s the short answer: No, it’s not "hard" in terms of brainpower. You don’t need an engineering degree. But it is physically demanding, requires specific tools, and has zero tolerance for shortcuts if you want to keep your tires on the road. If you’re comfortable changing brake pads or swapping a battery, you can likely handle this. If you’ve never touched a jack stand in your life, proceed with caution. Let’s break down exactly what you’re signing up for, so you can decide if you should grab your wrenches or book a shop appointment.
What Are Lowering Springs Actually Doing?
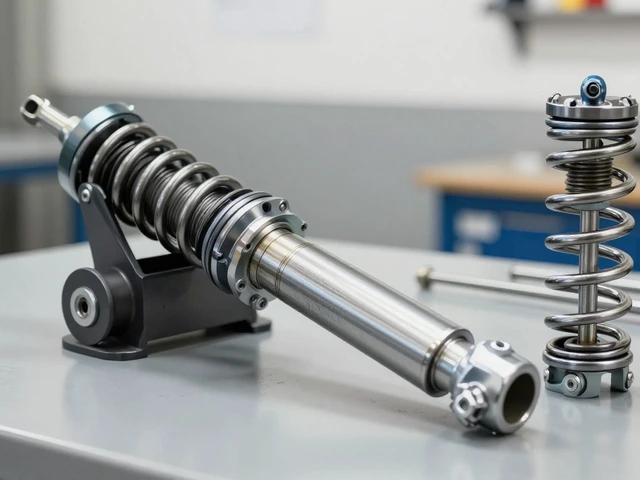
Before we talk about bolts, let’s clarify the part itself. Lowering springs are shorter, stiffer coil springs that replace your factory suspension springs to reduce the vehicle's ride height. Unlike coilovers, which allow you to adjust height via threaded collars, lowering springs are fixed. You buy them for a specific drop-usually 1 to 2 inches-and that’s what you get.
The goal is twofold. First, aesthetics. Dropping the center of gravity makes the car look less like a truck and more like a sports coupe. Second, handling. By stiffening the spring rate and lowering the roll center, you reduce body roll in corners. However, there’s a trade-off. Factory shocks (dampers) are tuned for soft, tall springs. When you pair them with stiff, short springs, the shocks have to work harder. This often leads to a bouncier ride or premature shock wear. Many enthusiasts pair lowering springs with upgraded dampers later, but many run them stock for years without issue.
The Difficulty Scale: Where Does It Sit?
If changing a tire is a 1/10 difficulty, and rebuilding an engine is a 10/10, lowering springs sit somewhere around a 4 or 5. Here’s why:
- Physical Effort: Suspension components are heavy. You will be lifting coils, compressing springs under tension, and wrestling rusted bolts. Your back will feel it.
- Tool Dependency: You cannot do this with a basic socket set. You need a spring compressor. Trying to remove a compressed spring without the right tool is dangerous and frustrating.
- Rust Factor: If you live in Melbourne or anywhere with harsh winters, salt and moisture fuse bolts to nuts. Breaking a strut bolt off inside the knuckle turns a 2-hour job into a weekend project.
The mental aspect is straightforward. You take things off, put new things on, and put things back together. The challenge is entirely mechanical and physical.
Essential Tools You Can’t Skip
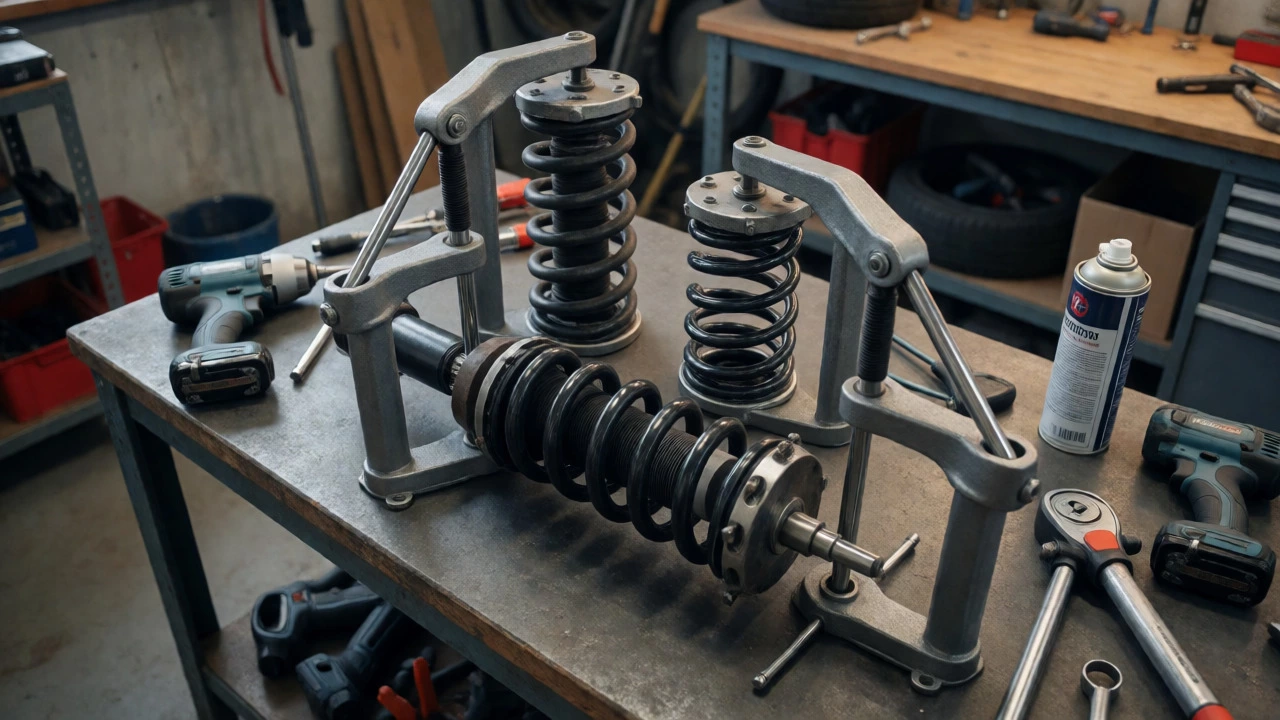
Most DIY failures happen because people underestimate the toolkit. You aren’t just turning sockets; you are managing stored energy. A compressed spring holds enough force to launch a top plate across the garage if released suddenly.
| Tool Category | Specific Item | Why You Need It |
|---|---|---|
| Lifting | Hydraulic Floor Jack + Jack Stands | Never trust a hydraulic jack alone. Stands keep you alive if the seal blows. |
| Compression | Spring Compressors (Pair) | Required to safely disassemble the strut assembly off the car. |
| Fasteners | Impact Wrench (Cordless preferred) | Saves wrists from seized bolts. Cordless gives you mobility under the car. |
| Measurement | Tape Measure & Torque Wrench | Measure old height before starting. Torque specs prevent wheel loss. |
| Chemicals | Penetrating Oil (e.g., PB Blaster) | Soak bolts 24 hours prior to break loose easily. |
Note the torque wrench. Over-tightening a strut nut can strip threads or crack the mounting bracket. Under-tightening can lead to clunking noises or worse, separation. Follow manufacturer specs strictly.
Step-by-Step: The Actual Process
While every car differs slightly, the general workflow for front struts (the most common setup) remains consistent. Rear setups vary between multi-link and torsion beams, but the principle is similar.
- Preparation: Loosen lug nuts while the car is still on the ground. Spray all suspension bolts with penetrating oil. Let it soak. This single step saves hours.
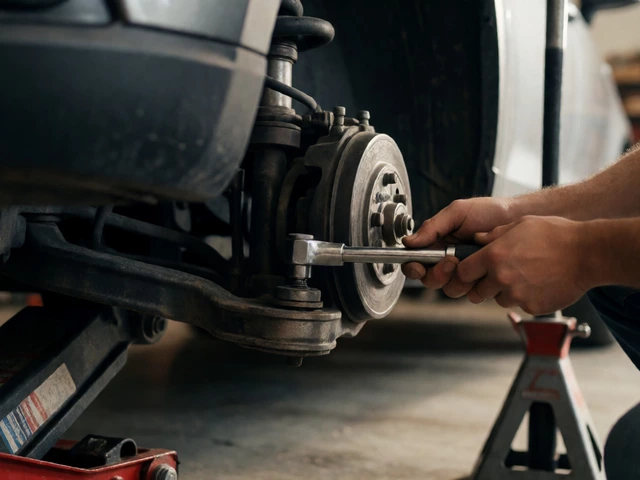
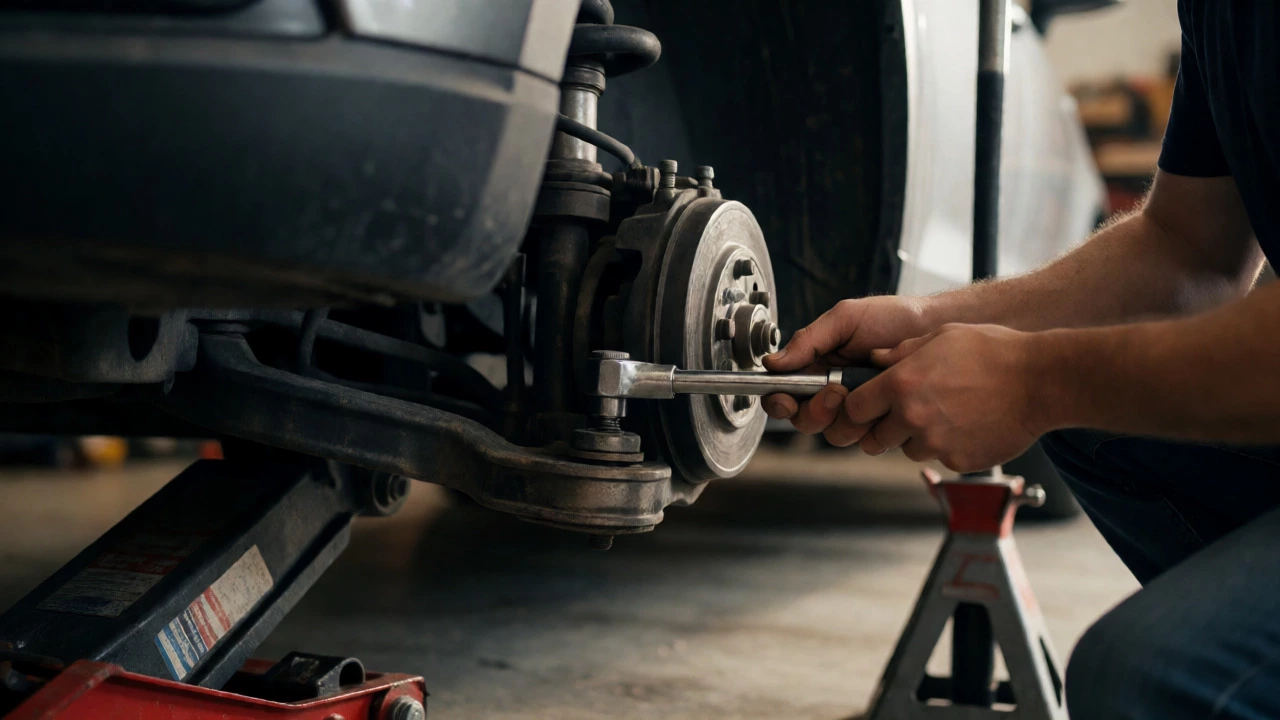
- Lift and Secure: Jack up the corner, place a jack stand under the pinch weld or designated lift point. Remove the wheel.
- Disconnect Components: Unbolt the sway bar link (if applicable). Disconnect the ABS sensor wire if it’s attached to the strut. Mark the position of any spacers or washers.
- Remove the Strut: Unbolt the top mounts (inside the engine bay or trunk) and the bottom bolts connecting the strut to the steering knuckle. Pull the entire assembly out.
- Disassemble: Place the strut in a vise. Use spring compressors to compress the spring evenly until it’s loose. Remove the top mount, bump stop, and old spring.
- Install New Spring: Slide the new lowering spring onto the strut shaft. Reinstall the bump stop and top mount. Carefully release the spring compressors. Ensure the spring seats correctly in its perch.
- Reassembly: Put the strut back into the car. Bolt everything back in reverse order. Do not fully tighten bolts until the car is on the ground and weight is on the wheels.
- Repeat: Do the other side. Ideally, do both fronts or both rears at once to maintain balance.
The critical moment is releasing the spring compressors. Do it slowly. Alternate sides. If one side releases faster than the other, the spring can twist and bind, potentially damaging the rubber seat or causing uneven seating.
Common Pitfalls That Ruin Installs
I’ve seen plenty of bots come into the shop after a DIY attempt went sideways. Here’s what usually goes wrong:
- Forgetting Wheel Alignment: Lowering changes camber and toe. Even a 1-inch drop alters geometry. Driving without an alignment will chew up your tires in 5,000 kilometers. Budget $80-$120 for an alignment post-install.
- Bushing Binding: If you tighten control arm bushings while the car is in the air, they twist when the car lands. This causes premature tearing. Always tighten suspension bolts at final ride height.
- Ignoring Shock Compatibility: As mentioned, stock shocks may not last long with stiff springs. Listen for knocking sounds over bumps. If you hear them, your shocks might be topping out.
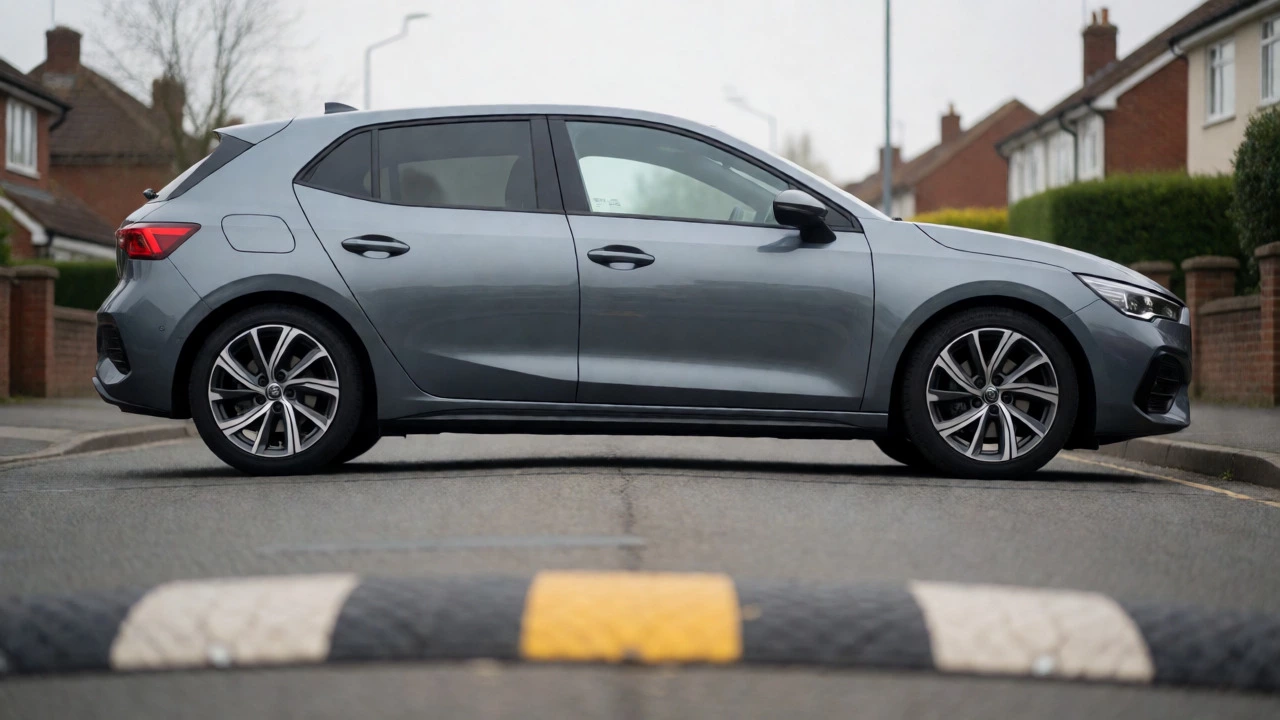
- Scraping Speed Bumps: Melbourne’s speed bumps are notorious. A 2-inch drop means you need to slow down significantly more than before. Check your approach angles if you plan to go off-road or park steeply.
When to Call a Pro
Despite the manageable difficulty, there are scenarios where hiring a mechanic is smarter. If your bolts are completely seized and snapping, you’ll need heat treatment or extraction tools that require expertise. If your car uses complex air suspension or adaptive damping systems, messing with the height sensors can trigger error codes that require diagnostic scanners to clear.
Also, consider liability. If you strip a thread on a critical suspension component and drive away, you risk catastrophic failure. For a first-time installer, paying $150-$300 for labor provides peace of mind. You save money by doing the prep work yourself-cleaning parts, soaking bolts-but let the pro handle the compression and torquing.
Final Verdict: Is It Worth Your Sweat?
Putting lowering springs on isn’t rocket science, but it demands respect for physics and safety. If you have a driveway, a friend to help hold parts, and the right tools, it’s a satisfying weekend project. You’ll learn your car’s suspension intimately, and the savings are real. Just remember: the install is only half the battle. The alignment and subsequent driving adjustments are equally important.
If you’re unsure, start with the rear axle if it’s simpler on your model, or tackle one front corner to gauge your comfort level. Don’t rush. Take photos at every stage. And if a bolt refuses to move, walk away and come back with more penetrating oil rather than forcing it and breaking something.
Do I need to replace my shocks when installing lowering springs?
Not immediately, but it is recommended. Factory shocks are valved for softer springs. Stiff lowering springs cause stock shocks to work harder, leading to faster wear or a bouncy ride. Many people run stock shocks for 20,000+ km, but upgrading to adjustable or sport dampers improves ride quality significantly.
How much does it cost to have lowering springs installed professionally?
In Australia, labor typically ranges from $150 to $350 AUD depending on the shop and vehicle complexity. This usually includes removing old springs, installing new ones, and disposing of the old parts. An alignment is charged separately, usually between $80 and $120 AUD.
Can I drive my car immediately after installing lowering springs?
Yes, provided all bolts are torqued to spec and wheels are secured. However, you should avoid high speeds and sharp corners for the first 50-100 km as the new springs settle. Get an alignment done as soon as possible to prevent uneven tire wear.
Will lowering springs make my car uncomfortable?
Slightly, yes. Lowering springs are generally stiffer than factory springs to prevent bottoming out. Combined with shorter travel, you will feel more road imperfections. High-quality brands like Eibach or H&R use progressive rates to mitigate this, keeping daily drivability reasonable.
What happens if I don't align my wheels after lowering?
You will experience rapid and uneven tire wear, particularly on the inner edges due to increased negative camber. The car may also pull to one side or feel unstable during braking. Ignoring alignment can destroy a set of tires in under 10,000 km.