LED Headlight Upgrade Cost & Safety Calculator
Configuration
Financial Breakdown
Break-even Point
--
Years until LEDs save moneyTotal Lifespan Savings
$0
Over LED lifetime vs HalogenSafety & Legal Check
- Color Temp (ADR Limit < 6000K)
- Beam Pattern Clarity
- Heat Management
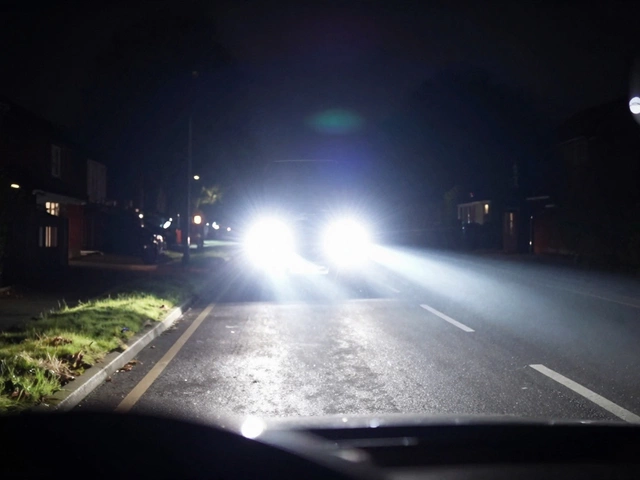
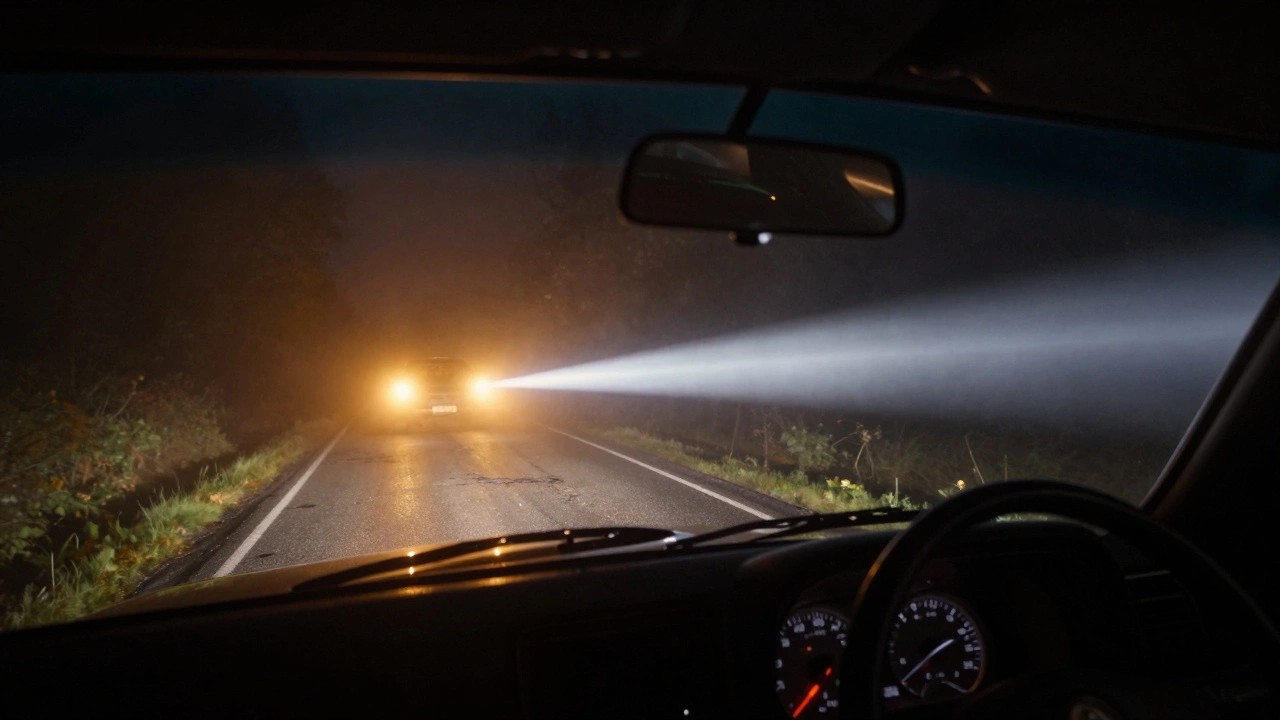
You’re driving home on a dark country road. Your old halogen bulbs are glowing with that familiar yellow haze, barely cutting through the fog. You’ve seen those crisp, white beams from modern cars and wondered: Should I just swap my lights for LEDs? It sounds simple-pop out the old bulb, pop in the new one, drive away. But here’s the catch: not all LED upgrades are created equal, and some can actually make your night driving worse.
The short answer is yes, upgrading to LED headlights is worth it-but only if you do it right. If you buy cheap plug-and-play kits, you might end up with glare, heat issues, or lights that burn out in six months. This guide cuts through the marketing hype to tell you exactly what works, what doesn’t, and how to choose an upgrade that actually improves your safety without breaking the bank.
Why Halogen Bulbs Are Holding You Back
To understand why LEDs are such a big deal, you first need to look at what they’re replacing. Most cars built before 2020 came with halogen bulbs. These work by heating a tungsten filament until it glows. It’s an old technology, reliable but inefficient. About 90% of the energy goes into heat, and only 10% becomes light.
This means your halogens draw more power from your alternator while giving you less visibility. They also have a shorter lifespan compared to modern alternatives. A typical halogen bulb lasts between 450 and 1,000 hours. That’s roughly one to two years of average driving. When they fail, they often blow out completely, leaving you stranded in the dark.
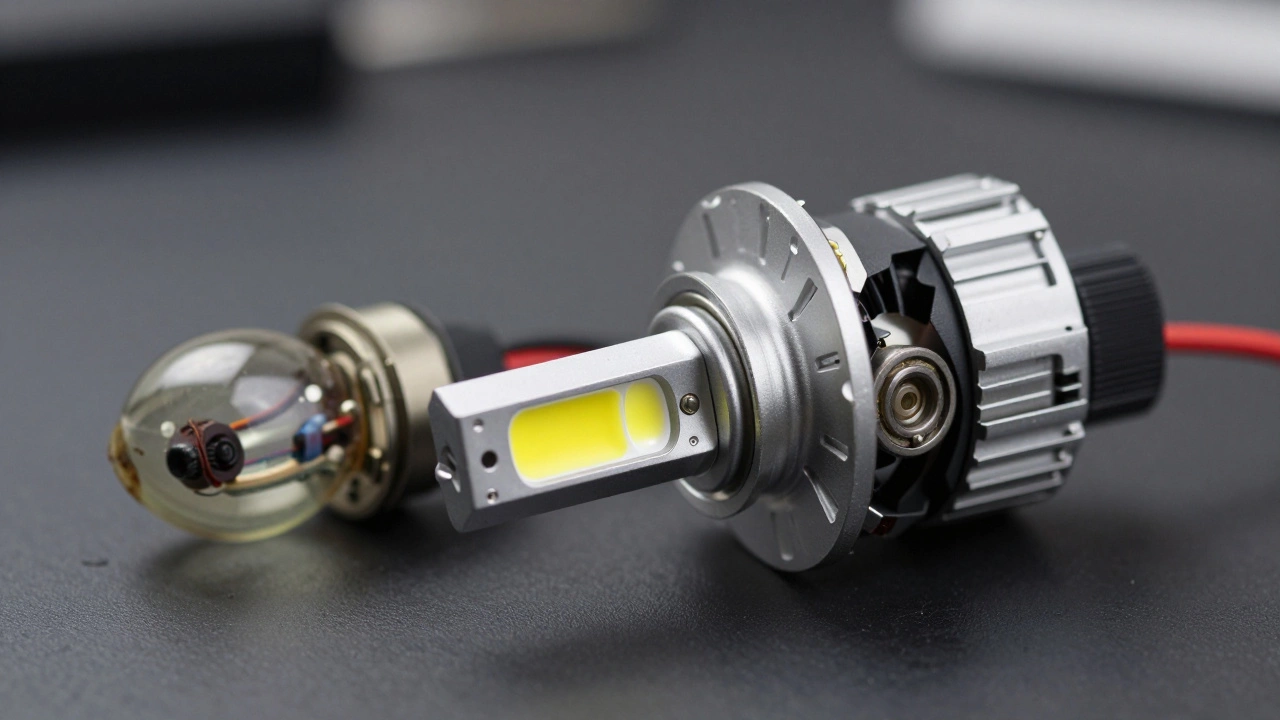
In contrast, an LED (Light Emitting Diode) generates light through electroluminescence. No filament, no gas, just electrons moving through a semiconductor. This process is incredibly efficient. LEDs convert about 80-90% of their energy into visible light. The result? Brighter beams, lower power consumption, and a lifespan that can exceed 30,000 hours. That’s nearly a decade of daily use for most drivers.
The Real Benefits of Switching to LED
When you switch to high-quality LEDs, the difference isn’t just cosmetic. It’s functional. Here’s what you’ll notice immediately:
- Better Color Temperature: Halogens emit a warm, yellowish light around 3,200 Kelvin (K). LEDs typically run between 5,000K and 6,000K, producing a crisp white light that mimics daylight. This reduces eye strain and helps your brain process visual information faster.
- Improved Visibility Range: Because LEDs produce a more focused beam pattern, they throw light further down the road. You’ll see potholes, animals, or debris sooner, giving you more time to react.
- Instant On-Time: Halogens take a fraction of a second to reach full brightness. LEDs light up instantly. This matters more than you think when you’re flashing your high beams to signal other drivers.
- Durability: LEDs have no fragile filaments. They’re encased in durable plastic or glass housings that resist vibration. If you drive on rough roads or tracks, LEDs will survive where halogens would shatter.
However, there’s a common misconception that brighter always means better. In reality, cutoff sharpness matters more than raw lumen output. A poorly aimed LED kit can blind oncoming traffic, which is illegal and dangerous. We’ll cover how to avoid this later.
The Hidden Costs and Risks of Cheap Kits
Here’s where things get tricky. You can buy LED headlight kits for as little as $30 online. They promise "plug-and-play" installation and "3x brightness." Don’t believe it. Cheap LEDs cut corners in three critical areas: cooling, optics, and electrical regulation.
Cooling Issues: LEDs generate heat at the base (the diode), not the front like halogens. If the heatsink is too small or the fan is weak, the LED will overheat. This causes thermal throttling, where the light dims itself to prevent damage. Worse, excessive heat can melt your headlight housing or wiring harness. Look for kits with aluminum fins and dual-ball fans rated for at least 10,000 RPM.
Poor Beam Pattern: Many cheap LEDs are designed for projector housings but sold as universal fitments. If your car uses a reflector-style headlight (the shiny bowl inside), a generic LED will scatter light everywhere. You’ll get glare for yourself and everyone else. Always check if the kit is optimized for your specific headlight type.
Electrical Problems: Older cars may have CANbus systems that detect low-power usage and trigger error messages on your dashboard. Some cheap LEDs lack the necessary decoders, causing flickering or warning lights. High-end kits include built-in CANbus bypasses to prevent this.
| Feature | Halogen | Budget LED ($30-$60) | Premium LED ($100-$200) |
|---|---|---|---|
| Lifespan | 500 hours | 2,000-5,000 hours | 30,000+ hours |
| Color Temp | 3,200K (Yellow) | 6,000K+ (Bluish, harsh) | 5,500K (Natural White) |
| Cooling System | N/A | Small fan, poor airflow | Dual ball bearing fan, large heatsink |
| Beam Pattern | Focused (if aligned) | Scattered, glaring | Sharp cutoff, even spread |
| Warranty | None | 30 days - 6 months | 2-5 years |
How to Choose the Right LED Upgrade
Not all LED upgrades are direct replacements. Before you buy, you need to know your headlight setup. There are two main types:
- Reflector Housings: These have a shiny, parabolic interior that bounces light off the bulb. They require LEDs with a specific filament design that mimics the shape of a halogen bulb. If you put a standard LED in here, the light will scatter upward, blinding oncoming drivers.
- Projector Housings: These use a lens to focus light into a tight beam. They work well with most LED styles because the lens does the focusing. However, even projectors benefit from LEDs designed specifically for them.
Check your owner’s manual or look inside your headlight assembly. If you see a curved mirror behind the bulb, it’s a reflector. If you see a clear glass dome with a metal shield inside, it’s a projector.
Next, consider the connector type. Most cars use standard bases like H4, H7, H11, or 9005. Make sure the LED kit matches your socket. Some adapters are flimsy and cause loose connections, leading to intermittent failures. Look for kits with robust, locking connectors.
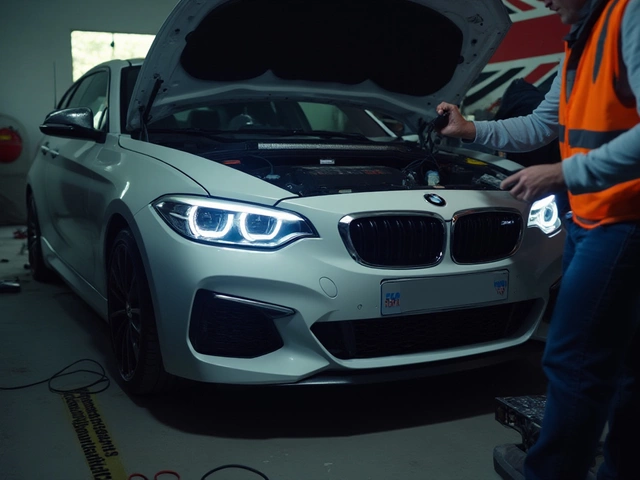
Finally, think about installation ease. While many LEDs are marketed as "plug-and-play," some require trimming wires or modifying the backing plate. If you’re not comfortable working under the hood, budget $50-$100 for professional installation. A proper install ensures correct alignment and prevents moisture buildup.
Legal and Safety Considerations
In Australia, including Melbourne, vehicle lighting is regulated by the Department of Transport. Modifying headlights must meet Australian Design Rules (ADR) standards. Specifically, your headlights must not dazzle other drivers and must provide adequate illumination.
While aftermarket LEDs aren’t explicitly banned, they must be installed correctly. If your beam pattern is misaligned, you can fail your Roadworthy Certificate (RWC) inspection. To stay compliant:
- Keep color temperature below 6,000K. Anything higher appears blue and scatters more in rain/fog.
- Ensure the beam has a sharp horizontal cutoff. No light should spill above the horizon line.
- Avoid overly bright kits. More lumens don’t help if the light isn’t directed properly.
If you’re unsure, visit a licensed mechanic or lighting specialist. They can aim your headlights using a wall chart or laser level. Proper alignment is non-negotiable for safety and legality.
Installation Tips for DIYers
If you decide to install the LEDs yourself, follow these steps to avoid common pitfalls:
- Work in a Clean Environment: Dust and moisture are enemies of electronics. Install on a dry day, and keep the headlight cavity clean.
- Handle with Care: Don’t touch the LED chips with bare fingers. Oils from your skin can degrade performance over time. Use gloves or hold the heatsink.
- Secure Wiring: Use zip ties to route wires away from moving parts like suspension components. Loose wires can chafe against metal and short out.
- Test Before Sealing: Turn on the lights before closing the headlight housing. Check for errors on your dashboard and ensure both low and high beams work.
- Re-seal Properly: If you removed the headlight unit, apply fresh silicone sealant around the edges to prevent water ingress. Moisture inside the housing causes fogging and corrosion.
After installation, park facing a flat wall at night. Mark the center of each beam on the wall. Adjust the vertical screw on the back of the headlight until the top of the bright area is level with the mark. This ensures you’re not blinding others while maximizing your own visibility.
When Not to Upgrade
There are scenarios where upgrading to LED isn’t the best move. If your car has factory-installed HID (High-Intensity Discharge) or adaptive LED headlights, replacing them with aftermarket LEDs usually yields minimal improvement. Factory systems are calibrated precisely for the vehicle’s optics.
Also, if your headlight lenses are yellowed or cracked, swapping bulbs won’t fix the problem. Tinted lenses block light regardless of bulb quality. In this case, restore or replace the entire headlight assembly first. Polishing kits can remove oxidation, but severe cracks require replacement.
Lastly, if you live in an area with strict emissions or modification laws, verify local regulations. Some states prohibit any deviation from original equipment manufacturer (OEM) specifications. Ignoring these rules can lead to fines or failed inspections.
Final Verdict: Is It Worth It?
Upgrading to LED headlights is absolutely worth it-if you invest in quality. The improved visibility, longer lifespan, and reduced eye strain make a tangible difference in your daily commute and weekend adventures. Just avoid the temptation of bargain-bin kits. Spend the extra $50-$100 on a reputable brand with proper cooling and optical design.
Remember, the goal isn’t just to look cool. It’s to see clearly and be seen safely. With the right LED upgrade, you’ll enjoy brighter nights, fewer bulb changes, and peace of mind knowing your lights are working as hard as you are.
Are LED headlights legal in Australia?
Yes, provided they meet Australian Design Rules (ADR) for beam pattern and intensity. They must not dazzle other drivers and should have a clear cutoff. Misaligned or overly bright LEDs can fail a Roadworthy Certificate inspection.
Can I install LED headlights myself?
Most LED kits are designed for DIY installation. However, if you’re uncomfortable working with wiring or adjusting headlight aim, hiring a professional is recommended. Proper alignment is crucial for safety and legality.
Do LED headlights drain my battery?
No, LEDs consume significantly less power than halogens. A typical halogen draws 55 watts, while an LED uses around 20-30 watts. This reduces strain on your alternator and battery, potentially extending their life.
Why do my new LED headlights flicker?
Flickering is often caused by CANbus errors in newer vehicles. The car’s computer detects the lower power draw of LEDs and thinks a bulb has failed. Installing a CANbus decoder or choosing a kit with built-in bypasses resolves this issue.
How long do LED headlights last?
High-quality LED headlights can last 30,000 to 50,000 hours. For an average driver covering 15,000 km per year, this translates to 10-15 years of service, far exceeding the 1-2 year lifespan of halogen bulbs.