Body Kit Installation Time & Complexity Estimator
Select Components
Your Experience Level
Step-by-Step Breakdown
Buying the parts is only half the battle. You’ve got the carbon fiber splitters, the aggressive fender flares, and the rear diffuser sitting in your garage, but now you face the real challenge: getting them onto your car without ruining the finish or compromising safety. Fitting a body kit isn’t just about bolting plastic to metal; it’s a surgical process that requires patience, the right tools, and a clear understanding of how these components interact with your vehicle’s structure.
If you rush this process, you’ll end up with gaps that look like earthquake damage, panels that rattle at highway speeds, or worse, components that interfere with your suspension travel. This guide breaks down the entire installation workflow, from prepping your workspace to the final alignment checks, ensuring your modification looks factory-fresh rather than DIY-disaster.
Gathering Your Tools and Workspace Essentials
Before you even touch the first panel, you need to set up a proper workspace. A cluttered driveway leads to mistakes. You need a flat, clean surface where you can lay out panels without scratching them. Ideally, work in a garage with consistent lighting so you can spot imperfections in the material before installation.
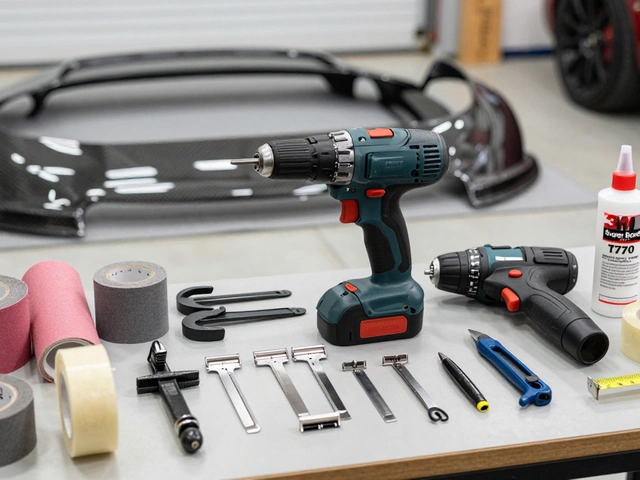
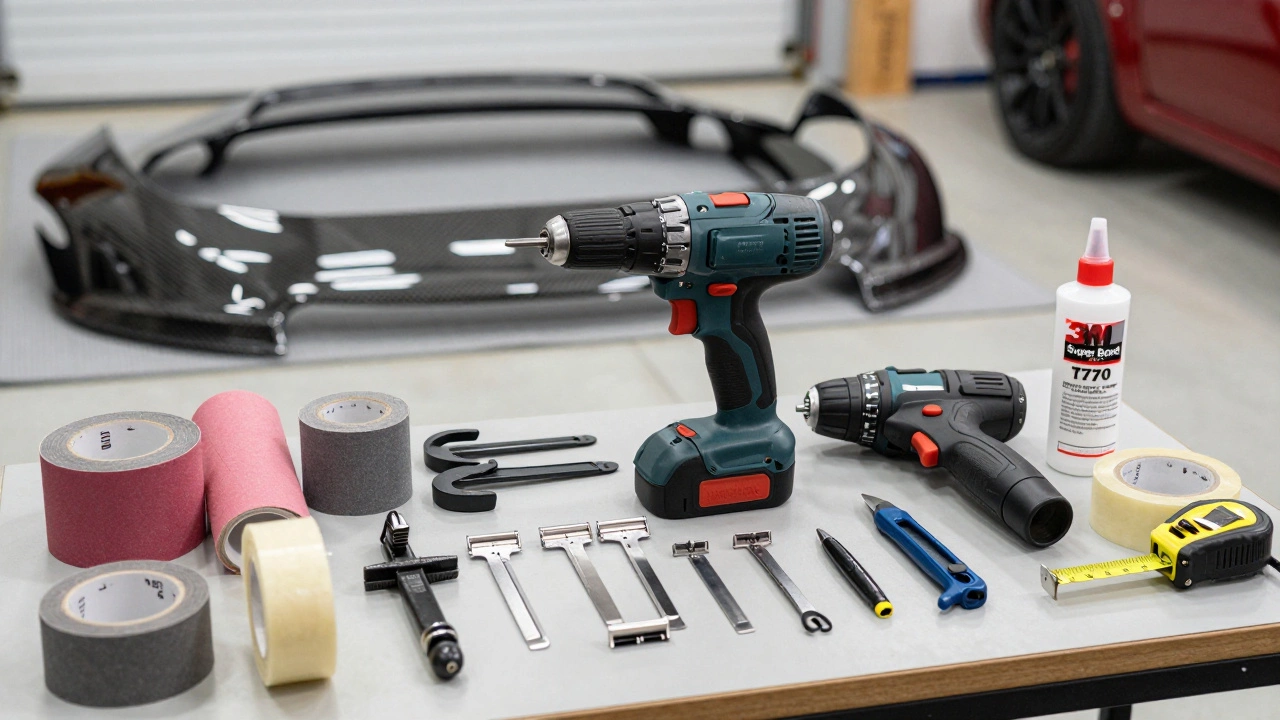
Here is the essential toolkit you will need for a professional-grade install:
- Power Drill with a variable speed setting for precise control during drilling.
- Impact Driver for removing existing bolts and fasteners quickly.
- Sandpaper (various grits: 80, 120, 240, and 400) for dry-fitting and smoothing edges.
- Razor Blades and Utility Knives for trimming excess material.
- Masking Tape (painter’s tape) for temporary positioning without damaging paint.
- Clamps (C-clamps or locking pliers) to hold panels in place while you mark drill holes.
- Measuring Tape and Straight Edge for ensuring symmetry.
- Self-Tapping Screws and Rivets (if not provided by the manufacturer).
- 3M Super Bond T770 or equivalent high-strength automotive adhesive for bonding.
Don’t underestimate the importance of having spare hardware. It’s easy to drop a bolt into a wheel well or strip a thread. Keep a bin of assorted screws, nuts, and washers nearby.
Preparation: Cleaning and Dry-Fitting
The most common mistake beginners make is skipping the dry-fit phase. They bolt things on immediately, only to discover three hours later that the side skirt doesn’t align with the door gap. Dry-fitting allows you to identify issues without committing to permanent modifications.
Start by thoroughly cleaning the areas of your car where the new panels will attach. Use a degreaser like Isopropyl Alcohol to remove wax, oil, and dirt. Adhesive won’t stick to grease, and rust can compromise screw holes if left unchecked. If you see any surface rust, sand it down and apply a primer before proceeding.
Next, lift your car using a hydraulic jack and secure it with Jack Stands. Never work under a car supported only by a jack. Remove wheels if necessary to access mounting points behind the arches. For front bumpers, you may need to remove the grille, headlights, or fog lights depending on the kit design.
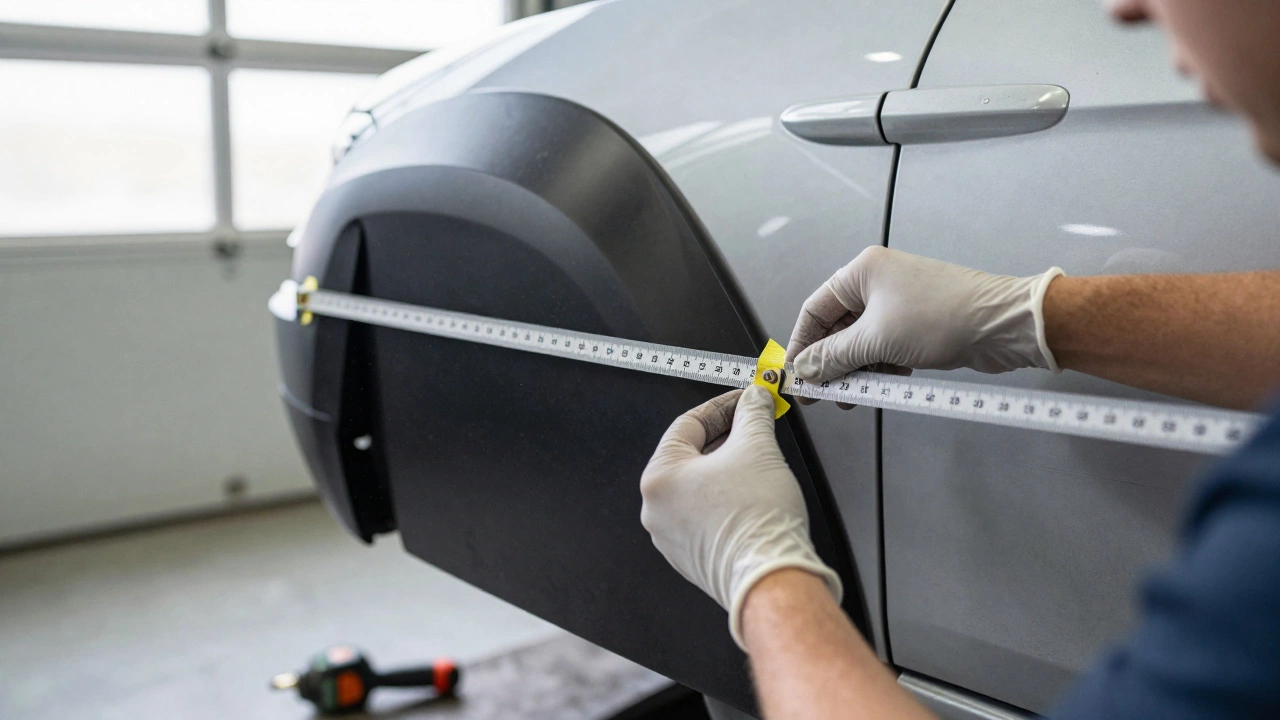
Place the new panels against the car without attaching them. Use painter’s tape to hold them loosely in position. Walk around the vehicle and check for:
- Gap Consistency: Are the spaces between the new panel and the existing bodywork even?
- Symmetry: Do both sides match perfectly? Measure from fixed points like door handles or headlight corners.
- Clearance: Does the panel hit the tire when turning the steering wheel fully lock-to-lock? Does it interfere with suspension movement?
If the fit isn’t perfect, don’t force it. Most aftermarket kits are manufactured using molds that aren’t exact replicas of the original equipment manufacturer (OEM) bodies. You will likely need to trim or sand edges to achieve a seamless look.
Trimming and Shaping the Panels
This is where craftsmanship matters. If your kit includes fiberglass or polyurethane components, they often have rough edges or excess material from the molding process. Use a rotary tool with a cutting disc or a fine-toothed hacksaw to trim large sections. Follow up with 80-grit sandpaper to smooth the cuts.
For minor adjustments, use progressively finer grits. Start with 120-grit to shape, move to 240-grit to smooth, and finish with 400-grit to prepare the surface for painting or adhesive bonding. Always sand in one direction to avoid swirl marks that could show through the paint later.
Pay special attention to mounting tabs. Some kits require you to cut away small sections of the existing bumper cover to accommodate new brackets. Mark these areas with a marker, double-check your measurements, and cut slowly. It’s easier to remove more material than to add it back.
Mounting Strategies: Screws vs. Adhesive
There are two primary methods for securing body kits: mechanical fasteners (screws/bolts) and chemical bonding (adhesive). Professional shops often use a combination of both for maximum durability.
| Method | Pros | Cons | Best For |
|---|---|---|---|
| Self-Tapping Screws | Easy removal for repairs; strong holding power | Can cause corrosion over time; visible heads | Bumpers, spoilers, rigid components |
| Rivets | Clean appearance; no threads to strip | Permanent; difficult to remove | Side skirts, rocker panels |
| Automotive Adhesive | No drilling required; absorbs vibration | Requires perfect surface prep; hard to reposition | Lip spoilers, subtle accents |
When using screws, always drill pilot holes slightly smaller than the screw diameter to prevent cracking the plastic. Apply a threadlocker like Loctite Blue to prevent loosening from vibration. Place rubber washers between the screw head and the panel to reduce noise and protect the finish.
If you opt for adhesive, ensure both surfaces are completely dry and dust-free. Apply the adhesive in a zigzag pattern, press firmly for at least 30 seconds, and clamp until cured. Allow 24 hours for full strength before driving.
Final Alignment and Safety Checks
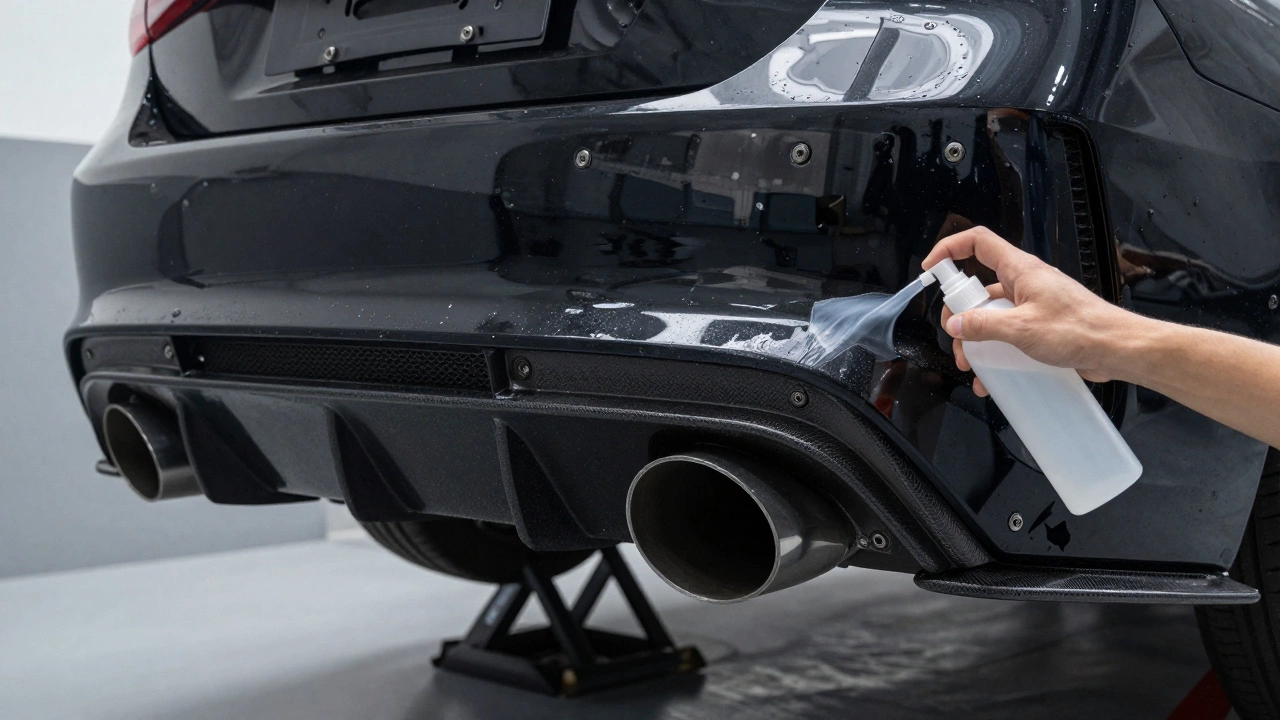
Once all panels are attached, step back and inspect your work from multiple angles. Look for uneven gaps, misaligned edges, or protruding screws. Make any final adjustments with a file or sandpaper.
Perform a functional test. Turn the steering wheel fully left and right to ensure no part of the kit contacts the tires. Drive slowly over speed bumps or uneven pavement to listen for rattles or creaks. If you hear noise, tighten loose fasteners or add damping foam behind the panels.
Check that all lights, sensors, and cameras remain unobstructed. Modern cars rely heavily on parking sensors and blind-spot monitoring systems. Ensure your new bumper doesn’t block their view.
Maintenance and Long-Term Care
A body kit requires ongoing maintenance to stay looking sharp. Polyurethane and ABS plastic can yellow or fade under UV exposure. Apply a UV protectant spray every few months to preserve the color. Avoid harsh chemicals like brake cleaner or acetone, which can degrade the material.
Inspect fasteners every six months. Vibration from the road can loosen screws over time. Tighten anything that feels loose and replace stripped threads with helicoil inserts if necessary.
If you plan to paint the kit, do so before installation. Mask off surrounding areas carefully, apply primer, basecoat, and clearcoat according to manufacturer instructions. Painting after installation risks overspray on windows and mirrors, which is difficult to remove.
Do I need to remove my old bumper to install a body kit?
It depends on the kit design. Many modern kits are designed to overlay or replace specific sections of the OEM bumper, allowing you to keep the main structure intact. However, full replacement bumpers require complete removal of the original unit. Check the manufacturer’s instructions for compatibility with your specific model year.
Can I install a body kit myself if I’m a beginner?
Yes, but start with simple components like side skirts or lip spoilers before attempting full bumper replacements. Basic mechanical skills, patience, and attention to detail are crucial. If you’re uncomfortable drilling into your car’s body, consider hiring a professional for complex installations.
Will a body kit affect my insurance coverage?
Most insurers require you to declare significant modifications, including body kits. Failure to disclose changes can void your policy in the event of an accident. Contact your provider to discuss potential premium adjustments and ensure your comprehensive coverage includes aftermarket parts.
How long does it take to install a full body kit?
A full installation typically takes 6-10 hours for an experienced DIYer, including dry-fitting, trimming, and final attachment. Beginners should allocate a full weekend to allow for mistakes and adjustments. Rushing the process increases the risk of poor fitment and damage.
What is the best adhesive for bonding body kit panels?
3M Super Bond T770 is widely regarded as the industry standard for automotive adhesives. It offers strong initial grab and excellent long-term durability. For heavier components, combine adhesive with mechanical fasteners for added security.