Spacer Installation: Quick Guide for a Safe Fit
Thinking about adding wheel spacers? They can give your car a wider stance, improve handling, and let you fit bigger tires. But a sloppy install can hurt your suspension, wear your tires faster, or even be unsafe. This guide walks you through everything you need to know before you bolt on a set.
What Are Wheel Spacers and Why Use Them?
Wheel spacers are short rings that sit between the hub and the wheel. They push the wheel outward, increasing the track width. People use them to fill gaps after switching to wider rims, to achieve a more aggressive look, or to improve steering response on rear‑wheel‑drive cars.
Not every car benefits from spacers. If you add too much width, you may hit the fender, cause rubbing, or stress the wheel bearings. Always check the manufacturer’s clearance specs and make sure the new track stays within safe limits.
Step‑by‑Step Installation Process
1. Gather the right tools. You’ll need a torque wrench, a socket set that fits your lug nuts, a clean flat surface, and a thread‑locker (blue is a safe choice). If your spacers have set‑screws, have a small flat‑head screwdriver ready.
2. Lift the car safely. Park on level ground, apply the handbrake, and place wheel chocks behind the opposite wheels. Use a reliable jack and jack stands to support the car at the manufacturer‑recommended lift points.
3. Remove the wheel. Loosen the lug nuts just enough to break the seal, then fully remove them and set the wheel aside. Keep the nuts in a clean container so no bolts get lost.
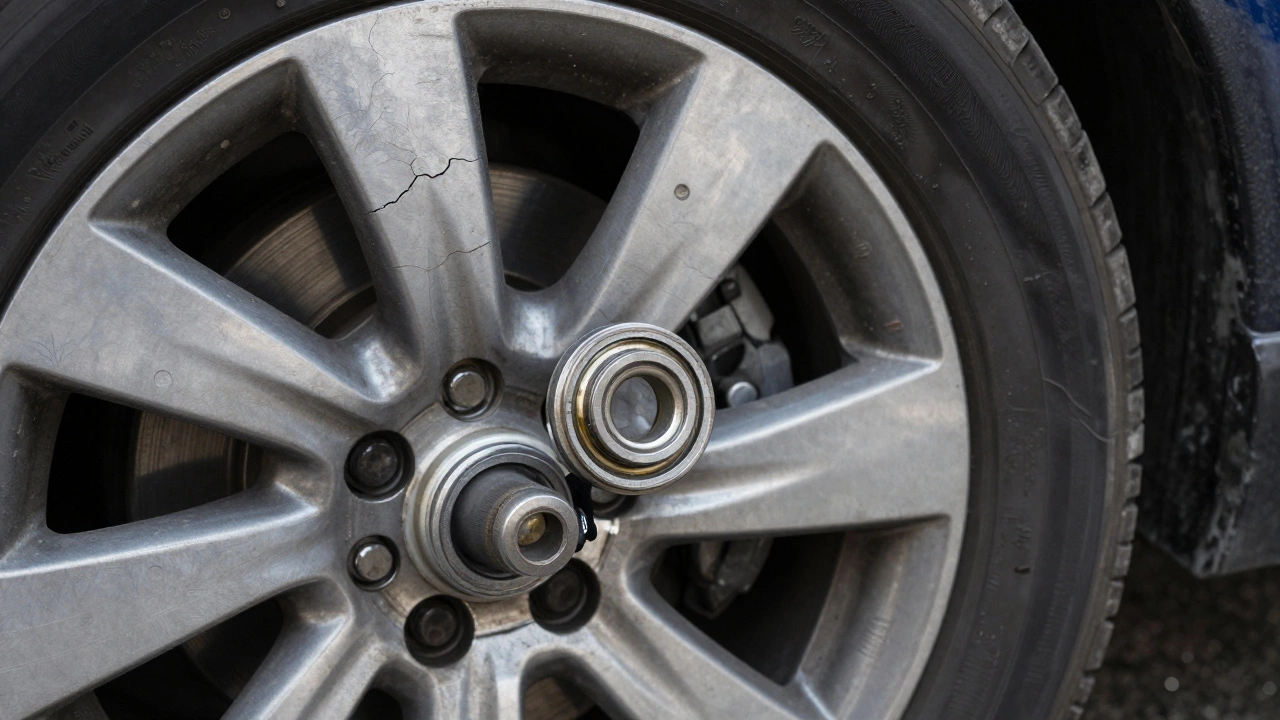
4. Clean the hub surface. Wipe away dust, rust, and brake dust with a clean cloth. A clean surface ensures the spacer sits flat and the torque readings stay accurate.
5. Install the spacer. Place the spacer onto the hub, making sure the bolt pattern aligns perfectly. If the spacer has set‑screws, tighten them by hand to keep it from rotating while you tighten the lug nuts.
6. Mount the wheel. Align the wheel’s bolt holes with the spacer’s studs and slide it on. Hand‑tighten each lug nut in a star pattern to keep the wheel centered.
7. Torque the nuts. Using your torque wrench, tighten each nut to the vehicle’s spec (usually between 80‑100 Nm). Follow a criss‑cross sequence to avoid warping the wheel.
8. Double‑check clearance. Spin the wheel and look for any rubbing against the fender, brake caliper, or suspension components. If you hear a scrape, lower the spacer thickness or adjust the wheel offset.
9. Lower the car and repeat. Carefully remove the jack stands, lower the vehicle, and repeat the process on the other side. After all wheels are on, re‑torque the nuts once more to confirm they stayed tight.
That’s it – a solid, safe install in under an hour per side if you stay organised.
Remember, the cheapest spacers aren’t always the best. Look for reputable brands that use high‑strength aluminum or steel and have a reputable welding process. Cheap, thin spacers can crack under load, especially on front‑wheel‑drive cars that put a lot of torque on the hub.
Finally, keep an eye on your tires and suspension after the install. Uneven wear on the inner edge of the tread, or a noisy steering feel, can signal that the spacers are too thick or not seated correctly. A quick check after the first 100 miles can save you from bigger problems down the line.
With the right parts, tools, and a careful approach, wheel spacers can boost your car’s stance and handling without compromising safety.