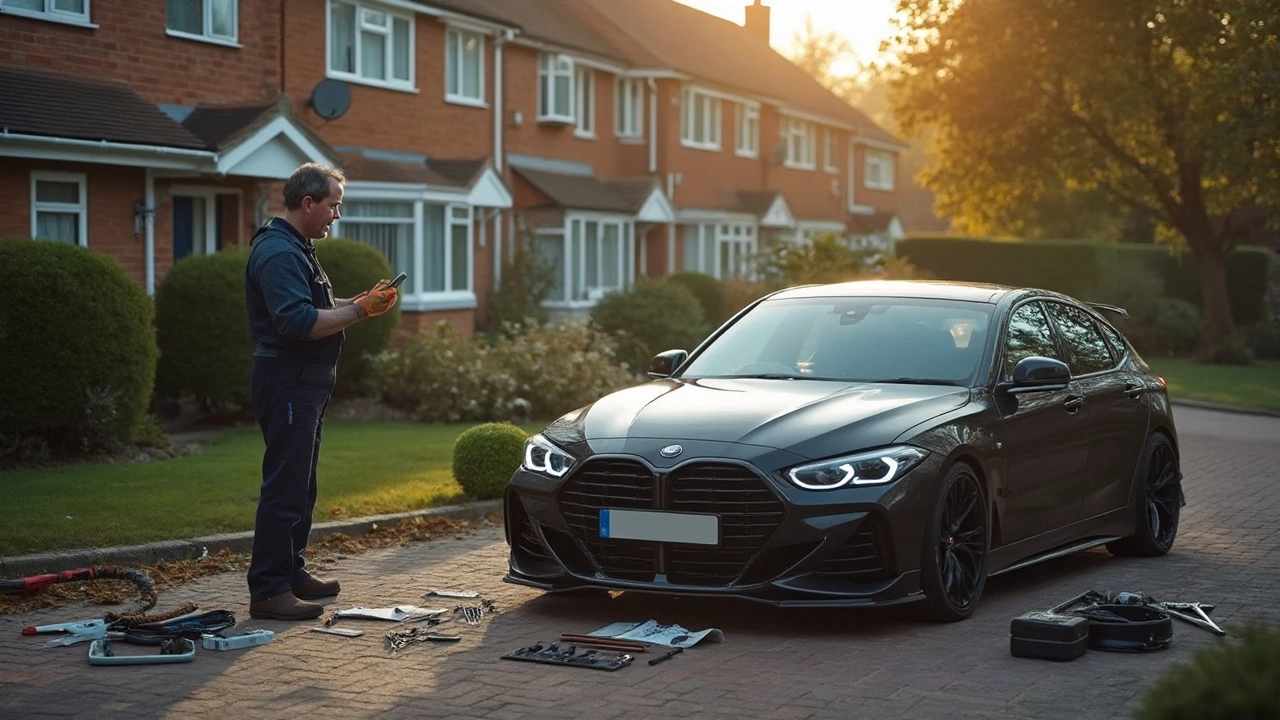
Installation Tips for Car Wraps and Vehicle Mods
Thinking about wrapping your car or adding a new part yourself? You don’t need a pro workshop to get a clean finish. With the right prep and a few handy tricks, you can avoid bubbles, creases, and costly mistakes.
Preparing Your Vehicle
First, clean the surface thoroughly. Use a mild detergent, rinse well, then wipe with a lint‑free cloth. Any wax, oil, or dust will cause the film to lift later. If you’re working on a wrap, run a heat gun over the paint for a few seconds – this opens the pores and helps the adhesive stick.
Next, choose the right temperature. Most wrap films need at least 15 °C (60 °F) in the air and on the car. Too cold and the adhesive stays stiff; too hot and it can melt. On a sunny day, park in the shade and let the car cool down a bit before you start.
Measure twice, cut once. Lay the film on a flat surface, use a marker to trace the shape of each panel, then cut a little extra around the edges. Having a bit of overlap makes it easier to press the film into tight corners.
During the Install
Use a squeegee with a soft edge. Push the film from the center outward, working out any air bubbles as you go. For stubborn spots, a pin or a small needle can pop the bubble, then smooth it out with the squeegee.
If you’re installing a spoiler, wing, or any second‑stage part, double‑check the mounting points. Loose bolts will let the part vibrate and the film can tear. Tighten everything to the manufacturer’s torque specs – it only takes a few minutes.
When you reach the edges, heat the film gently with a heat gun and stretch it slowly. Be careful not to over‑stretch; the film will shrink back when it cools, leaving wrinkles.
After the Install – Keep It Looking Fresh
Let the wrap cure for at least 24 hours before washing. Use a pH‑neutral car shampoo and a soft mitt. Avoid high‑pressure hoses for the first week – they can lift the edges.
Apply a protective sealant if the film manufacturer recommends it. A quick spray coat adds UV resistance and makes future cleaning easier.
Regularly inspect the corners and seams. If you notice lifting, use a heat gun to reactivate the adhesive and press it back in with a cloth and a little pressure.
With these simple steps, you’ll get a professional look without the shop price. Grab your tools, follow the prep checklist, and enjoy the satisfaction of a job well done.
Thinking of installing a body kit? This article breaks down how tricky it really is, what tools you'll need, and what common headaches to expect. We'll look at the difference between installing simple and complex kits, share tips to make fitting easier, and warn you about mistakes that can ruin your paint or fit. Whether you're working in your driveway or at a shop, you'll know what you're getting into before ripping open the box.
You've just installed wheel spacers on your car, which can improve your vehicle's stance and handling. But there are critical steps to follow to ensure you're getting the most out of your upgrade. From a quick test drive to monitoring wear, knowing the right post-installation tips can save you headaches down the road. This article provides helpful advice and practical steps to ensure your wheel spacers perform optimally.