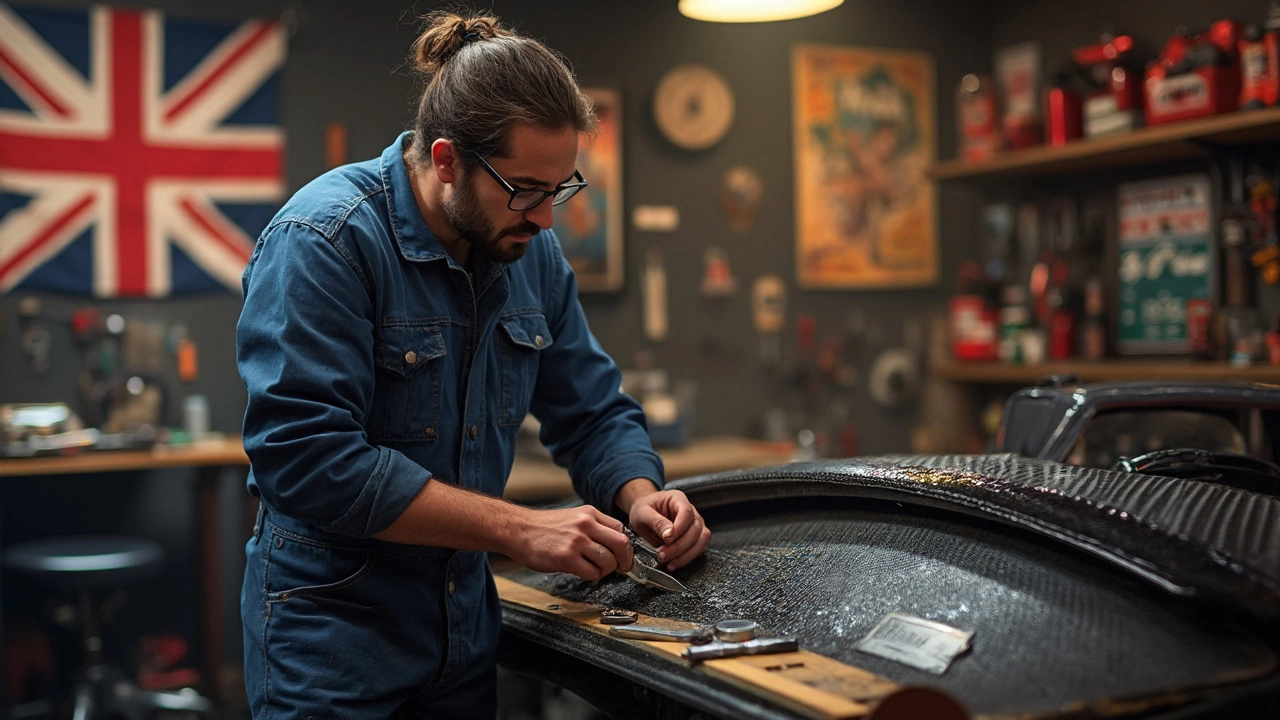
Cutting Holes for Car Wraps – Step‑by‑Step Guide
If you’ve ever tried to wrap a car, you know the real challenge isn’t just sticking vinyl on a surface. It’s getting the holes right around lights, mirrors, and handles. Miss a cut and you end up with a sloppy edge that shows every time you drive. Below is a practical walk‑through that takes the guesswork out of cutting holes, so your wrap looks factory‑finished.
Tools You Really Need
First, gather the right gear. A sharp utility knife or a precision rotary cutter is a must – dull blades tug at the film and can tear it. A cutting mat protects your workbench and gives a smooth surface for the blade. For tight spots, a fine‑point scissors pair works wonders. Finally, keep a small marker or lipstick nearby to outline where you’ll cut.
Measuring and Marking the Cut
Start by cleaning the area you’ll wrap. Dust or grease will cause the vinyl to slide, leading to inaccurate cuts. Next, place the vinyl over the car part and use a piece of masking tape to hold it in place. Align the edge of the tape with the edge of the trim, then mark the outline of the hole with your marker. It’s better to mark a little larger than you think – you can always trim down, but you can’t add material back.
When you’ve got a clean line, double‑check it from both sides of the vehicle. Visibility can be tricky around curved surfaces, so a quick step back helps you see if the mark follows the shape of the part. If it looks off, adjust now before you cut.
Now for the cut. Hold the blade at a low angle, almost parallel to the vinyl, and slice along the line with steady pressure. Let the blade do the work – forcing it can rip the film. For curves, make small, overlapping cuts instead of one long stroke; this keeps the edge smooth and reduces the chance of tearing.
After you’ve cut, peel back the excess film carefully. If the edge lifts cleanly, you’ve nailed it. If the vinyl sticks, use a heat gun on a low setting to warm the area just enough to loosen the adhesive, then pull again. Warm vinyl conforms better and helps you avoid bubbles.
One common mistake is cutting too deep and hitting the paint beneath. To avoid this, keep the blade’s tip just above the surface. A good trick is to place a thin piece of cardboard under the vinyl while cutting – it gives the blade something to glide on without damaging the car.
Finally, finish the job with a squeegee. Press the vinyl into the hole, working from the center outward to push out any air. Use a felt‑tip squeegee for delicate areas to prevent scratches. If you see a tiny gap, a small piece of heat‑shrink tubing can seal it neatly.
With the right tools, careful measurement, and a steady hand, cutting holes in a car wrap becomes a quick, painless part of the project. Follow these steps, and your vehicle will look like it rolled off the factory line – but with a custom twist only you could design.
Cutting holes in carbon fiber for a spoiler might sound daunting, but it's more approachable than you think. Armed with the right tools and techniques, you can modify your car spoiler without breaking a sweat. This article walks you through the process step-by-step, offering practical tips and interesting facts about working with carbon fiber. Whether you're just starting or have some experience, you'll find insights to make your project successful.

