Car Detailing Tips & Guides – Keep Your Ride Spotless
Ever wondered why some cars look brand new even after years on the road? The secret is regular detailing. It’s more than a quick wash; it’s a full‑service makeover that protects paint, restores interiors, and boosts resale value. Below you’ll find straight‑forward tips you can start using today, no fancy equipment required.
Why Detailing Matters
Think of detailing as a health check for your car. Dirt, road grime, and UV rays wear down paint and interior fabrics. Ignoring them leads to fading, cracking, and rust – problems that cost a lot to fix later. A proper detail removes contaminants, applies protective layers, and revives the look you fell in love with. Plus, a clean interior makes every drive more pleasant and can even improve resale price by several thousand pounds.
Top DIY Detailing Steps
1. Gather the right basics. You don’t need a garage full of chemicals. A good pH‑balanced car shampoo, microfiber mitts, two buckets (one for soap, one for rinse), a gentle interior cleaner, and a soft‑bristle brush are enough. A spray bottle of diluted vinegar works wonders for glass and chrome.
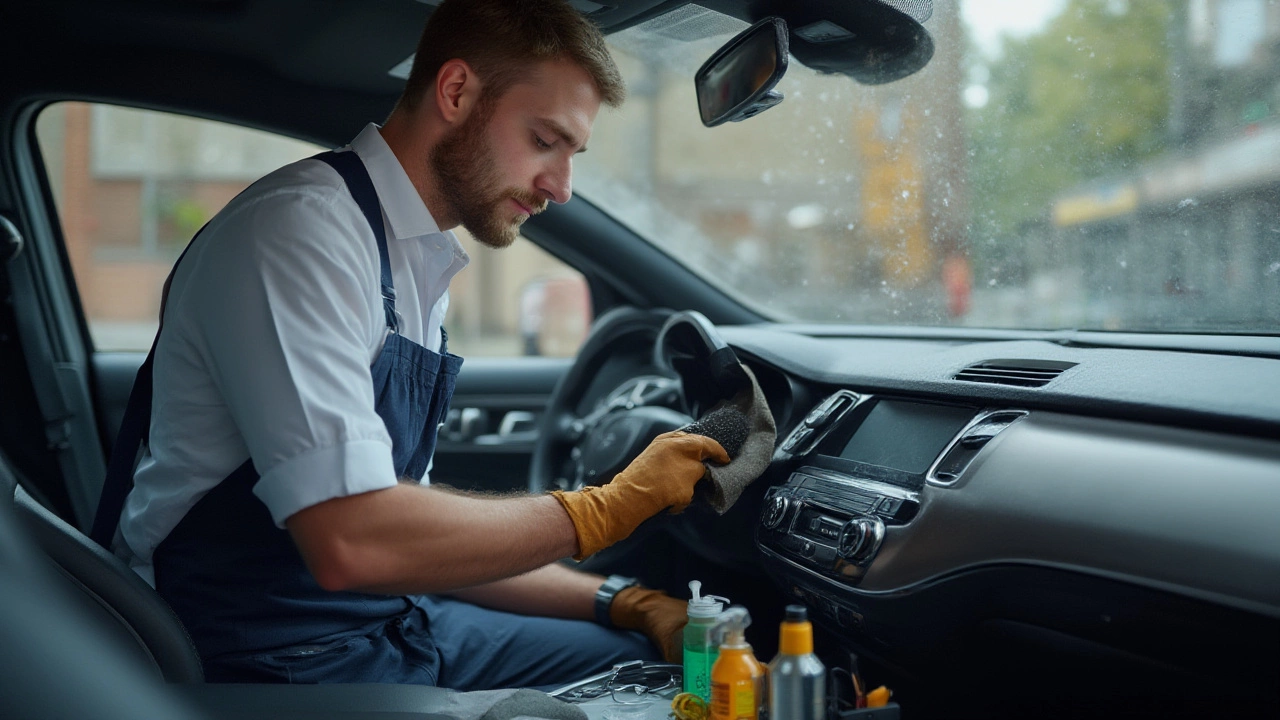
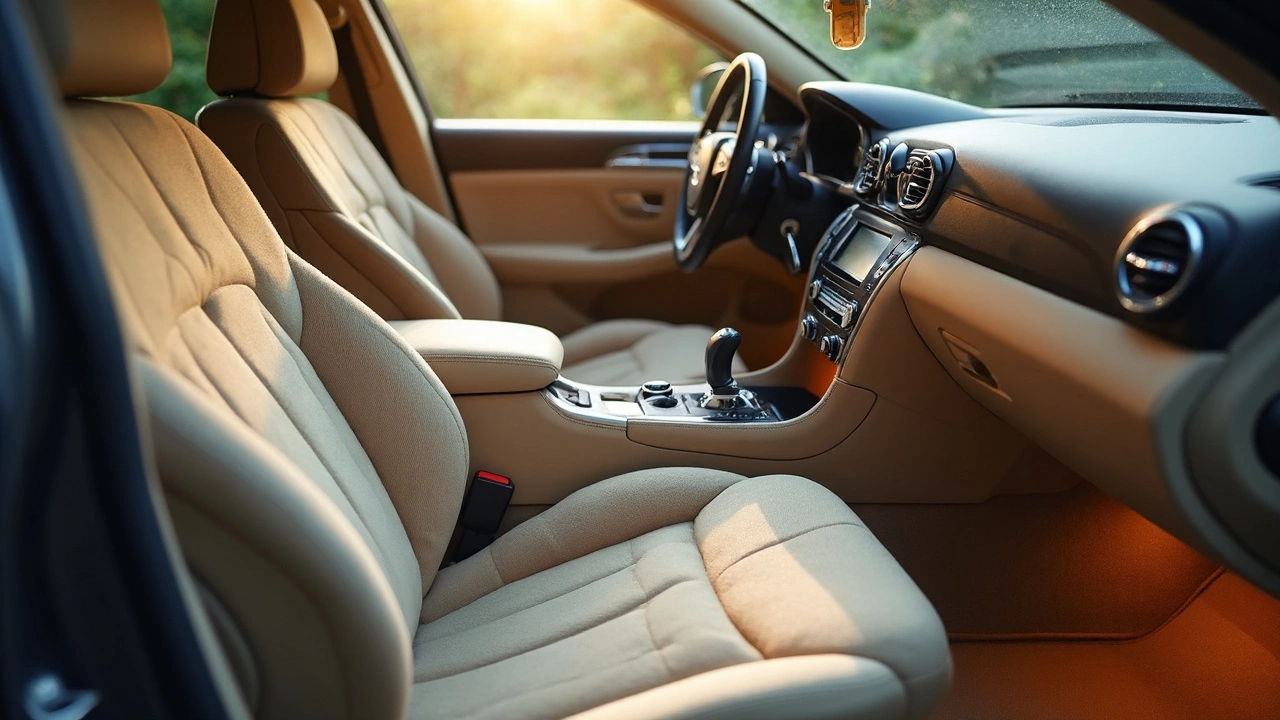
2. Start with the interior. Remove trash, floor mats, and loose items. Vacuum seats, carpets, and crevices using a narrow nozzle. For fabric seats, spray a fabric cleaner, let it foam, then blot with a clean towel. Leather seats need a pH‑neutral leather wash followed by a light conditioner to keep them supple.
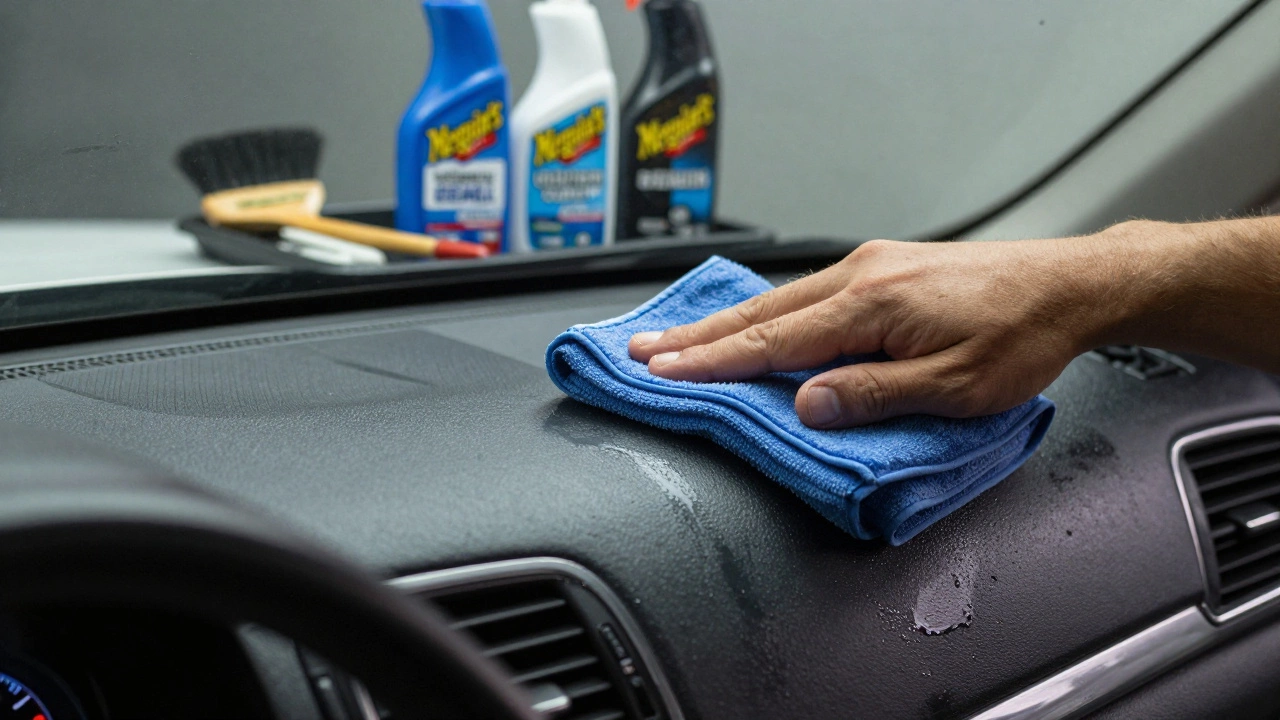
3. Clean the dashboard and panels. A microfiber cloth lightly dampened with interior cleaner wipes away dust without leaving streaks. Pay attention to vents – a soft brush can dislodge trapped grime.
4. Wash the exterior. Rinse the car first to get rid of loose debris. Use the two‑bucket method: one bucket with shampoo, the other with clean water for rinsing the mitt. Work from top to bottom, rinsing the mitt often to avoid scratches.
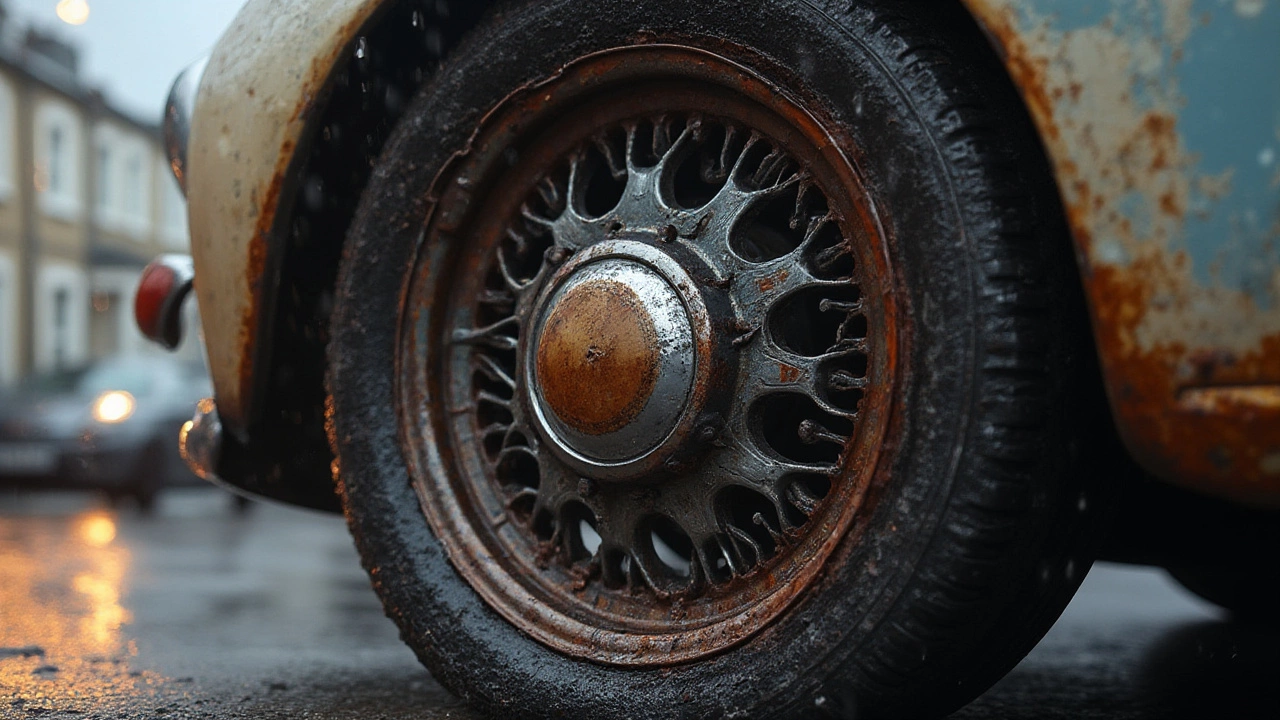
5. Deal with wheels and tires. A dedicated wheel cleaner and a stiff brush remove brake dust. Spray tire shine after cleaning to give rubber a fresh look and protect it from cracking.
6. Dry without spots. A large, clean microfiber drying towel absorbs water quickly. Pat, don’t rub, to avoid swirl marks.
7. Apply protection. Wax or a paint sealant adds a glossy barrier that repels water and contaminants. Apply with a foam applicator, let it haze, then buff off with a fresh microfiber.
8. Finish the glass. Use a glass cleaner or a vinegar‑water mix, spray, and wipe with a lint‑free cloth. For extra clarity, apply a rain‑repellent product to the windshield.
These steps cover the essentials, but you can customize based on your car’s needs. If you own a sports car with carbon‑fiber panels, a dedicated carbon‑fiber cleaner preserves the finish. For older models, a clay bar helps pull embedded particles before waxing.
Remember, detailing isn’t a one‑time chore. A quick interior wipe‑down weekly and a full exterior wash every two weeks keep the buildup low. Save time and money by staying ahead of the grime.
Got a specific problem, like stubborn tar or pet hair? Look up targeted solutions or ask the community – many car enthusiasts share tricks that work better than store‑bought products.
With the right routine, your car will stay looking fresh, protect its value, and make every journey more enjoyable. Start with these basics, tweak as needed, and watch the transformation happen.
Wondering if WD-40 can really remove car scratches? This article breaks down exactly what happens when you use it, why it works (sometimes), and common mistakes to avoid. Find out how WD-40 interacts with your car’s paint, what types of scratches it can help with, and when it’s time to use a real scratch repair kit. Plus, get easy step-by-step tips you can try at home if you’re curious. Learn if this hack is worth it or just a quick fix.
Ever considered grabbing that bottle of Dawn dish soap for a quick car interior clean-up? Some folks swear by it, but is it actually safe for your dashboard, seats, and other surfaces? This article breaks down what happens when dish soap meets your car’s inside, what professional detailers really recommend, and easy tips to get spotless results without regret. Get the real facts before you scrub. We’ll make sure you avoid any costly mistakes.
WD-40 is a household staple, but can it really fix car scratches? This article looks at how and why people use WD-40 on paintwork, what it actually does to those annoying scratches, and whether it’s a real solution or just a quick cover-up. Readers get practical advice, surprising facts, and clear steps to try at home. Perfect for anyone who wants their car looking sharp without splurging on pro detailing.
Wondering how to make your alloy wheels look brand new again? This article breaks down the top cleaners that actually work on stubborn dirt, brake dust, and road grime. It covers the science behind why some cleaners outperform others, tips for safe cleaning, and what to avoid if you want to protect your wheels. Get real tips from hands-on experience—not just marketing claims. Say goodbye to dull, dirty alloys for good.