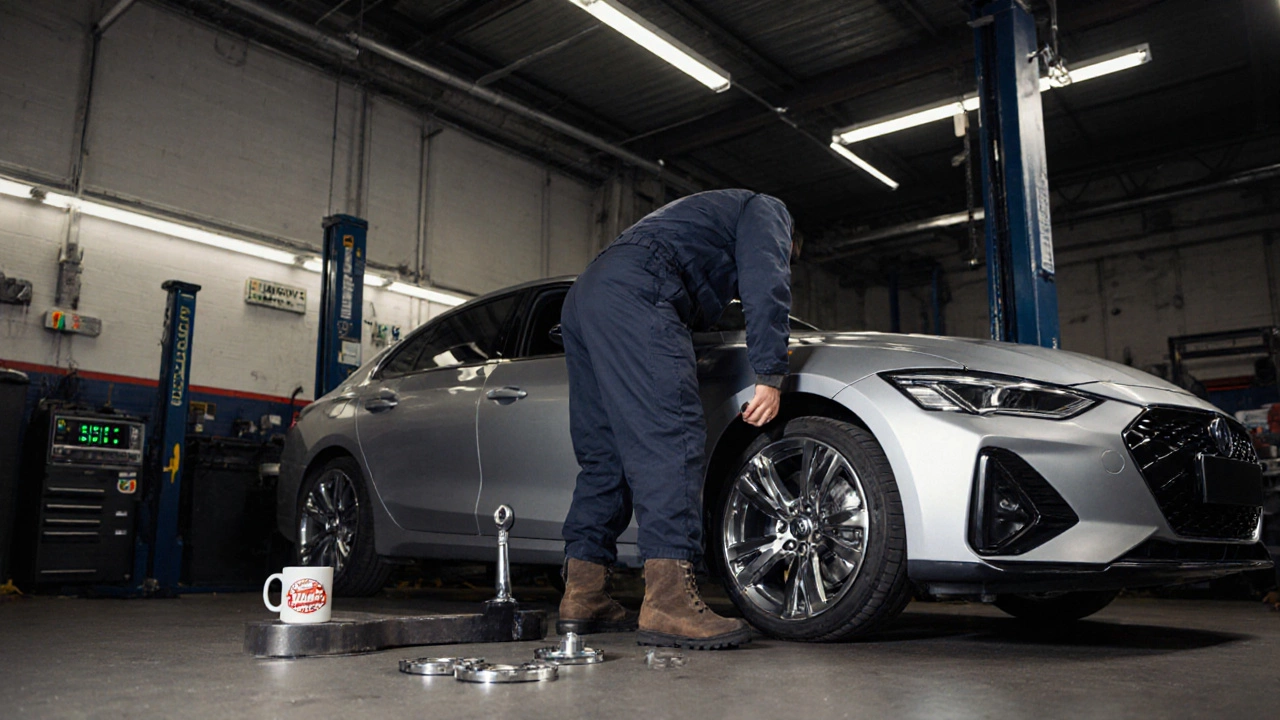
Wheel Spacers Alignment: What You Need to Know
Thinking about adding wheel spacers? They can give your car a wider stance, a more aggressive look, and sometimes a better grip. But if you don’t line them up right, you might end up with uneven tire wear, weird steering feel, or even a safety issue. This guide walks you through the basics of alignment when using spacers, so you get the look you want without compromising how the car handles.
Why Alignment Matters With Spacers
When you push the wheels out, the suspension geometry changes. The steering arms, tie‑rods, and control arms all sit at a slightly different angle. That shift can cause the wheels to toe‑in or toe‑out more than the factory setup intended. The result? Your car may pull to one side, the tires could scrub on corners, and you’ll see uneven tread wear after a few thousand miles. Proper alignment makes sure the wheels point straight ahead and meet the camber and caster specs that keep the car stable.
Most people think a quick visual check is enough, but a professional alignment uses a laser or electronic system that measures each wheel’s angle precisely. It’s especially important if you’ve added spacers thicker than 5 mm or if you’ve changed the offset of the wheel. Even a small mis‑alignment can feel noticeable at highway speeds.
Step‑by‑Step Installation and Alignment Tips
1. Choose the right spacer. Pick a spacer that matches the bolt pattern, hub size, and thickness your car can handle. Look for ones with a hardened steel hub and a smooth, finished surface to avoid cracking.
2. Clean the hub. Remove any rust, dirt, or old thread locker. A clean surface ensures the spacer bolts tighten evenly and reduces vibration.
3. Use proper bolts and torque. Never reuse the stock bolts unless the manufacturer says they’re reusable. Use a torque wrench and follow the spec – usually around 80‑90 Nm for most cars.
4. Install the spacer and wheel. Slide the spacer onto the hub, then line up the wheel bolts. Tighten them in a star pattern, checking the torque for each.
5. Get a professional alignment. After the spacers are on, book a four‑wheel alignment. Tell the shop you’ve added spacers so they can adjust the camber and caster as needed. Most shops will give you a printout showing the before‑and‑after numbers.
6. Drive a test route. Take the car around a quiet road, feeling for pull, vibration, or noise. If anything feels off, return to the shop for a quick check.
7. Monitor tire wear. Check the tread every 1,000 km. If you see one side wearing faster, it could mean the alignment needs a tweak.
Following these steps helps you avoid the common pitfalls that turn a cool visual upgrade into a costly repair. Remember, spacers aren’t a free ride – they change how the suspension works, so treating them like any other major modification keeps your car safe and fun to drive.
In short, pick the right parts, bolt them securely, and get a professional alignment. After that, enjoy the wider track, sharper looks, and confident handling that a well‑set‑up spacer can give you.

