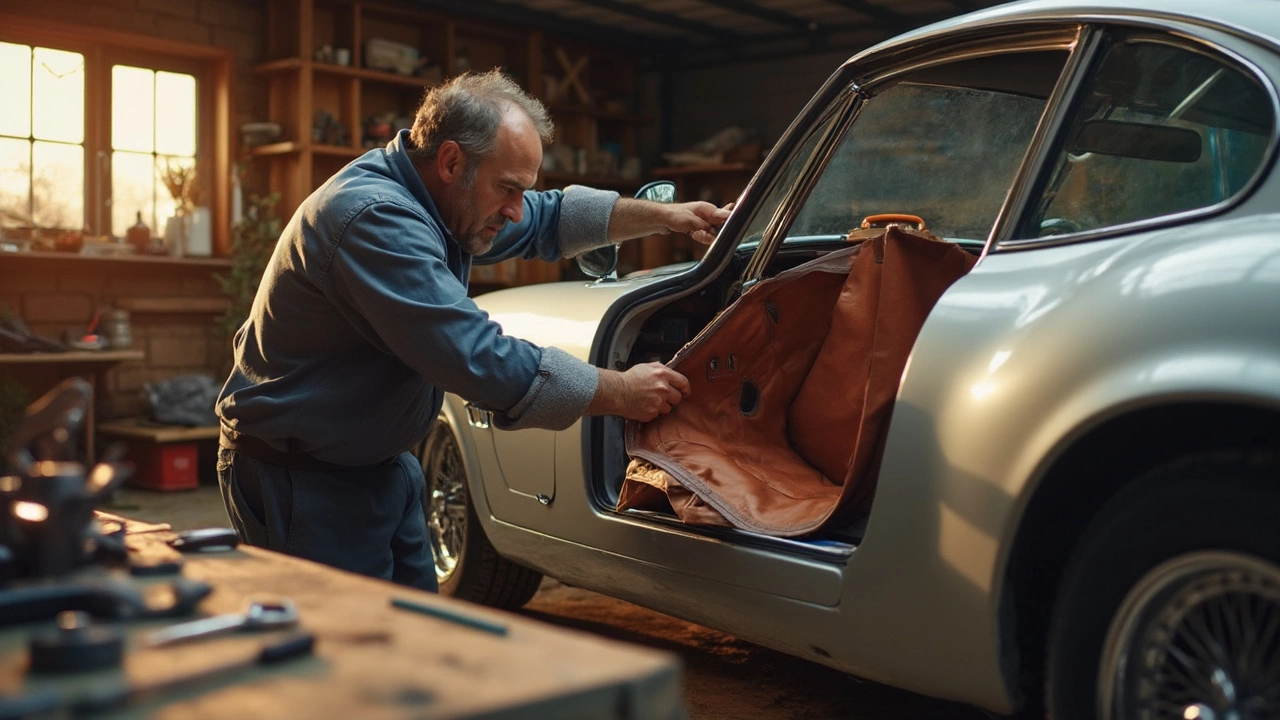
Katzkin Installation: Step‑by‑Step Guide
If you’ve bought a Katzkin leather seat kit, you’re probably excited to see that fresh, custom look on your car. The good news? You don’t need a workshop to do it. With a little patience and the right tools, you can fit the leather yourself and save a lot of money.
Tools and Materials You’ll Need
First, gather everything before you start. Missing a screwdriver halfway through will only slow you down.
- Katzkin kit (leather panels, backing, stickers)
- Trim removal tools – plastic prying bars work best to avoid damage
- Screwdrivers (flathead and Phillips)
- Heat gun or hair dryer – helps the leather stretch and stick
- Micro‑fibre cloths and mild cleaner – for a clean surface
- Masking tape – to hold panels in place while the adhesive cures
Make sure the car is cool and parked on a flat surface. A clean, dry seat gives the best bond.
Installation Process
1. Remove the existing seat covers. Use the trim tools to pop off the factory fabric and any clips. Keep the screws and brackets in a tray so you don’t lose them.
2. Clean the seat base. Wipe away dust, grease, or old adhesive with a damp cloth. Let it dry completely; any moisture will weaken the new bond.
3. Test fit the leather panels. Lay each piece on the seat without sticking it yet. Check that the edges line up with the seams and that the logos sit correctly. Adjust as needed.
4. Apply heat. Warm the back of the leather with a heat gun for about 10‑15 seconds per area. The heat makes the adhesive more flexible and easier to press into place.
5. Stick the panels. Peel the backing off the adhesive side of the leather and carefully press it onto the seat. Start at the center and work outward to push out any air bubbles.
6. Secure the edges. Use masking tape to hold the leather while the adhesive sets. Follow Katzkin’s recommended cure time – usually a couple of hours before moving the seat.
7. Re‑install the seat. Put the brackets and screws back, tighten them snugly, and double‑check that nothing is loose.
That’s it! Your car now sports a high‑end leather interior that looks and feels like a showroom build.
If anything feels off – a loose corner or a visible seam – go back and press that spot again with the heat gun. Most issues are fixed with a little extra pressure and a bit more heat.
With the right preparation, Katzkin installation can be a weekend project. You’ll end up with a personal touch that adds style and resale value without the hassle of professional upholstery shops.
Thinking of giving your car a fresh look with Katzkin leather seats? Installing them yourself might seem intimidating, but it's completely doable with the right tools and patience. You'll learn about the process, necessary tools, potential challenges, and some handy tips to make your DIY project a success. Whether you're saving money or want the satisfaction of doing it yourself, this guide has got you covered. Dive in to transform your car and give it a personal touch without breaking the bank.

