Interior Car Detailing: Simple Steps to a Showroom‑Ready Cabin
If you’ve ever opened the door to a dusty, sticky car interior, you know how bad it feels. The good news? You don’t need a pricey detail shop to get that fresh‑out‑of‑the‑lot look. With a few everyday tools and the right technique, anyone can make the inside of a car look (and smell) brand new.
Essential Tools for Interior Detailing
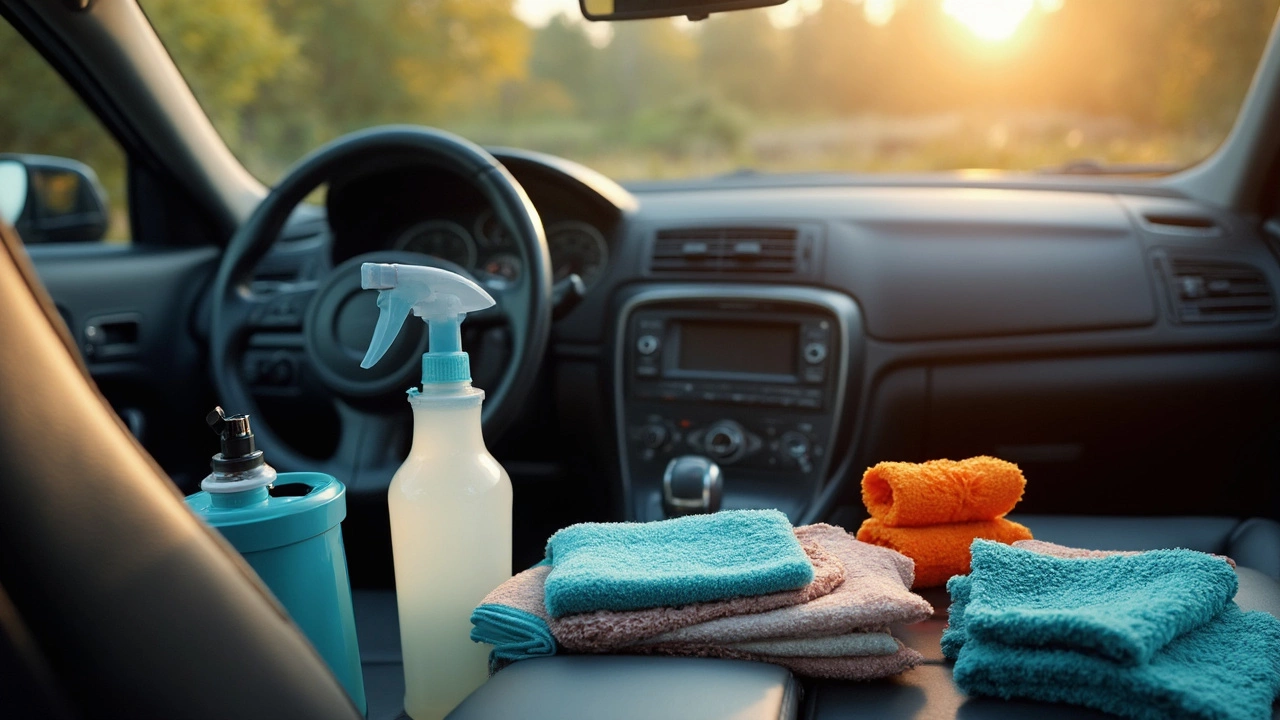
Before you start, gather these basics. A small vacuum with a crevice tool, a microfiber towel, a soft‑bristle brush, and an all‑purpose interior cleaner are enough for most jobs. For leather seats, add a leather conditioner; for fabric, a carpet‑oriented shampoo works best. Avoid harsh chemicals – they can damage plastics and vinyl. A spray bottle for diluted cleaners gives you control over how much product you use, keeping mess to a minimum.
Pro detailers also swear by a detailing brush set. One stiff brush lifts grime from vents, while a softer one protects delicate surfaces like dashboard trim. The key is to use the right size for each area – a tiny brush for tiny seams, a larger one for floor mats.
Step‑by‑Step DIY Detailing Process
1. Clear the cabin. Remove everything that isn’t bolted in – floor mats, trash, personal items. This gives you a clear view of where the dirt lives.
2. Vacuum thoroughly. Start with the seats, then the carpets, and finish with the crevices around the pedals and console. Use the crevice tool to pull out dust from tight spots like door jambs and cup‑holder seams.
3. Clean the surfaces. Lightly mist your interior cleaner on a microfiber cloth (never spray directly on the dash). Wipe the dashboard, door panels, and any plastic trim in a circular motion. For sticky spots, let the cleaner sit for 30 seconds before wiping – it breaks down the grime without scrubbing.
4. Treat upholstery. For fabric seats, apply a carpet‑oriented shampoo, work it in with a soft brush, and blot with a clean towel. For leather, spray a leather cleaner, wipe with a microfiber, then follow with a conditioner to keep the material supple.
5. Freshen the air. A quick spray of an odor‑eliminating mist inside the car can make a huge difference. Let the windows stay open for a few minutes to let the smell dissipate.
6. Finish with the details. Use the soft brush to dust vents and the tiny crevice tool for the seam between the seat and console. Give the floor mats a final shake‑out, then place them back.
Doing this routine every two to three months keeps wear and stains from building up. If you live in a rainy area, a quick wipe‑down after each wet season helps prevent mold in the carpet.
Remember, interior detailing isn’t just about looks. A clean cabin improves air quality, reduces allergens, and can even boost resale value. With the right tools and a systematic approach, you’ll spend less time worrying about a messy interior and more time enjoying the drive.
Detailing a car's interior goes beyond just a quick vacuum. It involves using the right supplies and methods to keep your car's cabin looking and feeling fresh. From choosing the best cleaners for different surfaces to handy tools that simplify tough jobs, this guide covers everything you need to know to make your car's interior shine. Plus, uncover some interesting facts about common mistakes to avoid!