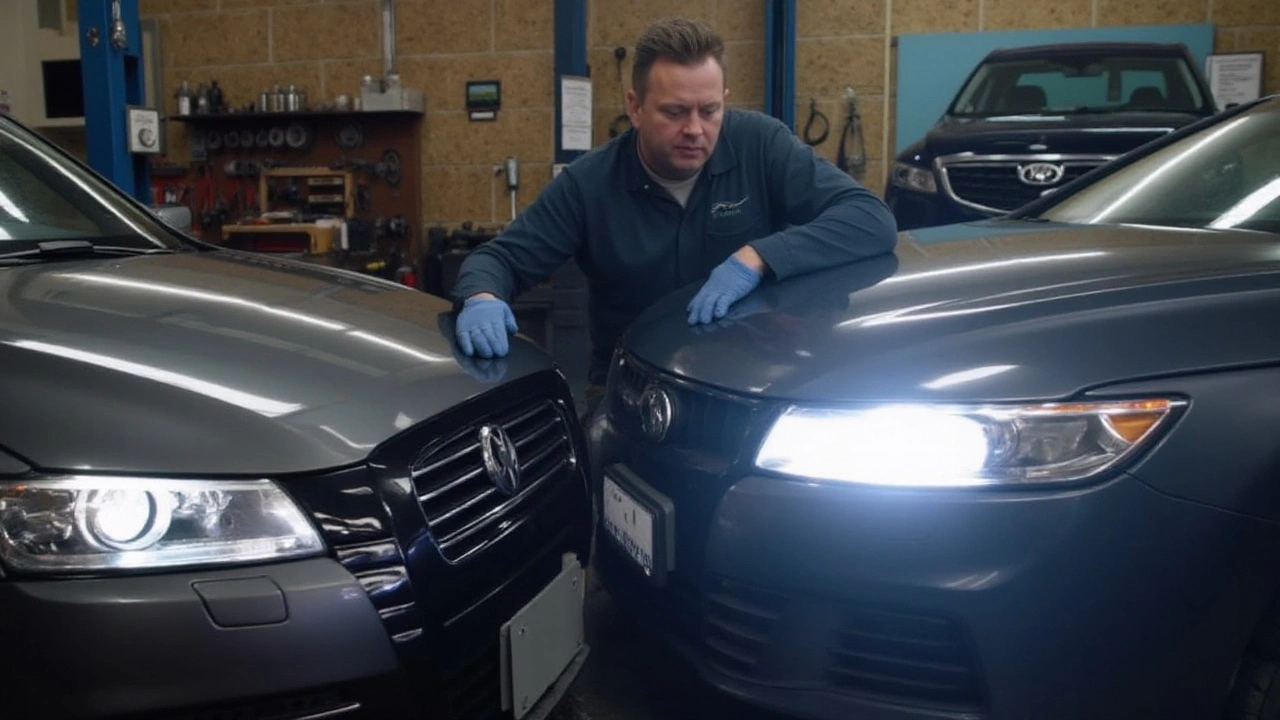
Easy Install: Get Your Car Wrapped or Modified in No Time
Thinking about a fresh look for your ride but worried about the hassle? You’re not alone. Most people assume a car wrap or a simple mod takes days, expensive tools, and a PhD in chemistry. The truth is, with the right prep and a few practical tricks, you can have a showroom‑ready finish in a weekend.
First off, the biggest time‑saver is planning. Walk around your car, note curves, door handles, and any tricky spots. Sketch a rough layout or take photos on your phone and mark where the wrap will start and end. This visual guide saves you from guessing mid‑install and keeps the film from stretching or bubbling.
Tools You Really Need (No Fancy Gadgets)
Don’t over‑invest in a toolbox you’ll never use. Here’s the essential kit for an easy install:
- A high‑quality squeegee – a 6‑inch foam squeegee works best for smooth pressure.
- Sharp utility knife or a laminate cutter – keep the blade at a shallow angle to avoid cutting through the paint.
- Isopropyl alcohol (70% or higher) and lint‑free cloth – clean the surface without leaving residue.
- Heat gun or hair dryer – gentle heat helps the film conform around contours.
- Masking tape – hold edges in place while you position the wrap.
All of these items are cheap, easy to find at hardware stores, and make the difference between a professional look and a DIY disaster.
Step‑by‑Step: The Easy Install Process
1. Clean, Clean, Clean. Wash the car with soap, rinse, and then wipe every surface with alcohol. Any dust or grease will cause bubbles later.
2. Measure and Cut. Roll out the film on a clean surface, unroll it a little, and cut a piece slightly larger than the area you’re covering. This extra margin gives you room to trim later.
3. Position with Tape. Lay the film over the part, use masking tape to pin the corners, and step back. If it looks crooked, lift and re‑tape – it’s easier now than after you press.
4. Peel and Stick. Starting at one edge, slowly peel the backing while pressing the film onto the car with the squeegee. Work in small sections, using the heat gun to soften the film around curves.
5. Smooth Out Bubbles. Run the squeegee from the center outward, pushing air toward the edges. For stubborn bubbles, poke a tiny hole with a needle, then smooth again.
6. Trim and Finish. Use the utility knife to cut excess film, following the car’s lines. Finish the edges with a gentle press of the heat gun to seal them.
That’s it – you’ve just wrapped a panel in under an hour. Repeat the steps for doors, hoods, or roof panels, and you’ll be done by the end of the weekend.
Why does this matter for Nottingham drivers? Our local climate can make adhesives act differently; a quick heat‑up in the morning helps the film settle before humidity sets in. Plus, the city’s mix of historic and modern cars means a custom wrap can protect original paint while giving you a unique look.
Ready to try an easy install? Grab the basics, follow the steps, and you’ll see why more owners trust us for fast, clean results. If you hit a snag, our team at Nottingham Car Wraps & Styling is just a call away to offer advice or a quick touch‑up.
Remember, a professional finish isn’t about spending hours – it’s about using the right process. With these tips, your next car wrap or simple mod will look like it was done in a factory, not a garage.
LED headlights have become increasingly popular for their efficiency and brightness, but are they truly plug-and-play replacements for all vehicles? This article delves into the practical aspects of installing LED headlights, assessing the compatibility with various car models and possible installation challenges. We'll explore how to identify plug-and-play options and what to consider before making the switch. Gain insights into the nuances of automotive lighting and ensure an effortless upgrade.

