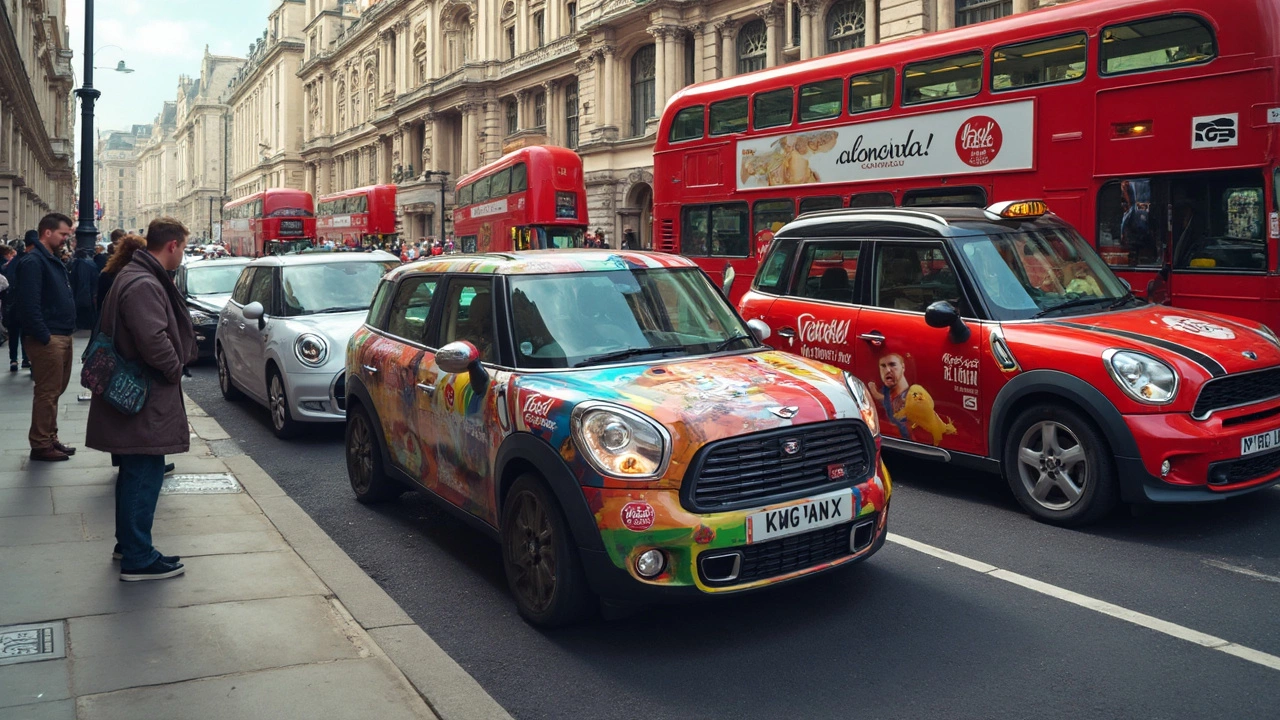
Custom Decals: Turn Your Car Into a Personal Canvas
If you’ve ever wanted a car that looks exactly like you imagined, custom decals are the shortcut. They’re cheap enough for most budgets, easy to apply, and you can swap them out whenever you’re bored of a design. In this guide we’ll cover what you need to know before you order, how to pick the right material, and simple steps to install them yourself.
Choosing the Right Design and Material
The first decision is the image or text you want on your ride. Keep it simple – bold logos, names, or simple patterns work best because they stay clear from a distance. If you’re aiming for a full‑body look, break the design into sections that match the car’s panels; that avoids stretching or mis‑alignment.
When it comes to material, most shops offer two main options: cast vinyl and calendared vinyl. Cast vinyl is thinner, stretches more, and conforms to curves without bubbling – ideal for doors, hoods, and any spot with a curve. Calendared vinyl is a bit thicker and cheaper, perfect for flat areas like roof tops or bumper trims. Ask the installer about the warranty; good brands will give you at least 5 years of colour stability.
Preparing Your Car for a Decal Install
Preparation is where most DIY failures happen. Start by washing the car with a mild detergent to remove dust and wax. After it dries, run a quick “tack test” with a small piece of tape; if the surface feels sticky, wipe it down with isopropyl alcohol. This step removes any leftover grease that could make the decal lift later.
Next, plan the placement. Use painter’s tape to outline where each piece will go and step back to check the visual balance. If you’re fitting a graphic that wraps around a corner, it’s a good idea to cut a tiny slit in the decal so it can bend without tearing. Keep a hairdryer or heat gun handy – gentle heat makes the vinyl flexible and helps it hug the curve.
When you’re ready to apply, align the decal on the tape guide, peel away the backing a little at a time, and press the vinyl onto the surface with a squeegee or a credit card. Work from the centre outwards to push out air bubbles. Any remaining bubbles can be popped with a pin and smoothed flat with the squeegee.
Finally, seal the edges with a little heat. A quick pass with a hairdryer on low for 10‑15 seconds shrinks the vinyl slightly and locks it in place. Let the car sit for at least 24 hours before washing it again – the adhesive needs time to cure.
Custom decals give you the freedom to show off a hobby, a business logo, or just a look that makes you smile every time you hop in. By picking the right material, prepping the surface, and taking your time with the install, you’ll end up with a professional finish without paying a shop’s labor rate. Ready to start? Grab a design, call your local wrap shop for a sample, and get your car speaking your style today.
Curious about how much car decals cost in 2025? This article breaks down real-world prices for everything from small bumper stickers to full custom wraps. You'll find out what affects the price, why some decals are much cheaper than others, and what hidden costs to watch out for. If you're thinking about personalizing your ride, you'll also get tips to save money and avoid rookie mistakes. Perfect for anyone who's ever wondered about turning their car into a moving billboard, or just wants something cool on their windows.

