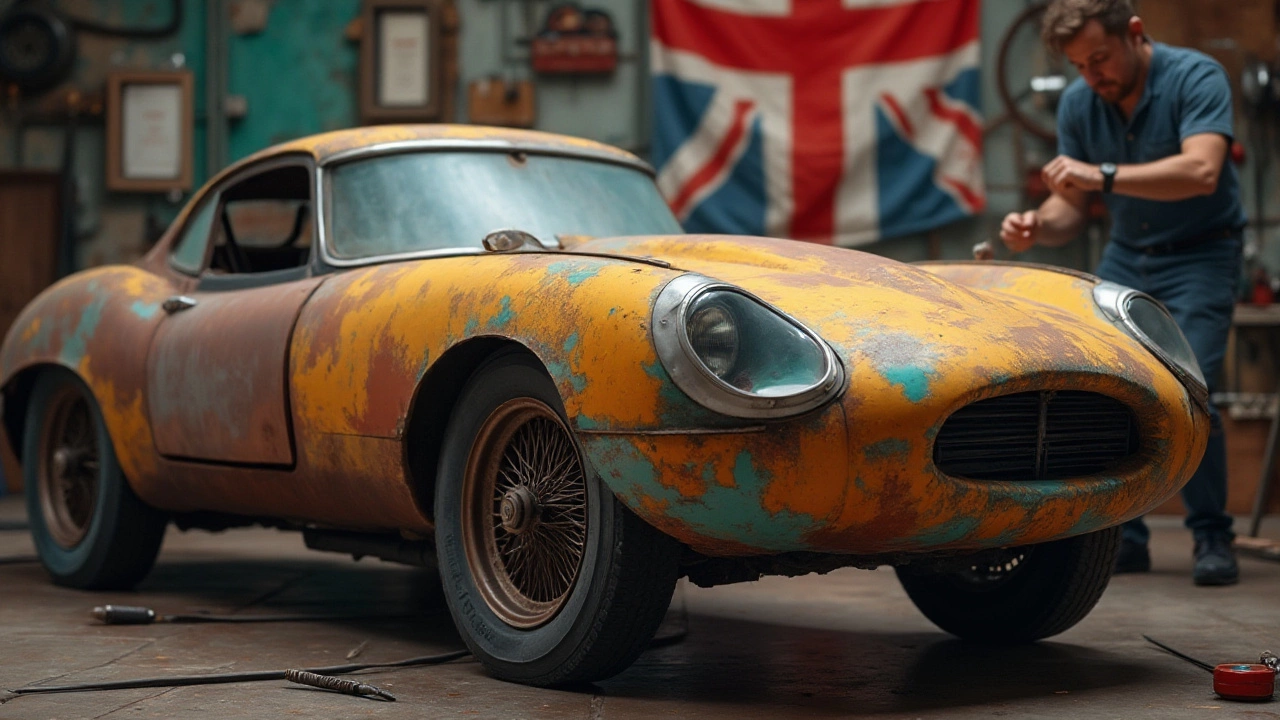
Mastering the Wrapping Technique: Easy Steps for a Perfect Car Wrap
Thinking about giving your ride a fresh look with a wrap? It’s not magic – it’s a set of simple steps that anyone can follow. Below you’ll find the practical basics, the tools you really need, and a few pro shortcuts that save time and stop bubbles before they happen.
Prep the Surface Like a Pro
The first rule is simple: a clean surface equals a clean wrap. Wash the car with a mild soap, rinse well, and dry with a microfiber cloth. Next, give the paint a light wipe‑down using an isopropyl‑based cleaner to get rid of wax, oils, and dust. If you miss this, the wrap will lift or age faster.
Once the surface is spotless, protect rubber seals, mirrors, and trim with masking tape. This keeps the film from sticking where you don’t want it and makes removal easier later on.
Choose the Right Film and Temperature
Not all wrap films are created equal. For beginners, a matte or gloss cast vinyl with a medium‑gloss finish works well – it’s forgiving and sticks well in most weather. Keep the temperature between 15°C (59°F) and 25°C (77°F) when you apply the film. Too cold and the adhesive won’t flow; too hot and it can become sticky too fast, trapping air.
Cut the film a few inches larger than the panel you’re covering. This extra margin helps you position the film without stress and gives room for trimming later.
Applying the Film – The Core Steps
1. **Lay the film** skin‑side down on the panel. Use a soft‑rubber squeegee to press it gently, starting from the center and moving outward.
2. **Smooth out air** with the squeegee in a firm, overlapping motion. Work slowly – a quick swipe can push bubbles deeper.
3. **Heat‑shrink edges** with a heat gun or a hair dryer on low. Warm the film just enough to become pliable, then use the squeegee to stretch it snugly around curves and seams.
4. **Trim excess** using a sharp utility knife. Hold the blade at a 45‑degree angle and cut close to the edge, but don’t cut the paint.
5. **Finish the edges** with a finishing roller or a cloth wrapped around a wooden block. Press hard to seal the bond and prevent future peeling.
Watch for small bubbles as you go – they’re easier to pop while the film is still warm. Use a pin or a needle to pop stubborn spots, then re‑smooth with the squeegee.
Common Mistakes and How to Avoid Them
Skipping the masking step often leads to sticky tape residue on trims. Not heating the film enough leaves it tight and prone to cracking after a few months. And rushing the squeegee work creates bubbles that become permanent once the film cools.
The best trick is to take your time with each panel. If the weather turns windy, wait for a calm window – dust can settle on the adhesive in seconds and ruin a perfect finish.
When you finish the whole car, give it a final inspection in bright light. Look for any lifted edges, air pockets, or short cuts. Fix them immediately; a quick reheating and pressing will usually seal the problem.
With these steps you can wrap your Nissan, BMW, or hatchback without hiring a pro. The result? A fresh, eye‑catching look that protects the paint and can be removed later without damage. Ready to start? Grab a roll of vinyl, a squeegee, a heat gun, and give your car the makeover it deserves.
Wrapping a rusty car involves more than just sprucing up an old vehicle with eye-catching vinyl. It requires careful preparation, considering the long-term effects, and understanding the professional touch needed for a successful finish. This article explores the possibility, challenges, and best practices of wrapping a rusty car, providing insights and tips for car enthusiasts.

