Wheel Cleaner Guide: How to Get Rims That Shine
Got dirty wheels and no idea where to start? You’re not alone. Most drivers think a quick rinse will do the trick, but stubborn brake dust and road grime need a proper wheel cleaner. Below you’ll find straight‑forward advice on picking the right product, using it safely, and keeping your rims looking fresh for longer.
What Types of Wheel Cleaner Exist?
There are three main families:
Acid‑based cleaners dissolve brake dust fast but can eat paint if left too long. Use them only on alloy or chrome wheels and always rinse quickly.
pH‑neutral cleaners are gentler. They work well on painted wheels, OEM finishes, and even matte surfaces. Expect a few minutes of soak before wiping.
Foaming or spray‑on cleaners create a slick layer that lifts grime. They’re great for quick jobs and work on most wheel types, but you still need a brush for tough spots.
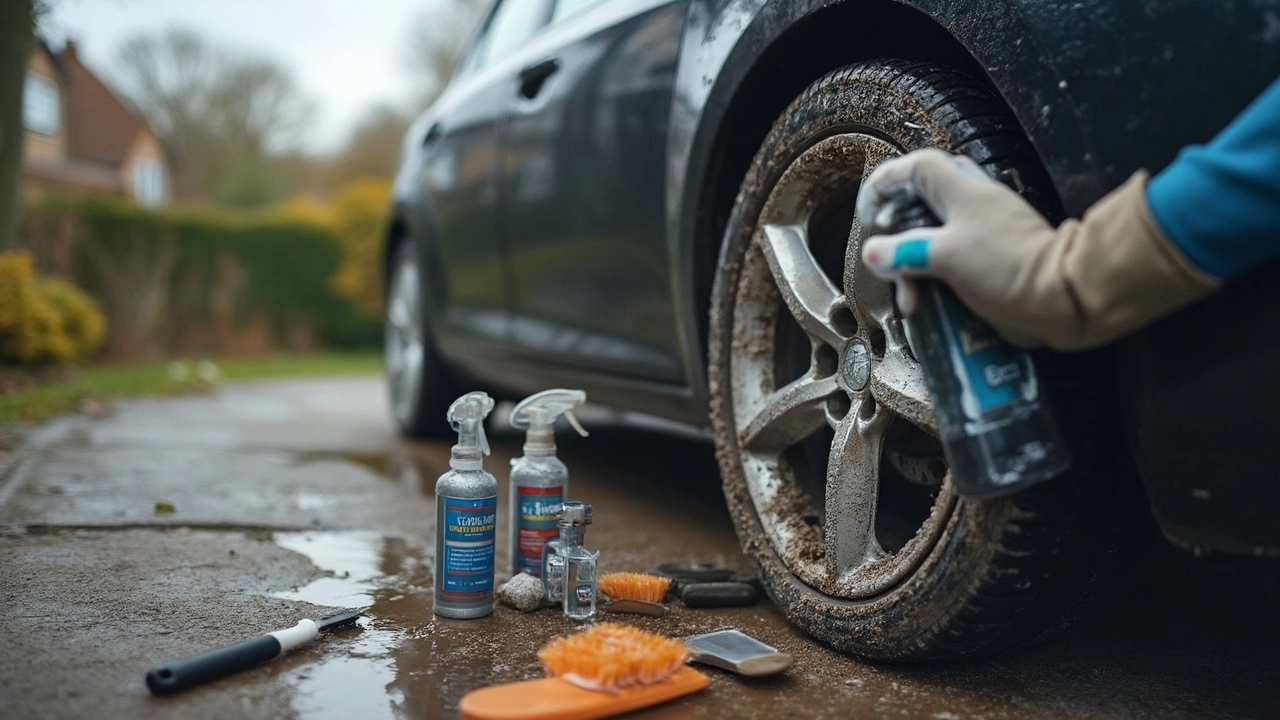
How to Use Wheel Cleaner the Right Way
Step 1: Cool the wheels. A hot surface makes the cleaner evaporate too fast, so wait at least 15 minutes after driving.
Step 2: Cover the tire sidewalls. Most cleaners are harmless to rubber, but some can dry it out. A quick plastic bag or old towel does the trick.
Step 3: Apply the cleaner. Spray or pour, making sure every nook of the spokes gets covered. Let it sit – 2‑5 minutes for acid‑based, up to 10 minutes for neutral formulas.
Step 4: Agitate with a brush. A soft‑bristled wheel brush reaches deep in the spokes without scratching the finish. For stubborn spots, a stiffer brush works, but test on a hidden area first.
Step 5: Rinse thoroughly. Use a low‑pressure hose to avoid forcing water into seals. Keep the water flowing until no suds remain.
Step 6: Dry and protect. A microfiber towel removes water spots, and a quick spray of wheel sealant adds a layer of protection against future grime.
Pro tip: If you live in Nottingham’s rainy climate, cleaning once a month prevents brake dust from building up into a hard crust that needs harsher chemicals.
Common mistakes to avoid: leaving an acid cleaner on for more than the recommended time, using a harsh kitchen scrub pad, and rinsing with high‑pressure jets that can damage wheel bearings.
Want a DIY option? Mix a cup of plain dish soap with a gallon of warm water, add a tablespoon of baking soda, and you’ve got a safe, budget‑friendly cleaner for painted wheels.
When you’re ready to buy, look for these cues: clear label stating “safe for alloy, painted, and chrome,” a pH level between 6‑8 for neutral cleaners, and customer reviews that mention “no streaks” and “easy rinse.”
Bottom line: pick a cleaner that matches your wheel finish, follow the six‑step routine, and add a sealant for lasting shine. Your wheels will thank you – and so will anyone who spots them on the road.
Wondering how to make your alloy wheels look brand new again? This article breaks down the top cleaners that actually work on stubborn dirt, brake dust, and road grime. It covers the science behind why some cleaners outperform others, tips for safe cleaning, and what to avoid if you want to protect your wheels. Get real tips from hands-on experience—not just marketing claims. Say goodbye to dull, dirty alloys for good.