Scratch Remover Guide for Car Wraps
If you’ve just noticed a tiny line on your fresh wrap, don’t panic. A few scratches don’t have to ruin the whole look. With the right approach you can trim them down or even erase them completely. Below you’ll find the simplest ways to deal with wrap scratches, plus tips on when it’s smarter to leave it to the experts.
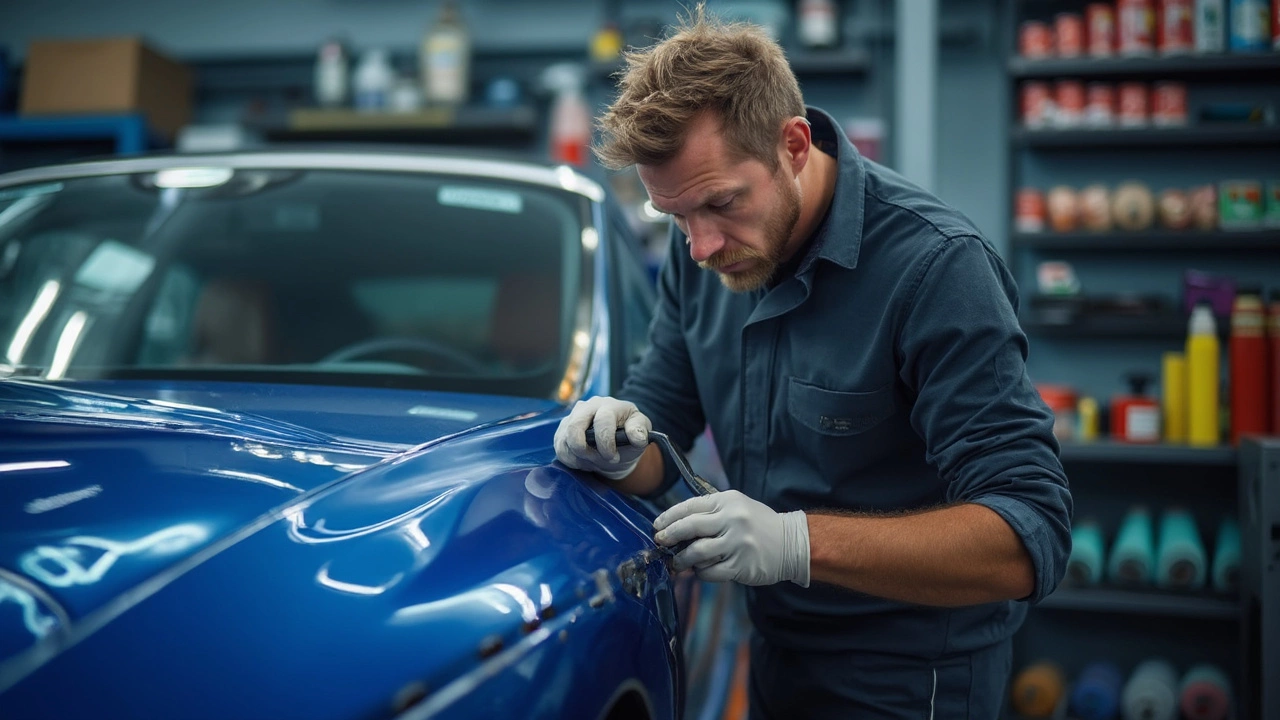
DIY Scratch Removal Steps
First, clean the area. Use a soft microfiber cloth and a gentle, non‑abrasive car shampoo. Dirt left in the scratch will just grind harder and make the damage worse.
Next, pick a scratch remover made for vinyl or clear coats. Look for products that mention “polyurethane” or “vinyl safe.” Apply a few drops to a clean cloth and rub in a circular motion for 30‑60 seconds. You should see the scratch start to fade as the filler spreads.
If the line is still visible, try a light polishing compound. Use a foam pad attached to a low‑speed drill or just a hand‑held pad. Work the compound gently, never more than a few passes, and wipe away residue with another clean cloth.
Finish with a protective sealant. A spray sealant designed for wraps adds a glossy layer that helps hide any remaining swirl and protects the surface from future marks.
When to Seek Professional Help
Deep scratches that cut through the vinyl into the underlying paint need more than a home remedy. If the scratch feels like a groove when you run your fingernail over it, call a wrap specialist. They can replace the damaged panel or use heat‑transfer techniques that preserve the original look.
Also, if you’re unsure about the product you’re using, a professional wrap shop can match the exact colour and finish of your wrap. This avoids the risk of a mismatched shine that makes the repair stand out.
Lastly, don’t ignore scratches on high‑visibility areas like the hood or roof. Even a small line can catch the eye and lower the resale value of your vehicle. Professional repair might cost a bit more, but it keeps the wrap looking showroom‑ready.
In short, most minor scratches can be tackled at home with a clean cloth, the right remover, and a dash of patience. Clean, apply, polish, seal – that’s the quick formula. When the damage gets deeper or you’re after a perfect finish, the experts at Nottingham Car Wraps & Styling have the tools and know‑how to restore your wrap without a trace.
Car detailers use a mix of pro tools and products to get rid of scratches, and not all scratches need the same fix. The article breaks down exactly what products and kits detailers trust, from light surface polishes to more aggressive compounds for deep scratches. Learn what actually works and what’s just clever marketing. You’ll also get tips on scratching myths, smart DIY options, and how to keep your paint looking sharp. Find out if your garage can match the pros—or when it’s better to let them handle it.