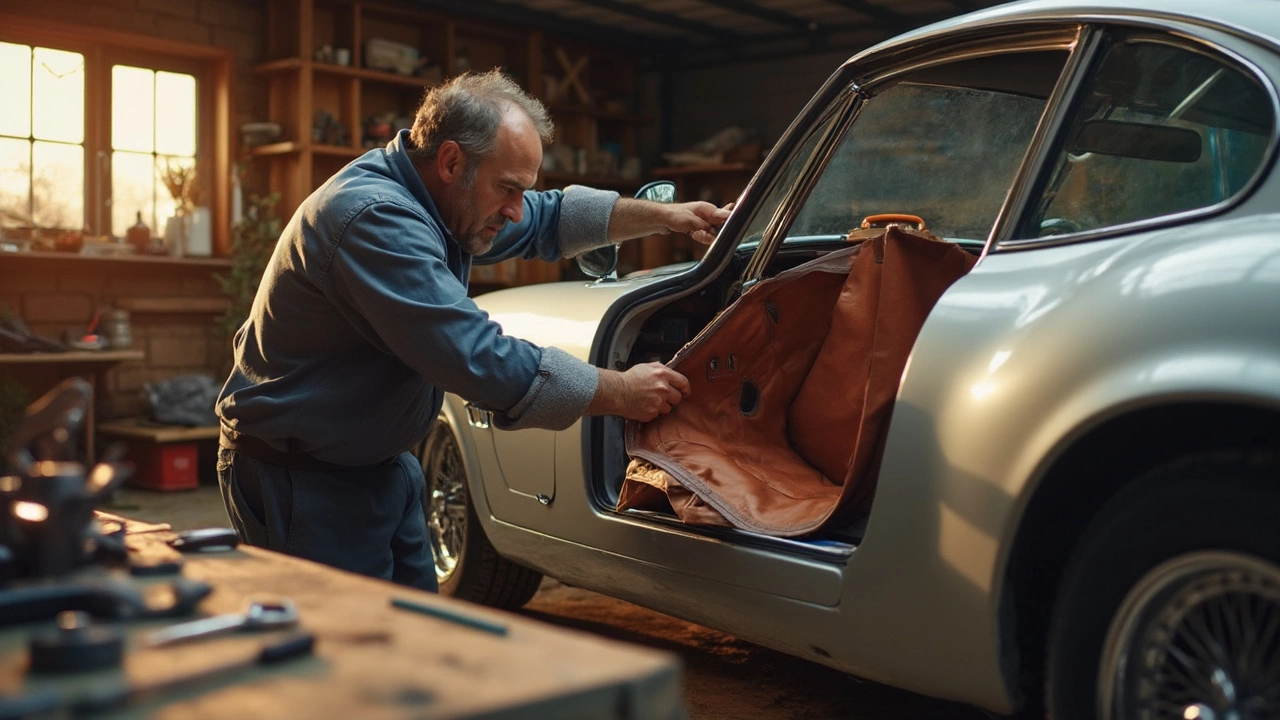
DIY Car Upholstery: Step‑by‑Step Guide to Revamp Your Seats
Ever looked at your car seats and thought they could use a fresh look? You don’t need a pricey shop to change that. With a few tools, the right fabric, and a bit of patience, you can give your interior a new personality yourself.
What You’ll Need Before You Start
First, gather the basics. A staple gun or upholstery tack tool, a utility knife, scissors, a screwdriver set, and a spray adhesive are the core tools. Choose a durable fabric – think woven polyester, leather‑look vinyl, or even a breathable mesh if you want sportier vibes. Don’t forget foam padding; a 2‑inch high‑density foam works well for most seats.
Measure each seat panel carefully. Write down the length and width, then add a couple of centimeters for seam allowance. Having a paper template saved on your phone helps you double‑check before you cut.
Removing the Old Upholstery
Start by disconnecting the seat from the car – pop the bolts out and set the seat on a sturdy workbench. Use the screwdriver to take off any trim pieces, then pull the existing fabric away. It’s usually held with staples or clips; a flat‑head screwdriver can pry them loose. Keep the staples; you’ll need them for the new cover.Take a moment to inspect the foam. If it’s sagging, replace it with new padding. A fresh foam layer not only looks better but also adds comfort.
Now comes the fun part: cutting your new fabric. Lay the paper template on the material, trace the outline, and cut with a sharp utility knife. Double‑check the fit by draping it over the seat; it should sit smooth with little stretch.
Spray the adhesive on both the foam and the fabric, then press them together. Let it set for a few minutes – this prevents bubbling later on. Once bonded, start stapling the fabric to the seat frame. Begin at the center of each edge, then work outward, pulling the fabric tight but not overly strained. Use the staple gun in short bursts to avoid tearing.
When you reach the corners, fold the fabric neatly and secure it with a few extra staples. Trim any excess material with the utility knife, then re‑attach the seat trim and bolt the seat back into the car.
Take a step back and admire your work. You’ve just saved a bundle and added a personal touch.
Pro Tips and Common Mistakes
• Test the fabric for UV resistance before you commit. Sun‑faded seats look cheap fast.
• If you notice the fabric sliding while you work, use a few temporary clamps to hold it in place.
• Avoid over‑stretching the material – it can rip when you sit down.
• Keep a small bottle of fabric adhesive handy for any tiny gaps you missed.
DIY car upholstery can feel like a big project, but breaking it down into these steps keeps it manageable. With the right preparation and a bit of hands‑on effort, you’ll end up with seats that look and feel brand new – all while learning a useful skill for future upgrades.
Thinking of giving your car a fresh look with Katzkin leather seats? Installing them yourself might seem intimidating, but it's completely doable with the right tools and patience. You'll learn about the process, necessary tools, potential challenges, and some handy tips to make your DIY project a success. Whether you're saving money or want the satisfaction of doing it yourself, this guide has got you covered. Dive in to transform your car and give it a personal touch without breaking the bank.

