DIY Car Makeover: Simple Steps to Upgrade Your Ride
Looking to give your car a fresh look without spending a fortune at a shop? You don’t need a pro to make big changes. A few smart DIY moves can turn an ordinary vehicle into something that turns heads on the road. Below are the most useful tricks you can start today, whether you want a bold exterior wrap or a clean interior refresh.
Exterior Wraps Made Easy
Wraps are the fastest way to change colour, add graphics, or protect the paint. You don’t need a huge budget—just a roll of vinyl, a squeegee, and some patience. Here’s the basic process:
1. Clean the surface. Wash the car thoroughly, then wipe with a lint‑free cloth and a little isopropyl alcohol. Any dust or grease will cause bubbles later.
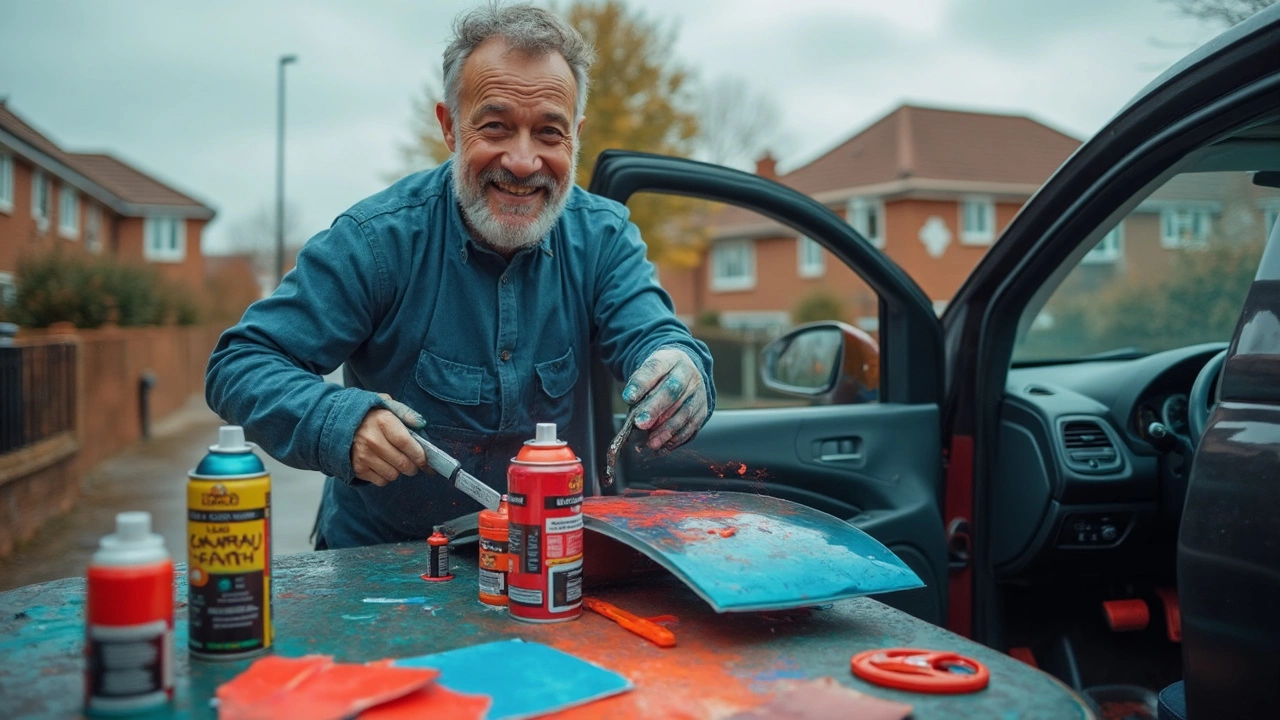
2. Measure and cut. Lay the vinyl on the panel, leave a few extra inches on each side, and cut with a sharp blade. Use a marker to note the edges.
3. Position and peel. Peel the backing slowly while you smooth the film with a squeegee. Work from the centre outwards to push out air.
4. Heat and shape. A heat gun (or a hair dryer) makes the vinyl flexible. Warm the corners, then press them down with a soft cloth.
5. Trim and seal. Trim excess with a razor blade, then run a finishing roller over the edges to seal them. A little extra heat helps the seal stick.
Most people think wraps are only for show cars, but they also protect the original paint from stone chips and UV damage. If you ever want the original colour back, the wrap can be removed without harming the underlying finish.
Interior Refresh on a Budget
The cabin often shows wear first, so a quick interior makeover can make a huge difference. Focus on three cheap upgrades that look professional.
Seat covers. A set of quality fabric or leather‑look covers can hide scuffs and give a uniform look. Choose a colour that matches the car’s theme and install them by stretching over the seat and tucking the edges under the seat rails.
Dashboard trim. Vinyl wrap can be used on the dash, steering wheel, and door panels. Cut the vinyl to size, apply it the same way you would on the exterior, and you’ll get a sleek, matched finish without buying a new dash.
Floor mats. Cheap rubber or carpet mats protect the carpet and add a custom feel. Trim them to fit with a utility knife and secure them with the factory clips.
While you’re at it, give everything a good clean. A mix of water and a few drops of mild dish soap works for most surfaces. For stubborn grime, try a dedicated interior cleaner—just spray, wipe, and let dry.
These three steps can be done in a weekend and cost far less than a professional detail. The result is a fresh‑looking cabin that feels like a new car.
Remember, the best DIY projects start with preparation. Clean surfaces, measure twice, and take your time with each step. Rushing will only lead to bubbles or uneven edges. With a little care, you’ll end up with a car that looks and feels upgraded—no shop needed.
Ready to start? Grab the vinyl, a few tools, and set aside a Saturday. You’ll be surprised how far a few simple changes can go. Your car will thank you, and you’ll have the pride of saying you did it yourself.
Ever wondered how to give your car interior a real facelift? This article breaks down the best products and methods for painting car interiors, including what works on dashboards, door panels, and even those tricky plastic bits. You'll get the facts on spray paints, dyes, and prep tips to make any DIY project stand out. Plus, get the inside scoop on what actually lasts—no fluff, just practical guidance. If you're looking to upgrade your ride inside and out, this guide is your starting point.