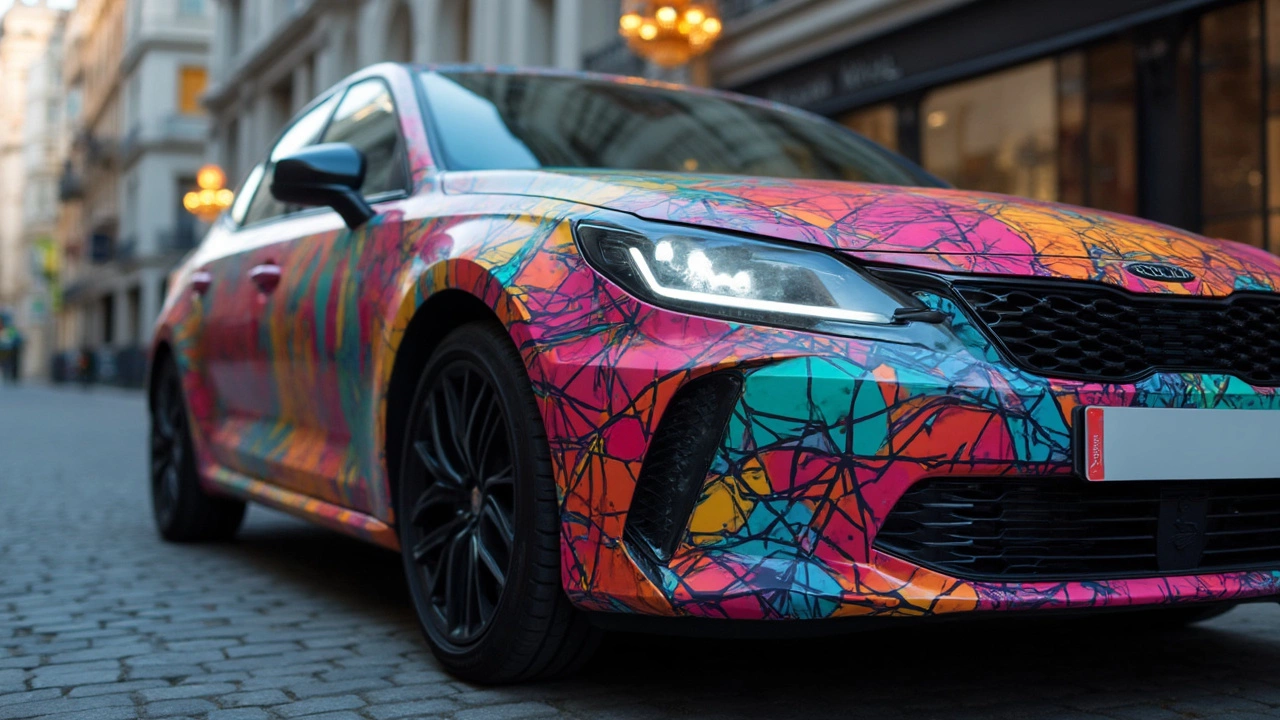
Decal Tips for a Flawless Car Look
Got a fresh decal idea but not sure how to make it stick? You’re in the right place. At Nottingham Car Wraps & Styling we see the same mistakes over and over, and we’ve boiled down the best advice into easy steps you can follow at home.
Preparing Your Car for Decals
First things first – a clean surface is everything. Wash the area with a mild car shampoo, rinse well, and dry with a lint‑free cloth. After that, grab an alcohol‑based cleaner (or a dedicated surface prep spray) and wipe the spot again. This removes wax, grease, and any tiny dust particles that could cause bubbles later.
Temperature matters too. Most vinyl decals work best between 15 °C and 25 °C (60‑77 °F). If it’s too cold, the adhesive stays stiff and won’t bond properly; too hot and it could melt or stretch. On a chilly Nottingham morning, let the car warm up in the garage for a few minutes before you start.
Next, plan your placement. Use masking tape to outline the shape and step back to check the angle. This simple trick lets you see if the decal looks balanced without committing. If you need to make adjustments, it’s easier to do now than after you press the film onto the paint.
Applying and Maintaining Decals
When you’re ready, peel the backing off slowly. Hold the decal by the edges so the adhesive side stays flat. Some people like to use a squeegee or a credit card wrapped in a soft cloth to push the film onto the surface. Start from the centre and work outward, smoothing out air as you go. If a bubble appears, gently lift the film at the edge and re‑apply, using the squeegee to push the air out.
For tricky corners, a pin or a fine needle can pop stubborn bubbles. Just be careful not to puncture the decal itself – a tiny hole can be fixed later with a touch of clear tape.
After the decal is in place, give it a final wipe with a clean microfiber towel. This removes any leftover residue and helps the adhesive settle. Most vinyl films need 24‑48 hours to cure fully, so avoid washing the car or exposing the area to heavy rain during that window.
Maintenance is simple. Hand‑wash the car with a gentle soap and avoid high‑pressure washers directly on the decal. If you notice dirt building up, a quick rinse and a soft cloth will keep the graphic looking fresh. For stubborn grime, a diluted mixture of water and isopropyl alcohol works well – just test a small spot first.
Lastly, know when to call a pro. If you’re covering a large, curved surface or want a custom shape that wraps around a door or bumper, professional installers have heat guns and specialty tools to ensure a seamless finish. Nottingham Car Wraps & Styling can handle those jobs quickly and guarantee a bubble‑free result.
Follow these tips, and your decals will stay crisp, vibrant, and stuck for years. Whether you’re adding a personal touch, a brand logo, or a race‑inspired graphic, the right prep and care make all the difference.
Car decals come in three main types: vinyl graphics, adhesive decals, and magnetic decals. Understanding these options helps in choosing the right one for your vehicle's style and function. Each type offers unique benefits like durability, ease of application, or reusability. Discover how these decals can change the look of your car while offering protection or branding opportunities.

