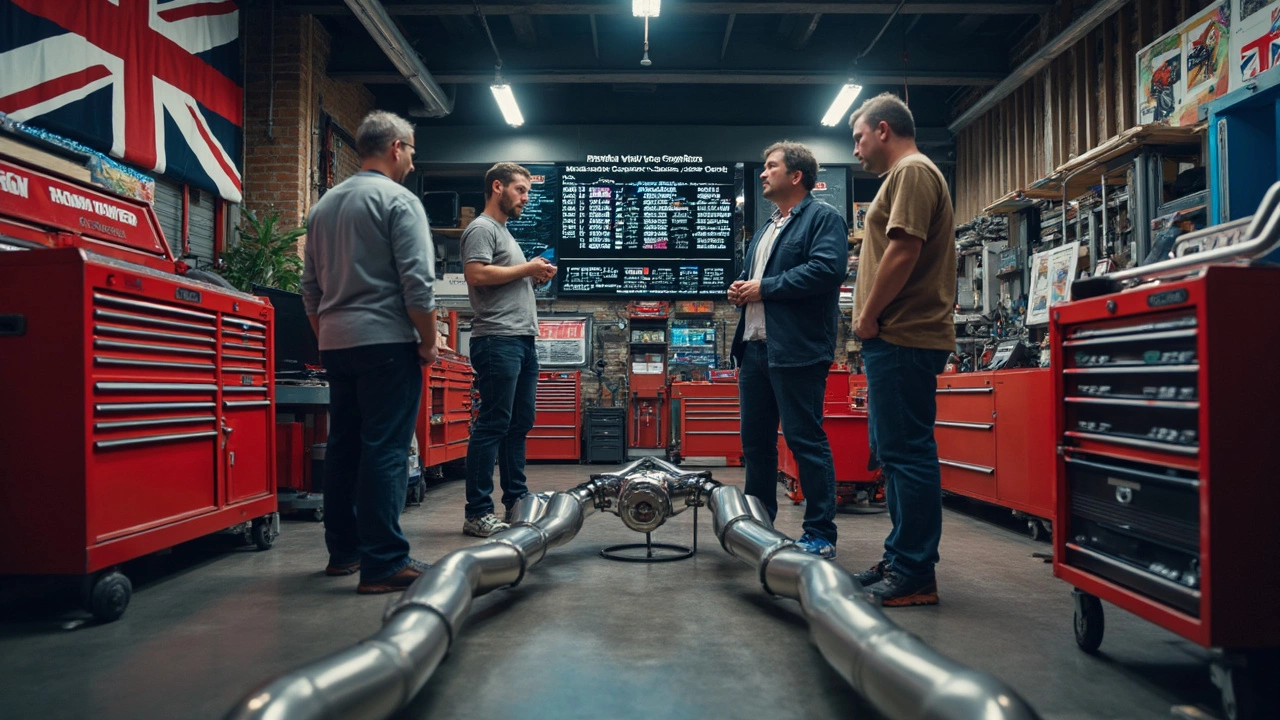
Custom Exhausts: How to Choose, Fit, and Keep Yours Going Strong
Thinking about a new exhaust? You’re not just after a louder roar – a well‑chosen custom exhaust can lift horsepower, improve fuel efficiency, and give your ride a unique look. Below we break down the basics so you can pick the right system, install it correctly, and keep it in top shape.
What a Custom Exhaust Actually Does
Most stock exhausts are built for quiet compliance, not performance. A custom pipe changes the flow of exhaust gases, reducing back‑pressure and letting the engine breathe easier. Less resistance means a small boost in horsepower and torque, especially at higher RPMs. At the same time, the muffler design shapes the sound, turning a dull hum into a deep growl or a high‑pitched scream, depending on your taste.
Beyond the numbers, a custom exhaust can give your car a visual upgrade. Matte black tips, polished stainless steel, or carbon‑fiber pipes add a finishing touch that matches other styling mods like wraps, decals, or alloy wheels. The result is a cohesive look that stands out on the road.
Choosing the Right System for Your Car
Start with your vehicle’s make and model. Not every car benefits from the same type of pipe. For small‑engine hatchbacks, a cat‑back system (removing the catalytic converter) often gives the best balance of power and sound. Bigger V8s can handle full‑header setups that replace the entire exhaust manifold for maximum flow.
Material matters, too. Stainless steel resists rust and lasts longer, but it’s pricier. Aluminum is lighter and cheaper, though it can corrode faster. If you want a race‑ready look, carbon‑fiber or titanium pipes are an option, but they add cost.
Noise regulations vary by region. Before you buy, check local limits on dB levels and see whether a straight‑through design is legal on public roads. Some drivers install a removable resonator or a “quiet‑mode” valve to stay street‑legal while still enjoying the loud option on track days.
Finally, think about fitment. A pipe that requires extensive welding or custom brackets will cost more in labor. Look for exhausts that list “direct fit” for your model – these usually drop in with just a few clamps.
Installation Tips You Can Do at Home
If you’re comfortable with basic tools, a cat‑back swap is a doable DIY project. Warm up the engine first so the metal expands, then loosen the stock clamps and slide the new pipe in place. Use anti‑seize lubricant on bolts to prevent rust later. Double‑check alignment before tightening fully – a mis‑aligned pipe can cause rattles or leak exhaust fumes.
For full‑header or turbo‑back installs, it’s safer to let a professional handle the job. They’ll have the lift equipment and welding skills needed to avoid damaging the engine bay.
After fitting, start the engine and listen. If you hear a pinging or ticking, something might be loose. Tighten any suspect bolts and re‑check the clearance from heat‑sensitive parts.
Maintaining Your Custom Exhaust
Keep the pipe clean. Brake dust and road grime can cause corrosion, especially on steel. A simple wash with mild soap and a soft brush does the trick. Avoid harsh chemicals like acid‑based cleaners; they can eat away the finish.
Inspect the muffler and joints every few months. Look for cracks, rust spots, or loose clamps. Early fixes prevent costly replacements down the line.
Finally, schedule a professional tune if you’ve changed the exhaust flow dramatically. A fresh ECU map ensures the engine runs at the optimal air‑fuel ratio, unlocking the full power gains your new system promises.
Custom exhausts are more than a sound upgrade – they’re a performance and styling statement. With the right choice, proper install, and regular care, your car will sound better, feel quicker, and turn heads wherever you go.
This article digs into which type of exhaust sound actually turns heads and why people care so much about it. Expect real-world tips, key facts, and a breakdown of what makes different custom exhausts unique. It covers common options, the science behind the noise, and how to match your taste. If you're thinking about changing your car's sound, you'll get plenty of solid advice. Car guys and daily drivers alike will find something useful here.
Curious about the rules for aftermarket exhausts in the US? This article tells you what’s actually legal, what could get you fined, and why the law can be so confusing depending on where you live. There’s a lot of misinformation out there, so you’ll find clear answers about noise limits, emissions rules, and real tips for avoiding trouble. Get the facts you need before swapping out your exhaust. You’ll even learn how states like California make things extra complicated for car fans.
Ever wondered whether a muffler delete or a straight pipe is louder for your ride? This article breaks down the real differences in sound, performance, and what really happens when you cut out your muffler or go full straight pipe. Get the facts about volume levels, legal impacts, and what you can expect from both mods. We'll cover practical tips and hard truths for car fans thinking about making some noise. It’s not just about being heard—it’s about choosing smart.
Curious about double silencers and what they actually do for your ride? This article breaks down how double silencers work, why they’re used in custom exhausts, and their real effects on sound, performance, and daily driving. Get the lowdown on the pros, cons, and tips for choosing or upgrading to a double silencer setup. No jargon or fluff, just straight answers that help you decide what’s right for your car.
Many car enthusiasts debate whether a straight pipe or a muffler produces a louder sound. This article explores both options, comparing their noise levels, effects on performance, and legality. Whether you're looking to turn heads with a roar or keep things tame, understanding these options is key. We'll dive into the mechanics behind each and provide tips on making the right choice for your vehicle.
Curious about whether changing your car's exhaust system can actually boost horsepower? This article dives into the nitty-gritty of how exhaust systems work and examines if they can genuinely enhance engine performance. We'll explore factors like design, materials, and installation to give you a clear picture. Whether you're a car enthusiast or just someone looking to improve vehicle performance, get ready to learn the ins and outs of custom exhausts.
Burble tunes transform a car's exhaust note into a symphony of pops and bangs, catching the attention of many automotive enthusiasts. But there's more to this modification than just sound. Understanding the effects on engine performance and car health is crucial before diving in. Whether the burble tunes are truly harmful or merely a matter of personal taste becomes pivotal in the decision-making process.
Choosing between MagnaFlow and Flowmaster exhaust systems can be tricky for car enthusiasts. This article dives into the features, differences, and performance impacts of these two popular brands. Discover interesting facts and tips to help make an informed decision. Whether you're seeking a deeper growl, improved horsepower, or just a style statement, this guide covers it all. Unravel which might be a better fit for your ride.
Straight pipe exhaust systems often draw the ire of law enforcement due to their noise and emissions levels. These alterations, while popular among car enthusiasts for their potential performance boosts, lack the muffling and reduction features needed to meet legal standards. This article explores why straight pipes are often illegal, highlighting noise pollution and strict emission regulations. Readers will also learn about legal alternatives and the penalties for non-compliance.