Aftermarket Exhaust: Sound, Power, and Style Made Simple
Thinking about swapping your stock muffler for something louder or quicker? An aftermarket exhaust can give your car a deeper growl, a few extra horses, and a fresh look without a complete engine rebuild. The good news is you don’t need a mechanic degree to understand the basics. Below we break down why people choose these upgrades, what to look for, and how to install one safely.
Why Choose an Aftermarket Exhaust?
First off, most stock exhausts are built for quiet city driving and fuel‑efficiency, not for sound or performance. An aftermarket system usually removes restrictive components, lets exhaust gases flow faster, and provides a more aggressive tone. If you love the rumble of a sports car, the right pipe can turn a bland hiss into a throat‑ripping roar.
Besides the noise factor, a freer‑flowing exhaust can add a small boost to horsepower and torque. The gains aren’t huge—typically 2‑5%—but they’re noticeable when you’re accelerating hard. Better flow also reduces back‑pressure, which can improve fuel economy a bit if you drive conservatively.
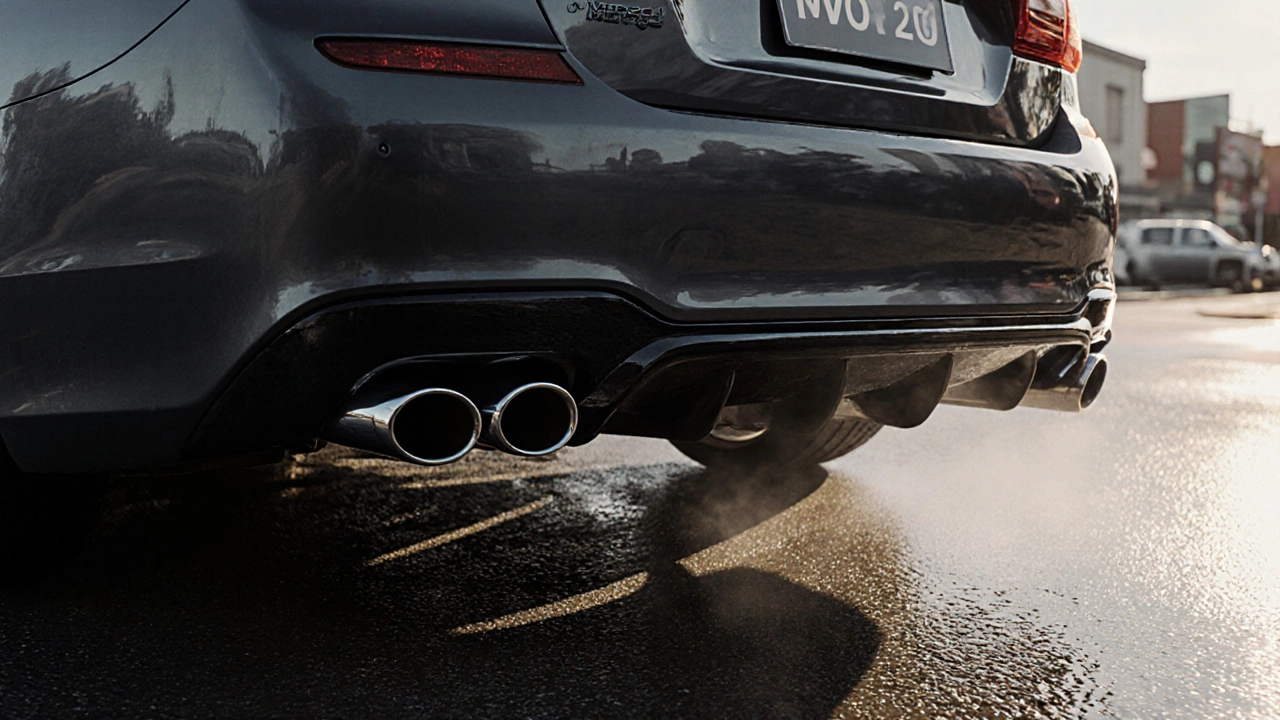
Lastly, styling matters. Many aftermarket exhausts come in polished stainless steel, matte black, or carbon‑fiber finishes that match your rims or body work. It’s a cheap way to make your car look race‑ready without repainting.
How to Pick and Install the Right Exhaust
Start by deciding what you want most: louder sound, more power, or a specific look. For pure sound, a cat‑back system (from the catalytic converter to the rear tip) is a popular choice. If you’re after performance, look for headers that replace the factory exhaust manifold—they’re pricier but give the biggest flow improvement.
Check local noise and emissions laws before you buy. Some areas require a catalytic converter in the exhaust loop, so a straight‑through pipe might get you a ticket. Choose a kit that’s certified for street use in the UK to avoid fines.
When it comes to material, stainless steel is the most durable and resists rust. Titanium is lighter and even more resistant but costs much more. If you’re on a budget, aluminized steel works fine but will need replacement sooner.
Installation is usually bolt‑on. You’ll need basic hand tools: a socket set, wrenches, and possibly a torque wrench. Raise the car safely on jack stands, remove the factory muffler, line up the new pipes, and bolt everything snugly. Tighten to the manufacturer’s torque specs to prevent leaks. If you’re not comfortable working under the car, a quick hour at a local garage will do the trick for a reasonable price.
After the install, listen for any rattles or leaks. A small amount of squeaking can be normal as the new metal expands, but any sharp rattles mean a loose clamp. Tighten as needed, then take the car for a short test drive. Pay attention to the exhaust note at idle, mid‑range, and full throttle to make sure it matches your expectations.
Remember to re‑check the fit after a few days of driving. Heat can shift bolts, and a quick re‑torque will keep the system sealed. Keep a spare set of clamps in the trunk for emergency fixes.
In short, an aftermarket exhaust is a straightforward way to get a louder sound, a slight performance bump, and a cleaner look. Choose a kit that fits your goals, stay within legal limits, and follow the bolt‑on steps. With a little DIY or a short garage visit, you’ll be turning heads and hearing that deep growl in no time.
Curious about the rules for aftermarket exhausts in the US? This article tells you what’s actually legal, what could get you fined, and why the law can be so confusing depending on where you live. There’s a lot of misinformation out there, so you’ll find clear answers about noise limits, emissions rules, and real tips for avoiding trouble. Get the facts you need before swapping out your exhaust. You’ll even learn how states like California make things extra complicated for car fans.
Car enthusiasts often find the idea of installing an aftermarket exhaust exhilarating, providing a touch of personalization to their vehicles. However, the legalities surrounding this modification vary widely from region to region. In this article, we delve into the labyrinth of laws governing aftermarket exhaust installation, helping you understand what is permitted and what might land you in trouble with the law. Compare different international regulations to ensure your revamp is both satisfying and legal.