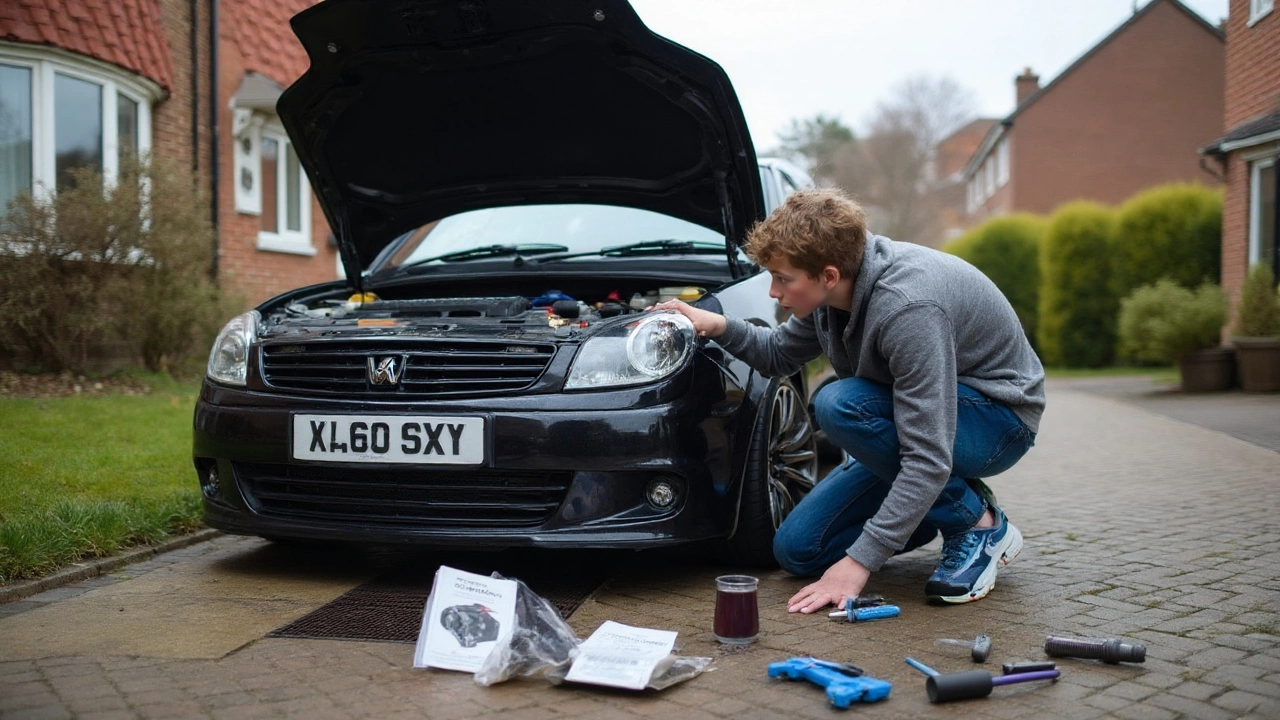
Safe Installation Guide for Car Wraps and Styling
Thinking about adding a wrap, roof rack, or wheel spacer? You want the job done right the first time. A safe install protects your car’s finish, keeps the fit solid, and saves you money on fixes later. Below are the basics you need before you pick up a squeegee or bolt.
Why Safe Installation Matters
Every modification you add puts stress on the paint and body panels. If you apply a wrap incorrectly, air bubbles and creases form, and the adhesive can pull paint off when you remove it. Badly mounted roof racks can dent the roof or shift while you drive, creating safety hazards. Wheel spacers that aren’t torqued properly may loosen, leading to wobble or even a wheel coming off. In short, a careless install can cost you time, cash, and a damaged vehicle.
Practical Steps for a Safe Wrap Install
1. Clean the surface thoroughly. Use a mild soap, rinse well, then wipe with an alcohol‑free cleaner. Any dust or grease will cause the wrap to lift later.
2. Work in a controlled environment. Shade, moderate temperature (around 20‑25°C), and low humidity give the adhesive the best chance to bond without shrinking or bubbling.
3. Measure twice, cut once. Lay the wrap out, measure the panel edges, and cut a little extra. Too tight a cut means you’ll have to stretch the film, which creates wrinkles.
4. Use the right tools. A felt squeegee, a heat gun on low, and a razor blade with a fresh blade are essential. The heat gun helps the film conform around curves without cracking.
5. Apply in sections. Start at the center of the panel and work outward. Push out air bubbles with the squeegee, then smooth the edges. If a bubble appears, lift the film gently and re‑apply.
6. Secure roof racks with the correct bolts. Follow the manufacturer’s torque specs – usually between 8‑12 Nm. Double‑check the bolts after a short drive to make sure they haven’t loosened.
7. Install wheel spacers with thread locker. Apply a thin layer of blue thread locker on the bolt threads, then torque to the spec (often 80‑100 Nm). Re‑torque after the first 100 km.
8. Check legal limits. For window tints and roof rack dimensions, make sure you’re within Nottingham’s local regulations. A fine now is cheaper than re‑doing the job later.
9. Let everything cure. Most wraps need 24‑48 hours of undisturbed time before you wash the car. Roof racks and spacers are ready to drive immediately, but give bolts a quick check after the first few trips.
By following these steps you’ll get a clean look, a secure fit, and peace of mind while you’re on the road. If you ever feel unsure, reach out to a local pro – a quick call can save hours of guesswork.
Ready to give your car a fresh look? Start with a safe install, and you’ll enjoy the new style without worrying about damage or costly repairs.

