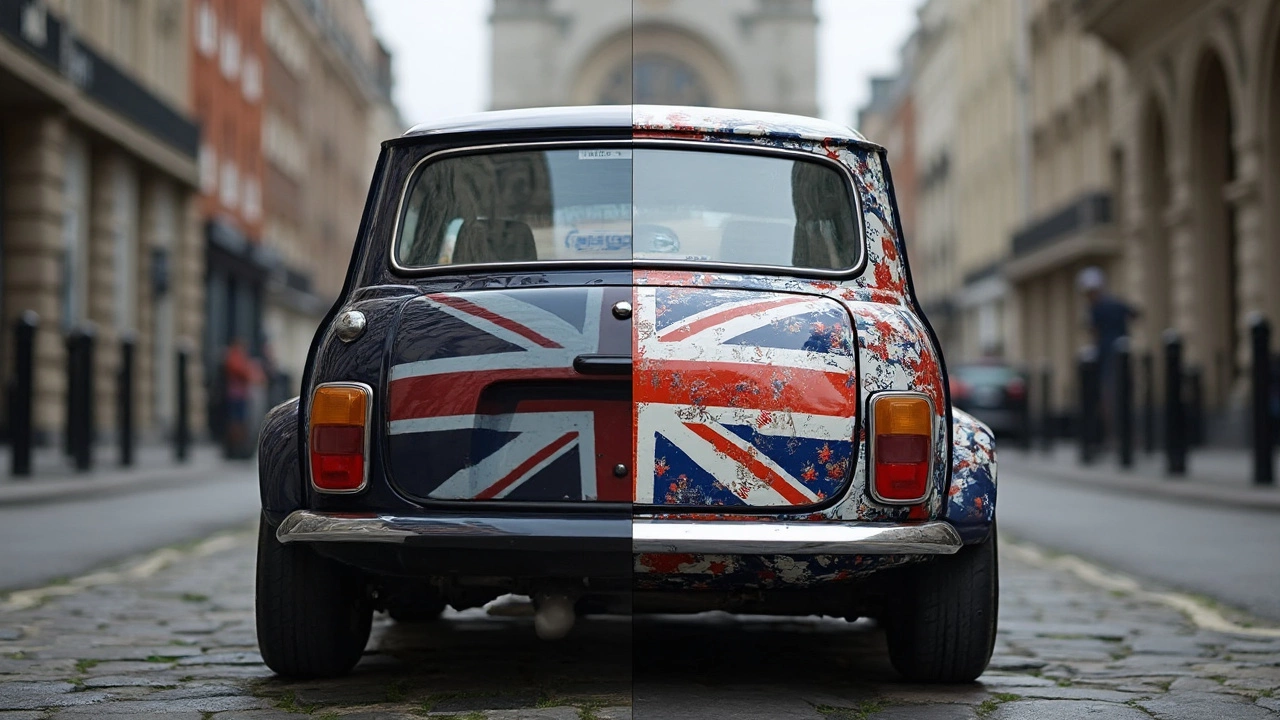
Car Decal vs Sticker: Key Differences Explained for Car Owners
- Gareth Westbrook
- 2 07 2025 Accessories
Discover the real difference between a car decal and a sticker. Learn how to choose, apply, and care for decals vs stickers for your car.
Thinking about adding a car sticker? You’re not alone. Drivers love stickers for personal flair, advertising, or simple fun. The good news? You don’t need a pro to get a clean look. This guide walks you through choosing the right design, prepping the surface, and keeping the sticker looking fresh.
First, decide what you want the sticker to say. Are you showing off a hobby, promoting a business, or just adding a cool graphic? Keep the message short—big, bold letters work best on moving vehicles. Look for vinyl that’s rated for outdoor use; it resists UV rays and rain better than cheap paper‑based options.
Size matters, too. A large bumper sticker can be eye‑catching, but it also adds weight and may be harder to remove later. If you’re covering a window, pick a semi‑transparent film so you can still see out. Many shops let you preview the design on a digital mock‑up; use it to avoid surprise regrets.
Preparation is half the job. Wash the area with mild soap and water, then dry it completely. Anything oily or dusty will cause bubbles. For glass or metal, a quick wipe with isopropyl alcohol removes leftover residue.
Next, plan the placement. Use masking tape to hold the sticker where you think it belongs. Step back and check the angle—this prevents awkward crooked looks. When you’re ready, peel off the backing slowly. If the sticker is big, have a friend help hold it while you smooth it down.
Use a squeegee or a credit card wrapped in a soft cloth to push air out from the center toward the edges. Work in small sections; this reduces bubbles. If a bubble sneaks in, poke a tiny hole with a pin and press the air out. Once the sticker is flat, give it a final wipe to remove fingerprints.
Let the sticker sit for at least 24 hours before washing the car. This gives the adhesive time to bond fully. When you do clean the car, avoid harsh pressure washers on the sticker for the first week.
Maintenance is simple. Wash the sticker with mild soap and a soft sponge. Avoid abrasive pads; they can scratch the vinyl. If the sticker starts to peel at the edges, a little heat from a hair dryer can reactivate the glue and seal it back.
Finally, check local regulations. Some areas limit sticker size on windshields or require certain decals to be removed while driving. A quick look at your council’s vehicle code saves you a ticket.
Whether you’re a business owner, a car enthusiast, or just want to show off a joke, a car sticker can be a quick, cheap way to make your ride stand out. Pick a durable vinyl, prep the surface, apply with care, and you’ll have a professional‑looking result without the shop price.

Discover the real difference between a car decal and a sticker. Learn how to choose, apply, and care for decals vs stickers for your car.